Chat with different models with Streamlit [Multichat]
TL;DR
Am i good enough at python web apps to create my own gpt clone?
A MultiChat with Streamlit
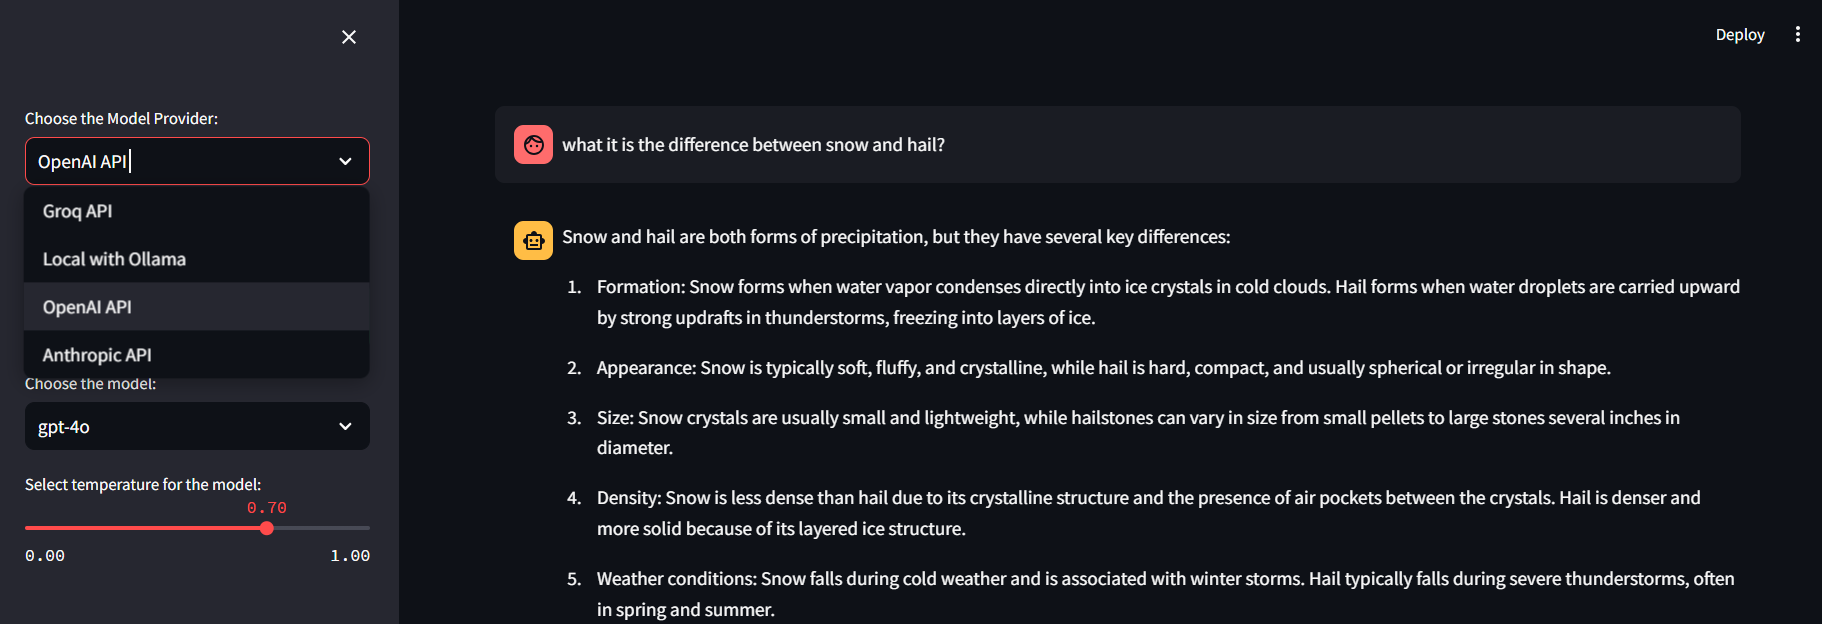
WIth this project, we will have a single Python Streamlit UI to Interact with:
- Streamlit OpenAI Chat
- Streamlit Anthropic Chat
- Streamlit Groq API
- Streamlit running local LLMs with Ollama
If you want, you can try these projects, first:
- Install Python 🐍
- Clone the repository
- And install Python dependencies
- We will be using venv first and later create a Docker Container version with GH Ci/CD for SelfHosting the GenAI App.
See the related MultiChat repository and streamlit web app:

Lets have a look to the projects that have made this possible.
Streamlit Chat with OpenAI
Remember that there will be model/pricing changes over time: https://openai.com/api/pricing/
See how text will be tokenized: https://platform.openai.com/tokenizer
I first had a look to this existing project that used OpenAI API Key:
- The project is available on GitHub ✅
- Project Source Code at GitHub. Credits to DataProfessor.
You will need an API key from OpenAI to use the project ❎
Documentation for the models used can be found here:
git clone https://github.com/JAlcocerT/openai-chatbot

python -m venv openaichatbot #create it

openaichatbot\Scripts\activate #activate venv (windows)
source openaichatbot/bin/activate #(linux)

#deactivate #when you are done
Once active, you can just install the Python packages as usual and that will affect only that venv:
pip install -r requirements.txt #all at once

#pip list
#pip show streamlit #check the installed versionstreamlit==1.26.0 #https://pypi.org/project/streamlit/#history
openai==0.28.0 #https://pypi.org/project/openai/#historyNow, to create the Docker Image:
Really, Just Get Docker 🐋👇
You can install Docker for any PC, Mac, or Linux at home or in any cloud provider that you wish. It will just take a few moments. If you are on Linux, just:
apt-get update && sudo apt-get upgrade && curl -fsSL https://get.docker.com -o get-docker.sh
sh get-docker.sh
#sudo apt install docker-compose -y
And install also Docker-compose with:
apt install docker-compose -yWhen the process finishes, you can use it to self-host other services as well. You should see the versions with:
docker --version
docker-compose --version
#sudo systemctl status docker #and the status
Or with uv as package manager…
uv pip install ollama==0.2.1 --index-url https://pypi.org/simpleThis is your dockerfile:
FROM python:3.11

# Install git
RUN apt-get update && apt-get install -y git

# Set up the working directory
#WORKDIR /app

# Clone the repository
RUN git clone https://github.com/JAlcocerT/openai-chatbot

WORKDIR /openai-chatbot

# Install Python requirements
RUN pip install -r /phidata/cookbook/llms/groq/video_summary/requirements.txt

#RUN sed -i 's/numpy==1\.26\.4/numpy==1.24.4/; s/pandas==2\.2\.2/pandas==2.0.2/' requirements.txt

# Set the entrypoint to a bash shell
CMD ["/bin/bash"]
export DOCKER_BUILDKIT=1
docker build --no-cache -t openaichatbot . #> build_log.txt 2>&1Or if you prefer, with Podman:
podman build -t openaichatbot .
#podman run -d -p 8501:8501 openaichatbot
#docker run -p 8501:8501 openaichatbot:latest
docker exec -it openaichatbot /bin/bash
#sudo docker run -it -p 8502:8501 openaichatbot:latest /bin/bashRun the Multichat App
With Portainer and the docker-compose stack:
version: '3'

services:
  streamlit-openaichatbot:
    image: openaichatbot
    container_name: openaichatbot
    volumes:
      - ai_openaichatbot:/app
    working_dir: /app  # Set the working directory to /app
    command: /bin/sh -c "streamlit run streamlit_app.py"
    #command: tail -f /dev/null #streamlit run appv2.py # tail -f /dev/null
    ports:
      - "8507:8501"

volumes:
  ai_openaichatbot: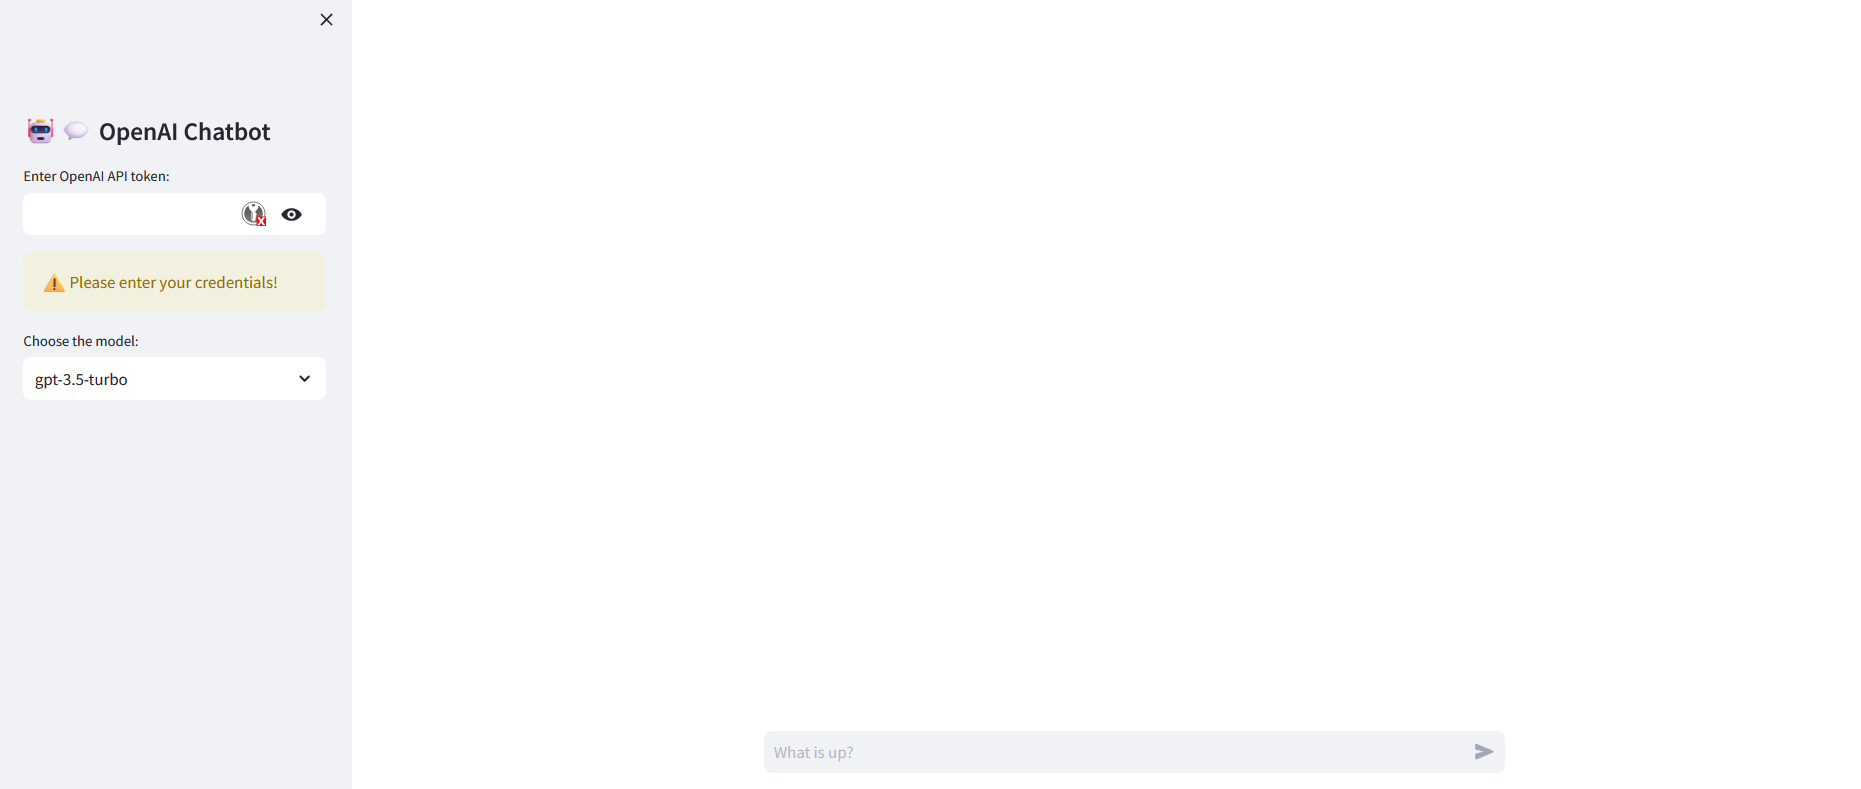
Streamlit Chat with Groq
- https://github.com/tonykipkemboi/groq_streamlit_demo -> Groq + Streamlit Chat
Streamlit Chat with Anthropic
Streamlit Chat with Ollama
You can setup Ollama locally like so:
Conclusions
It’s been great to put together all the mentioned projects in one streamlit UI.
Ive learnt a lot regarding the different API calls and local required setup (for ollama).
While enjoying the speed of querying models via Groq!
- https://console.anthropic.com/workbench/
- https://console.groq.com/keys
- https://platform.openai.com/api-keys
Now, here is the complete project, which you can selfhost with containers:
The Streamlit MultiChat Project
SelfHosting Streamlit MultiChat
Build & Deploy Streamlit-MultiChat 📌
Build the container image:
podman build -t streamlit-multichat .And deploy with docker-compose, where you have environment variables to place your API’s
#version: '3'

services:
  streamlit-multichat:
    image: streamlit-multichat #ghcr.io/jalcocert/streamlit-multichat:latest
    container_name: streamlit_multichat
    volumes:
      - ai_streamlit_multichat:/app
    working_dir: /app
    #command: tail -f /dev/null # Keep the container running
    command: /bin/sh -c "\
      mkdir -p /app/.streamlit && \
      echo 'OPENAI_API_KEY = \"sk-proj-yourkey\"' > /app/.streamlit/secrets.toml && \
      echo 'GROQ_API_KEY = \"gsk_yourkey\"' >> /app/.streamlit/secrets.toml && \
      echo 'ANTHROPIC_API_KEY = \"sk-ant-api03-yourkey\"' >> /app/.streamlit/secrets.toml && \
      streamlit run Z_multichat.py"
    ports:
      - "8503:8501"
    networks:
      - cloudflare_tunnel
      # - nginx_default

volumes:
  ai_streamlit_multichat:

networks:
  cloudflare_tunnel:
    external: true
  # nginx_default:
  #   external: true

#docker-compose up -d
docker pull ghcr.io/jalcocert/streamlit-multichat:latest #:v1.1 #:latestWhat Ive learnt
- Now you are free to prompt those different models! via APIs:
- https://console.anthropic.com/workbench/
- https://console.groq.com/keys
- https://platform.openai.com/api-keys
- Passing
envvariables via thesecrets.tomlis interesting approach. - Having sample streamlit auth functions handy
- Using different pages to keep the code clean
- Z_multichat.py
- Z_multichat_Auth.py
- config.toml
- secrets.toml
- Auth_functions.py
- Streamlit_OpenAI.py
- Streamlit_OpenAI.py
- Streamlit_YT_Groq.py
- Streamlit_groq.py
Or you can do it with the built: streamlit-multichat
docker run -d \
  --name streamlit_multichat \
  -v ai_streamlit_multichat:/app \
  -w /app \
  -p 8501:8501 \
  ghcr.io/jalcocert/streamlit-multichat:latest \
  /bin/sh -c "mkdir -p /app/.streamlit && \
              echo 'OPENAI_API_KEY = \"sk-proj-openaiAPIhere\"' > /app/.streamlit/secrets.toml && \
              echo 'GROQ_API_KEY = \"gsk_groqAPIhere\"' >> /app/.streamlit/secrets.toml && \
              streamlit run Z_multichat.py"
During the process, I also explored: SliDev PPTs, ScrapeGraph, DaLLe, Streamlit Auth and OpenAI as Custom Agents.
It was also a good chance to use Github Actions CI/CD with buildx - to get MultiArch container image.
And ofc, the SliDev PPT is also using Github Actions with Pages and it is built with a different workflow. This one
Interesting Prompts 📌
ChatGPT Productivity Techniques
- Use the 80/20 principle to learn faster: “I want to learn about [insert topic]. Identify and share the most important 20% of learnings from this topic that will help me understand 80% of it.”
- Improve your writing by getting feedback: [Paste your writing]
“Proofread my writing above. Fix grammar and spelling mistakes. And make suggestions that will improve the clarity of my writing.”
- Turn ChatGPT into your intern: “I am creating a report about [insert topic]. Research and create an in-depth report with a step-by-step guide that will help me understand how to [insert outcome].”
- Learn any new skill: “I want to learn [insert desired skill]. Create a 30-day learning plan that will help a beginner like me learn and improve this skill.”
- Strengthen your learning by testing yourself: “I am currently learning about [insert topic]. Ask me a series of questions that will test my knowledge. Identify knowledge gaps in my answers and give me better answers to fill those gaps.”
- Train ChatGPT to generate prompts for you:
- Get ChatGPT to write in your style: “Analyze the writing style from the text below and write a 200-word piece guide on [insert topic].”
[Insert your text]
- Learn any complex topic in only a few minutes: “Explain [insert topic] in simple and easy terms that any beginner can understand.”
- Summarize long documents and articles: “Summarize the text below and give me a list of bullet points with key insights and the most important facts.”
[Insert text]
- Understand things faster by simplifying complex texts: “Rewrite the text below and make it easy for a beginner to understand.”
[Insert text]
Similar AI Projects 👇
- Using Streamlit + OpenAI API to chat with your Docs
- Summarize YT Videos with Groq
Once you get to know how to use an API, is quite easy to add new ones.
And feel free to use any of these:
| LLM Service | Description/Link |
|---|---|
| Groq | Groq API Keys - Use Open Models, like Llama3-70B |
| Gemini (Google) | Gemini API Documentation |
| Mixtral | Open Models - You can use their API here |
| Anthropic (Claude) | Anthropic API Documentation, Console, API Keys |
| OpenAI | GPT API Keys |
| Grok (Twitter) | - |
| Azure OpenAI | - |
| Amazon Bedrock | - |
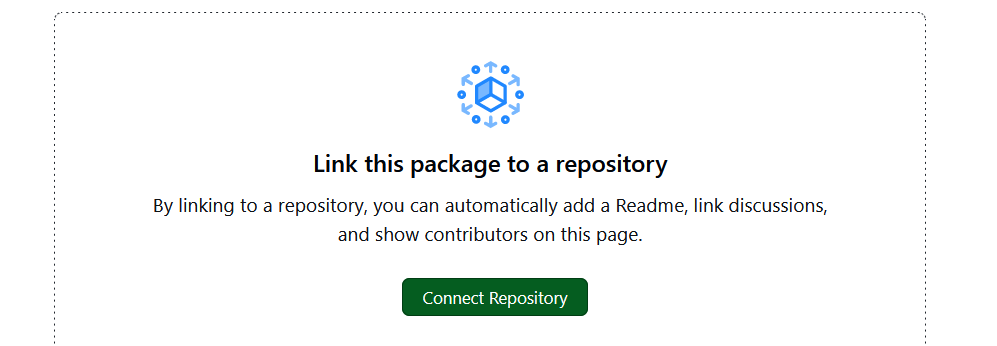
Remember to link the GHCR Package with your repository Readme:
Using buildx with Github Actions to create x86 and ARM64 images ⏬
We need to define a Github Actions workflow with buildx:
name: CI/CD Build MultiArch

on:
  push:
    branches:
      - main

jobs:
  build-and-push:
    runs-on: ubuntu-latest

    steps:
    - name: Checkout repository
      uses: actions/checkout@v2

    - name: Set up QEMU
      uses: docker/setup-qemu-action@v1

    - name: Set up Docker Buildx #here the cool thing happens
      uses: docker/setup-buildx-action@v1

    - name: Login to GitHub Container Registry
      uses: docker/login-action@v1
      with:
        registry: ghcr.io
        username: ${{ github.actor }}
        password: ${{ secrets.CICD_TOKEN_MultiChat }}

    - name: Build and push Docker image
      uses: docker/build-push-action@v2
      with:
        context: .
        push: true
        platforms: linux/amd64,linux/arm64 #any other
        tags: |
          ghcr.io/yourGHuser/multichat:v1.0
          ghcr.io/yourGHuser/multichat:latest
It uses QEMU to emulate different computer architecture to be able to build the images.
Locally, you could do:
#build and push the image and manifest to DockerHub
docker buildx build --platform linux/amd64,linux/arm64,linux/arm/v7 -t yourDockerHubUser/multichat --push .
- Similar Tools - https://github.com/yvann-ba/Robby-chatbot
Chat with CSV, PDF, TXT files 📄 and YTB videos 🎥 | using Langchain🦜 | OpenAI | Streamlit ⚡
git clone https://github.com/yvann-hub/Robby-chatbot.git
cd Robby-chatbot

python3 -m venv robby #create it

robby\Scripts\activate #activate venv (windows)
source robby/bin/activate #(linux)

streamlit run src/Home.py
#deactivate #when you are done
This one also summarizes YT Videos thanks to https://python.langchain.com/v0.2/docs/tutorials/summarization/
F/OSS RAGs
- Mem0 ( ex-embedchain ) - https://github.com/mem0ai/mem0
version: '3'
services:
  qdrant:
    container_name: my_qdrant_container
    image: qdrant/qdrant
    ports:
      - "6333:6333"
    volumes:
      - qdrant_data:/path/to/qdrant_data

volumes:
  qdrant_data:
Build resource-driven LLM-powered bots
- LangChain
- LLamaIndex
LlamaIndex is a data framework for your LLM applications
- PandasAI
- Chainlit - https://docs.chainlit.io/integrations/llama-index
Chainlit is an open-source Python package to build production ready Conversational AI.
F/OSS Knowledge Graphs
- Neo4j - A popular graph database that uses a property graph model. It supports complex queries and provides a rich ecosystem of tools and integrations.
- Apache Jena - A Java framework for building semantic web and linked data applications. It provides tools for RDF data, SPARQL querying, and OWL reasoning.
What it is GraphRAG ⏬
Create LLM derived knowledge Graph which serve as the LLM memory representation.
This is great for explainability!
How to use LLMs with MultiAgents Frameworks
- MetaGPT
- CrewAI - CrewAI is designed to enable AI agents to assume roles, share goals, and operate in a cohesive unit
- AutoGen
- ChatDev - https://github.com/OpenBMB/ChatDev
What about MultiAgents? Autogen, CrewAI… 📌
CrewAI + Groq Tutorial: Crash Course for Beginners
https://github.com/ag2ai/ag2 - AG2 (formerly AutoGen) is a programming framework for agentic AI. Join the community at:
CrewAI Agent Orchestration - https://www.youtube.com/watch?v=3Uxdggt88pY
F/OSS Conversational AI
Build Conversational AI Experiences
Langflow - Visual framework for building multi-agent and RAG applications.
- It is open-source, Python-powered, fully customizable, LLM and vector store agnostic.
- https://docs.langflow.org/getting-started-installation
- MIT Licensed ❤️- https://github.com/langflow-ai/langflow?tab=MIT-1-ov-file#readme
pip install langflow==1.0.0 #https://pypi.org/project/langflow/
python -m langflow run
Langflow is a no-code AI ecosystem, integrating seamlessly with the tools and stacks your team knows and loves.
FAQ
- Langchain + Docker + Neo4j + Ollama - https://github.com/docker/genai-stack
The GenAI Stack will get you started building your own GenAI application in no time
How to create an interesting readme.md ⏬
Similar Free and Open Tools for Generative AI
Agents Swarm with CrewAI and Docker
Open Web UI - previously known as Ollama Web UI
Fabric - a toolbox that contains various AI tools you can use for different tasks
How can I use LLMs to help me code
Open Source VSCode extensions:
https://marketplace.visualstudio.com/items?itemName=TabNine.tabnine-vscode
https://github.com/sourcegraph/cody - AI that knows your entire codebase
Codestral Mamba (Open Source Coding Model from MistralAI)