Video
The open-source CapCut alternative
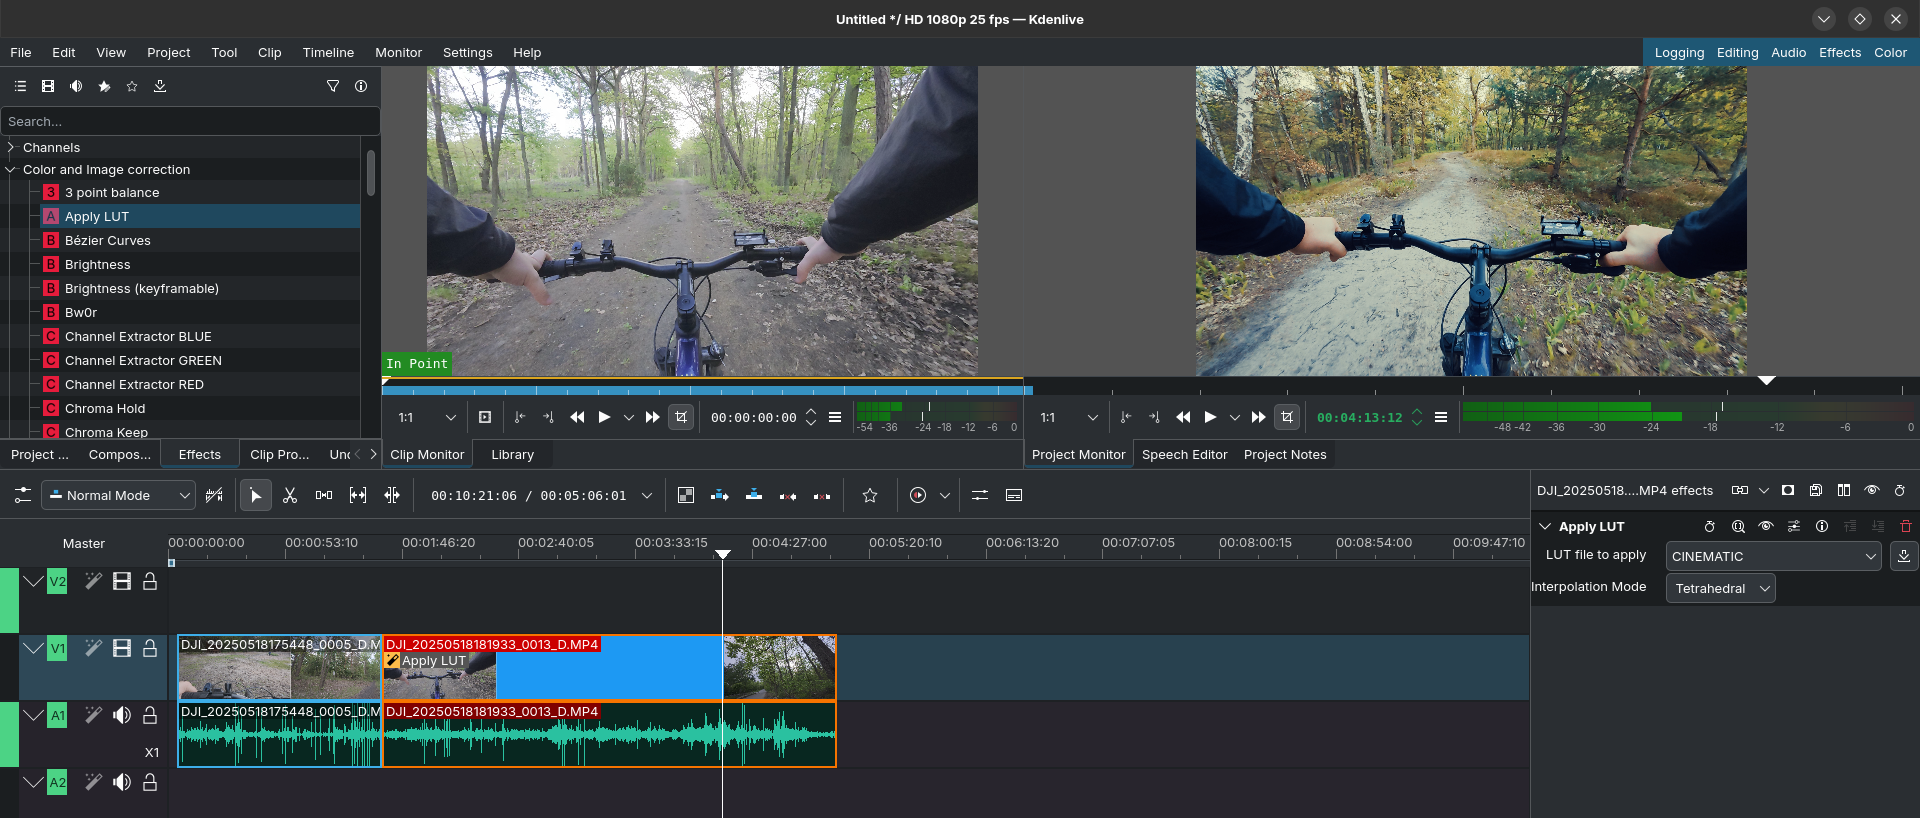
- KDEnlive: which imo, is fantastic

- Apply the Effect
Open Kdenlive and drag your video clip onto the Timeline.
Go to the Effects tab (usually in the top-left or middle-left panel).
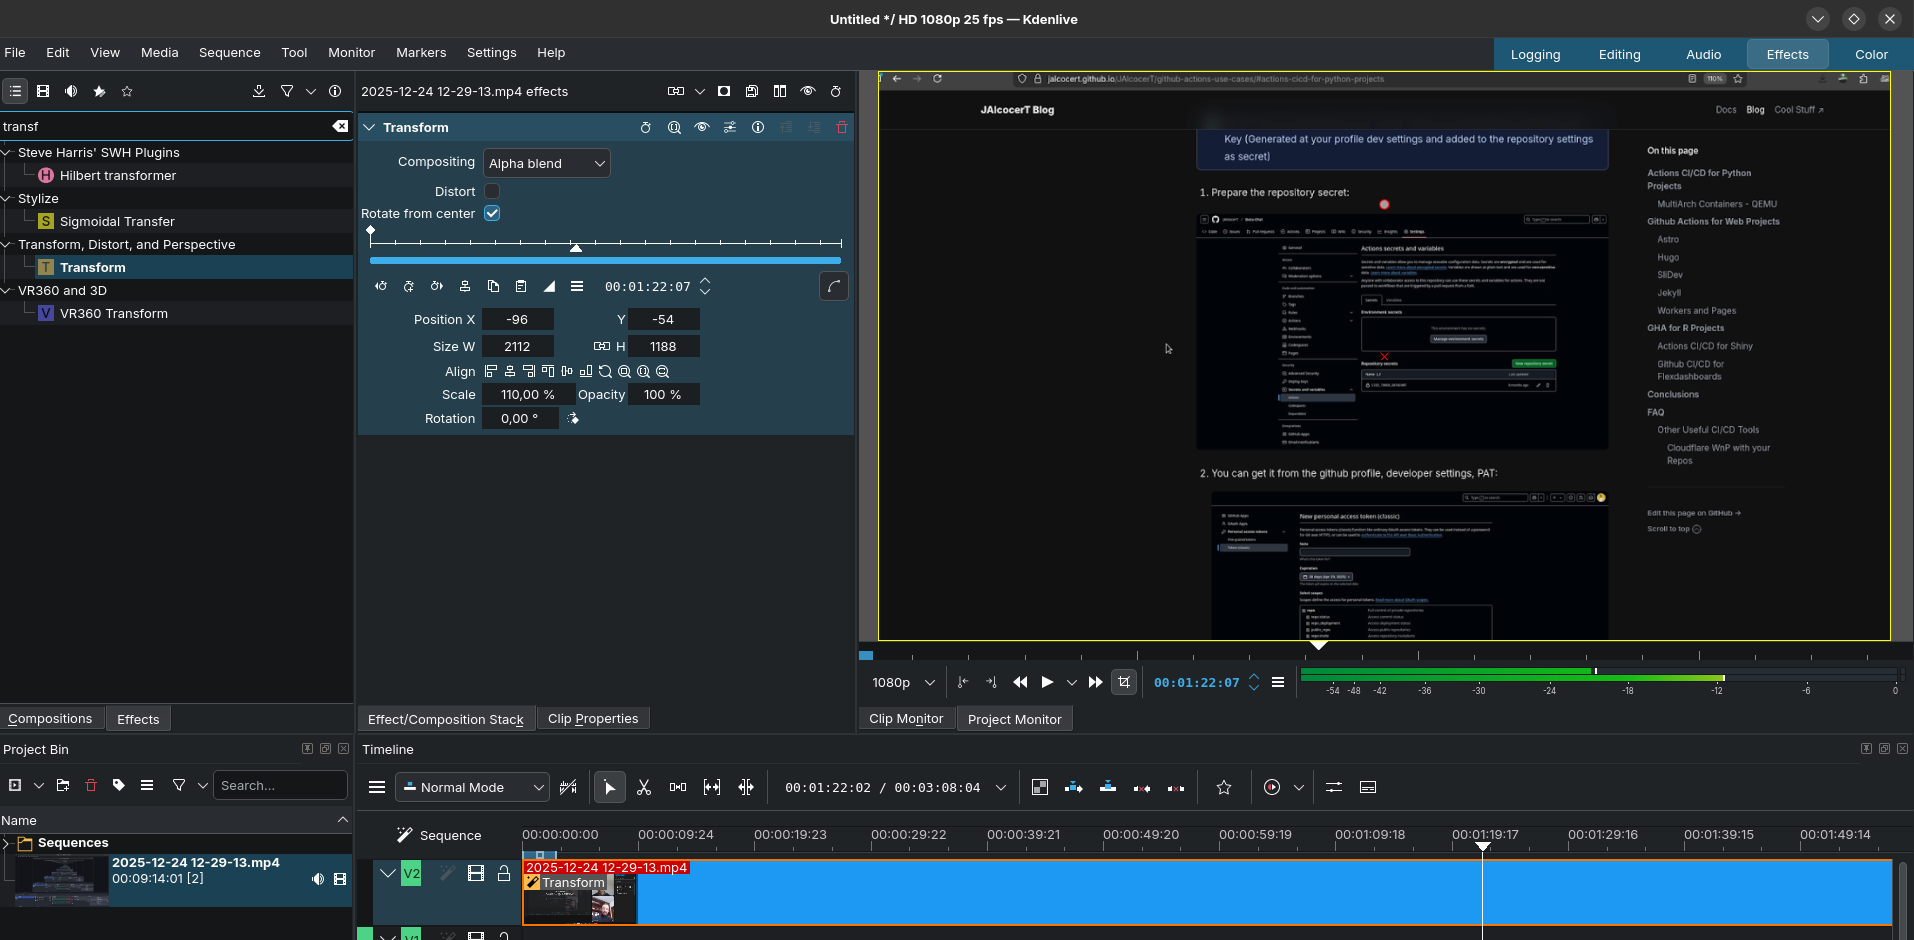
Search for “Transform”.
Drag and drop the Transform effect directly onto your video clip in the timeline.
- Adjust the Zoom (Static Zoom) Once the effect is applied, look at the Effect Stack panel (usually on the right):
Size: Change the percentage (e.g., set it to 150% to zoom in).
Position: You will see a red rectangle in the Project Monitor. Grab the center of the rectangle to move the video until the specific part you want to highlight is centered.
Tip: You can also adjust the X and Y coordinates in the Effect Stack for more precision.
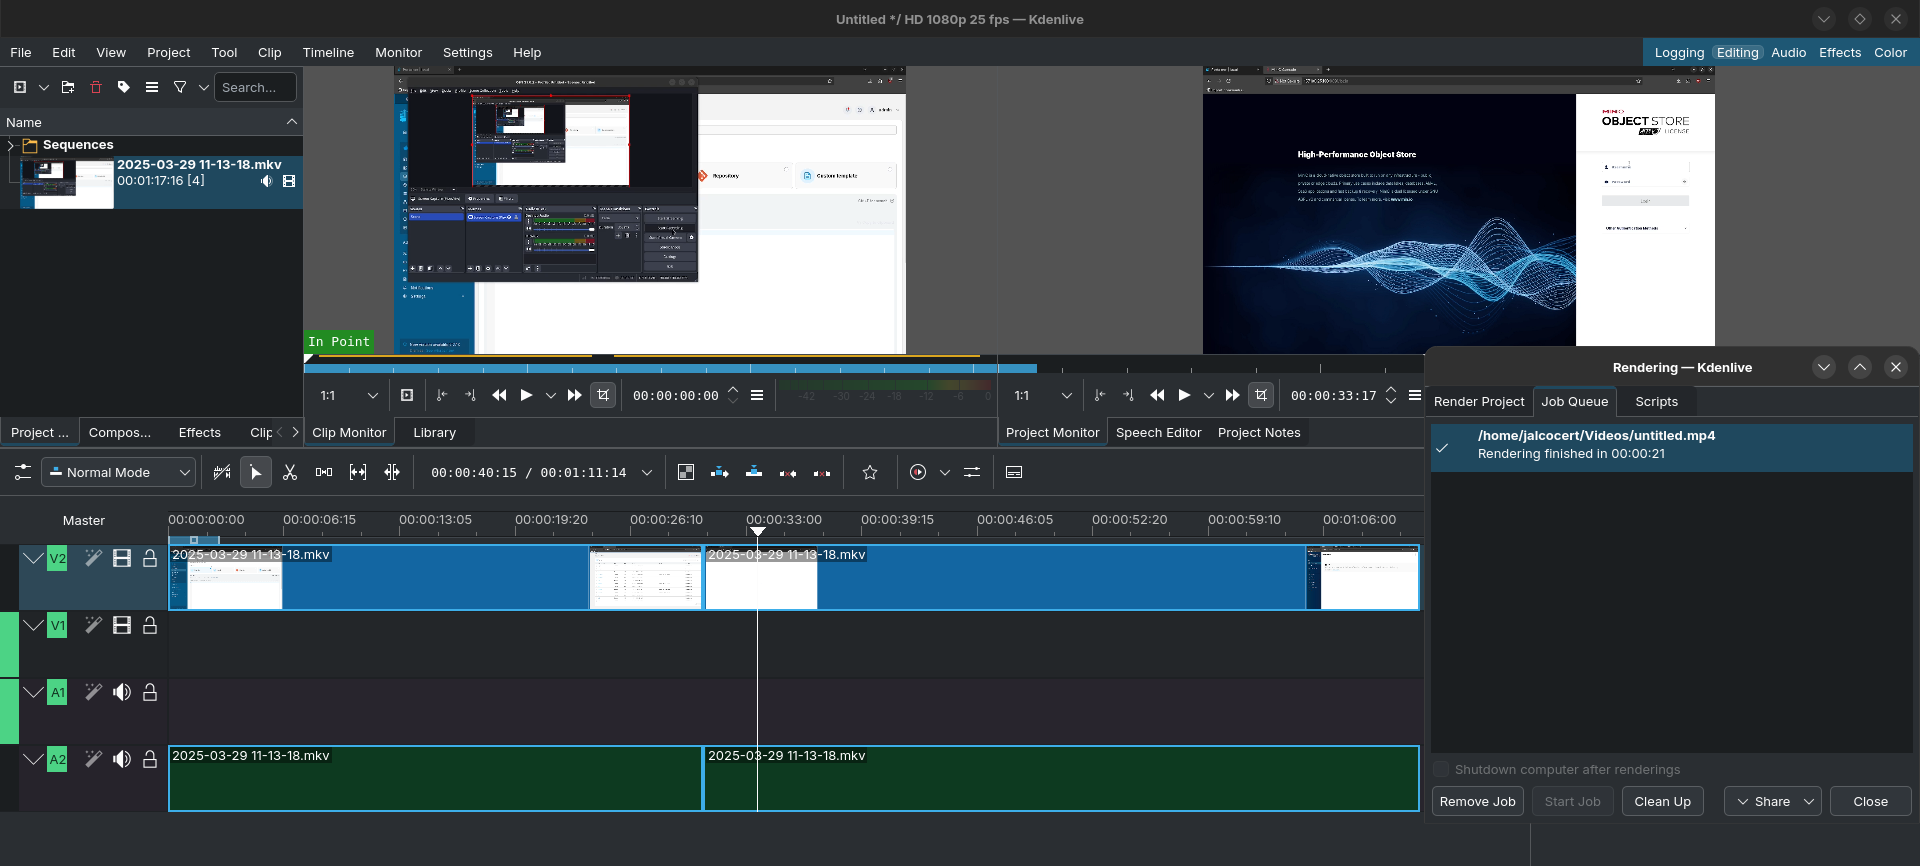
- Others like: Shotcut
Scaling video resolution with - Upscayl + Shotcut 📌
Delete the LRF files:
#rm *.LRF #clean just LRF files
du -h --max-depth=1 #check space
find . -name "*.LRF" -type f -delete #cleaning .LRF
And get VLC to see them:
sudo apt update
sudo apt install vlc
Motion Canvas is great for interactive, visually rich web animations.
Remotion is best for React developers needing video automation and scaling.
Manim is the tool for deep mathematical visualization with powerful programmatic control.
| Feature/Aspect | Motion Canvas | Remotion | Manim |
|---|---|---|---|
| Programming Language | TypeScript (Web, JS) | React (JavaScript) | Python |
| Main Use Case | Vector animations & presentations | Programmatic video creation | Math & educational animations |
| Preview/Interactivity | Real-time visual preview | React-driven dynamic rendering | No live preview, manual rendering |
| Complexity & Control | Moderate, web tech based | High for UI/UX videos | High for math/algorithm detail |
| Target Users | Web developers, educators | React developers, marketers | Educators, researchers, math pros |
| Learning Curve | Moderate | Moderate | Steep (programming + math) |
| Community & Docs | Growing, good docs | Strong community & documentation | Mature community, rich resources |
https://github.com/HandBrake/HandBrake - an OSS UI for Video compression (which does not use FFMPEG)
Video as a Code
It’s all about using FFMPEG: https://github.com/FFmpeg/FFmpeg
For Linux: I was doing some tricks
#sudo apt update && sudo apt install ffmpeg
ls *.MP4 | sed "s/^/file '/; s/$/'/" > file_list.txt #add .mp4 of current folder to a list
ffmpeg -f concat -safe 0 -i file_list.txt -c copy output_video.mp4 #original audio
#ffmpeg -f concat -safe 0 -i file_list.txt -c:v copy -an silenced_output_video.mp4 #silenced video
You can also do same tricks for Windows like so, as seen here
#choco install ffmpeg -y
#ffmpeg -version #I got the version 7.1-essentials_build
Get-ChildItem -Filter "*.MP4" | ForEach-Object { "file '$($_.Name)'" } | Set-Content file_list.txt
ffmpeg -f concat -safe 0 -i file_list.txt -c copy output.mp4 #simple join
But this guy takes FFMPEG to the next level:
And I have a dedicated repository for ffmpeg video creation:
Converting Video
If people around you have iphones…
The main difference between iPhone .mov and .mp4 files is the format, compatibility, and intended use: .mov is Apple’s native format designed for high-quality video editing on Apple devices, while .mp4 is a globally accepted standard optimized for compatibility and efficient sharing across platforms.
| Feature | .mov | .mp4 |
|---|---|---|
| Developer | Apple | MPEG |
| File Size | Larger[4] | Smaller[4] |
| Compression | Lossless/Lossy[4] | Usually Lossy[4] |
| Quality | High[15] | Good[15] |
| Compatibility | Best with Apple[4] | Universal[4] |
| Editing Ease | Easier (Apple)[5] | Harder[5] |
Lossless Container Conversion (no re-encoding): This transmuxes your MOV to MP4 instantly if both audio and video codecs are already compatible with MP4, preserving quality.
ffmpeg -i input.mov -c:v copy -c:a copy output.mp4Extracting Video Data
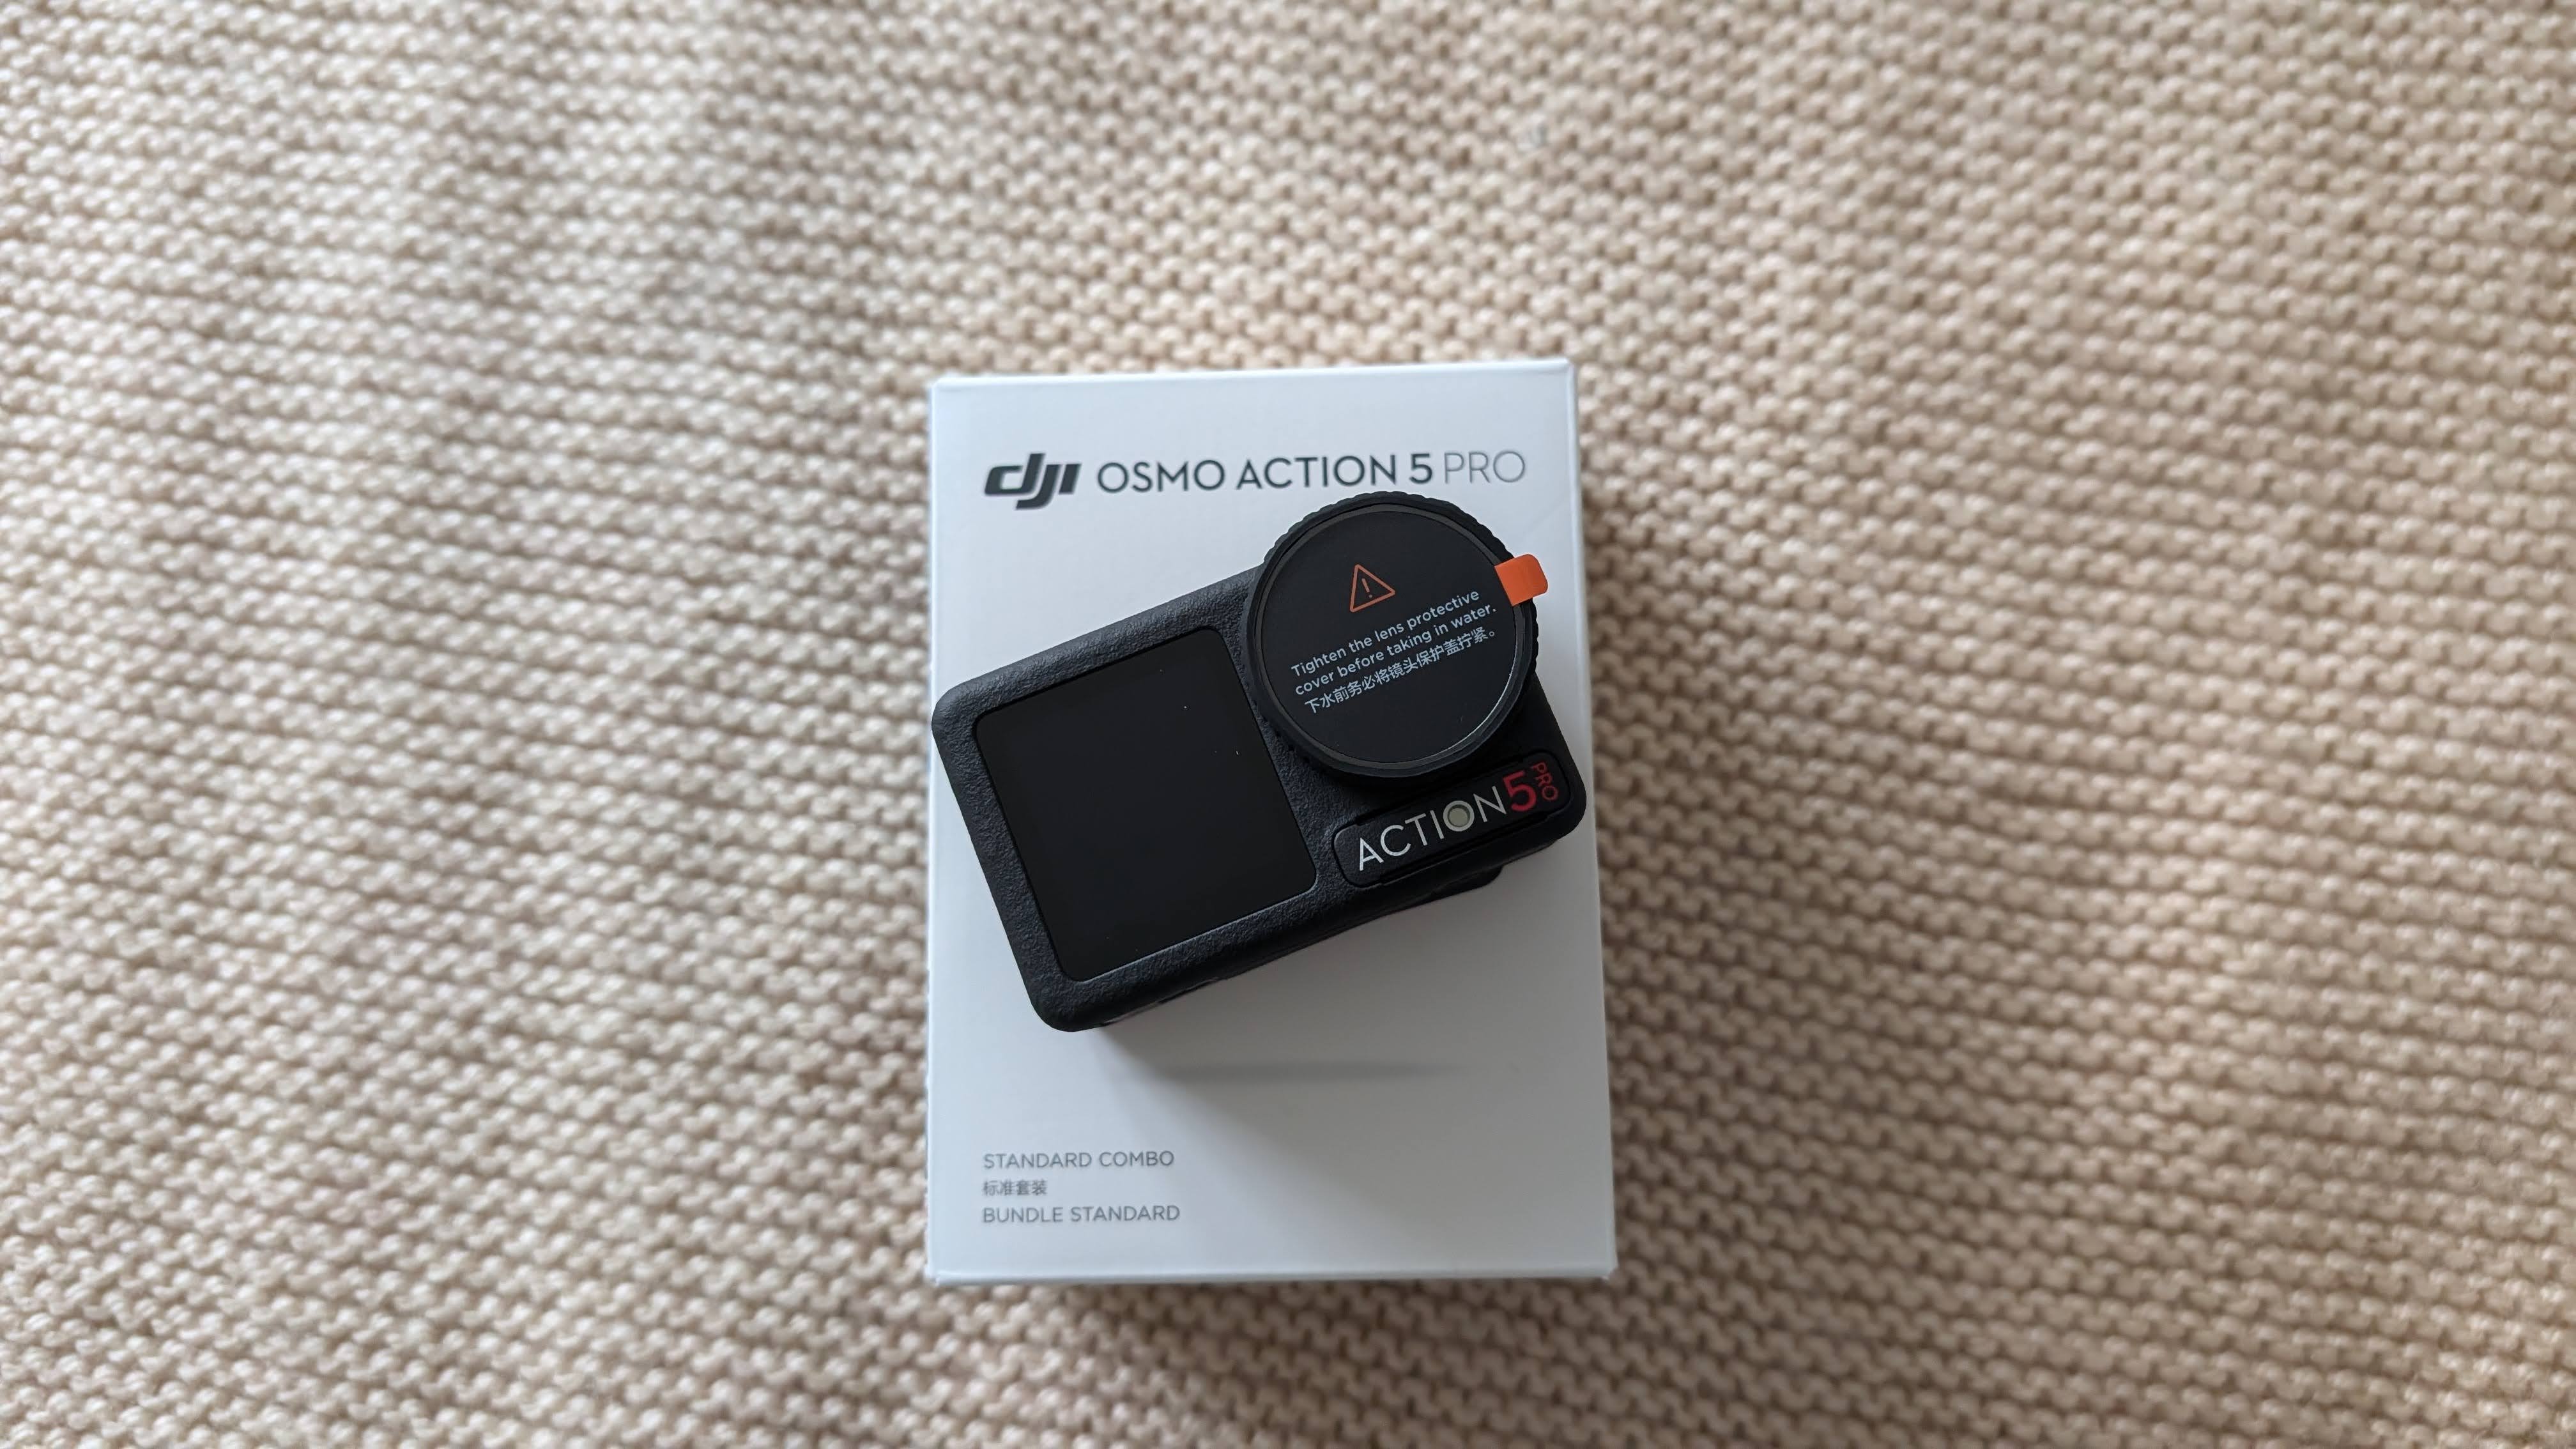
For crazy people that like trackdays, D&A geospatial geeks or somebody with a gopro
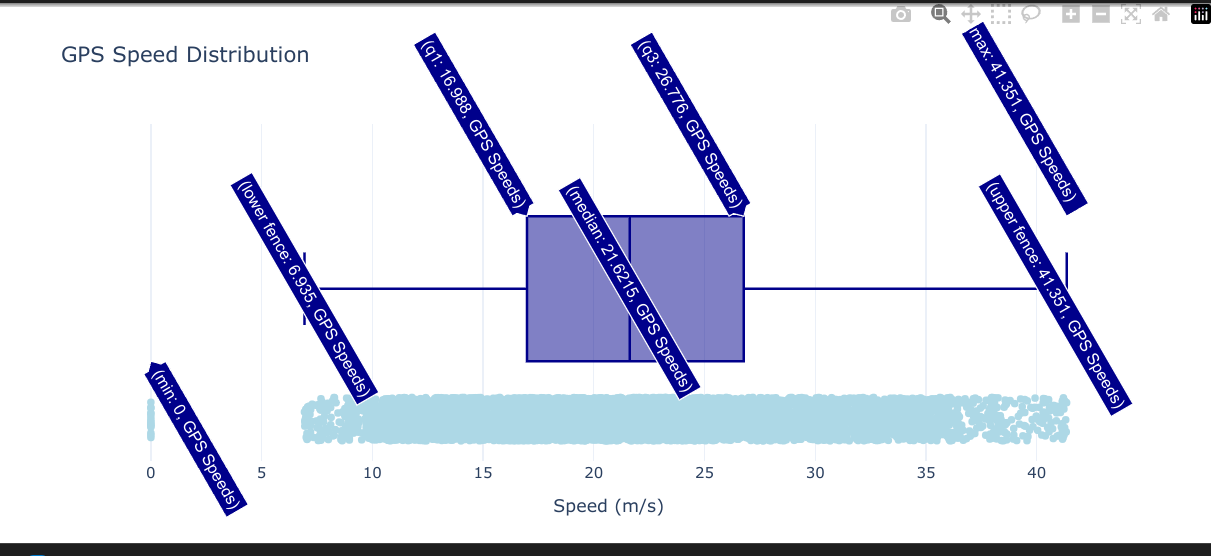 TrackDays and GoPro Telemetry
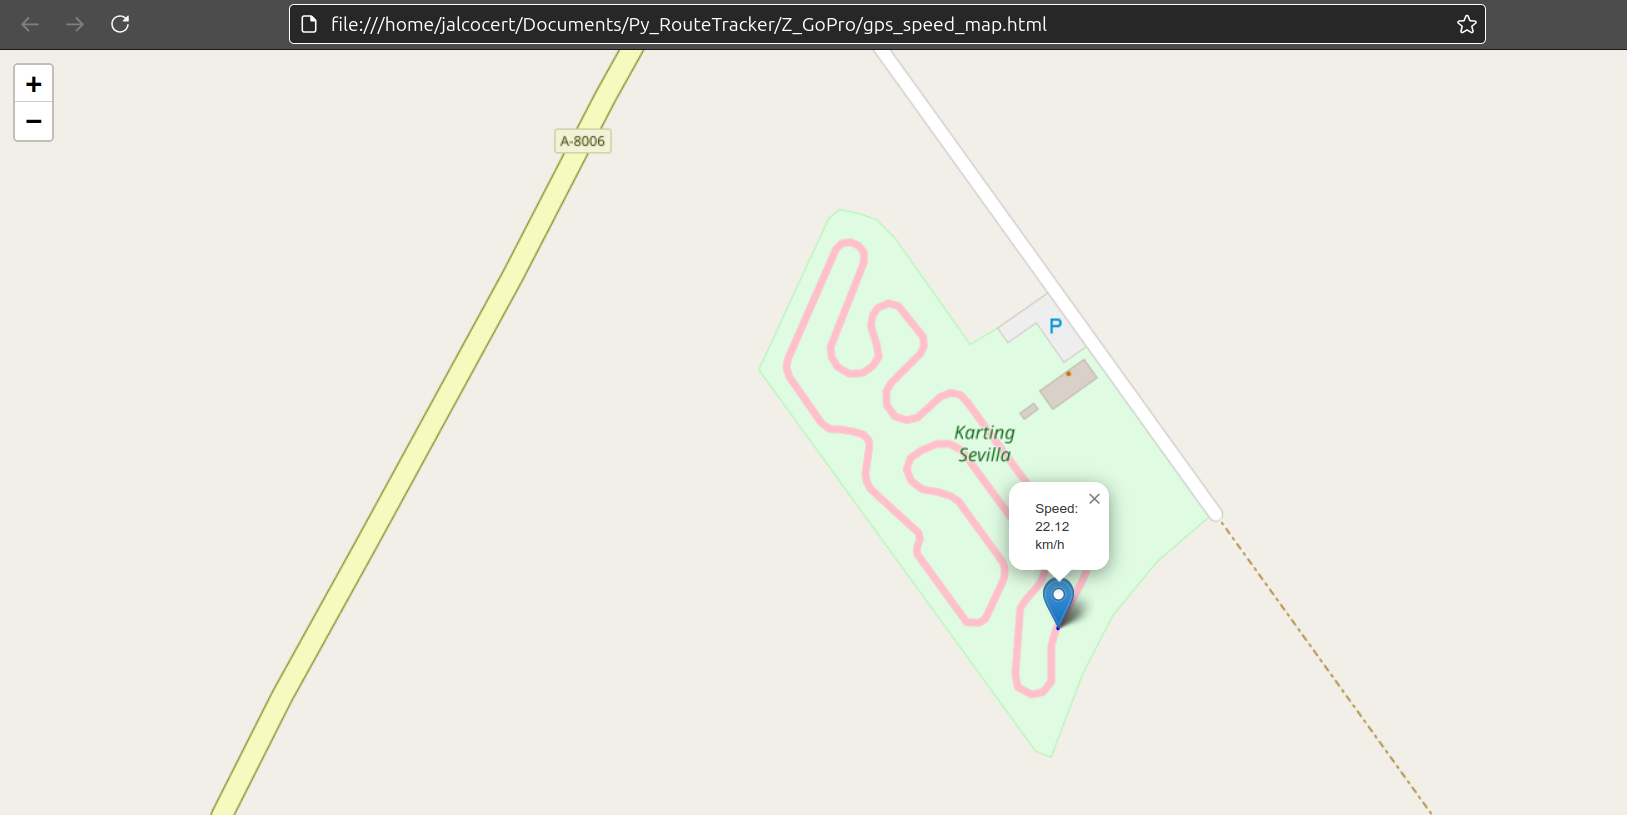 GoPro MetaData Magic 101
If you enjoy these kind of geo/racing analytics, ive placed particular docs for that.