Using a VPS as VPN with Wireguard
TL;DR
Combine this quick wg setup with your travel router
Intro
This year I have been trying few VPS providers.
I even had the chance to benchmark some of those VPS and compare it with a minipc/sbc.
But that’s not it.
How about putting all of this together…with a Wifi2Ethernet Bridge?
I like to bring such VPN configration when Im far from home
Setup Wireguard Server on a VPS
If you use a 3rd party VPN provider - you are skipping this step.
But its actually not complicated at all.
We can use this docker configuration with pure Wireguard.
But doing it with wgeasy will be much simpler.
Lets do it with wgeasy
Generate a Hashed Password
# Create the hashed password
docker run --rm -it ghcr.io/wg-easy/wg-easy wgpw 'YOUR_PASSWORD'

docker run --rm -it ghcr.io/wg-easy/wg-easy wgpw 'YOUR_PASSWORD' | sed 's/\$/\$\$/g'Don’t wrap the generated hash password in single quotes when you use docker-compose.yml. Instead, replace each $ symbol with two $$ symbols. Example
You’ll get different results (for the same given pass) because the hash is salted
WGEasy Docker Compose File
You need this docker configuration file
Docker/Docker-Compose should be installed already
curl -O https://raw.githubusercontent.com/JAlcocerT/Linux/main/Z_Linux_Installations_101/Selfhosting_101.sh
#nano Selfhosting_101.sh
#MAKE SURE YOU UNDERSTAND WHAT YOU WILL BE RUNNING

chmod +x Selfhosting_101.sh
sudo ./Selfhosting_101.sh
Run the wgeasy service with CLI:
curl -O https://raw.githubusercontent.com/JAlcocerT/RPi/refs/heads/main/Z_Wifi2ETH/docker-compose.yml

nano docker-compose.yml
docker-compose up -d
If you prefer a UI, you can use this as Portainer Stack:
version: "3.8"  # Specify Docker Compose version (optional)

services:
  wg-easy:
    image: ghcr.io/wg-easy/wg-easy
    container_name: wg-easy
    environment:
      LANG: en  # Set the language for the web UI
      WG_HOST: 188.245.198.60  # Replace with your actual server IP
      PASSWORD_HASH: thisishashed!  # Replace with your generated password hash
      PORT: 51821  # Web UI port
      WG_PORT: 51820  # WireGuard UDP port
    volumes:
      - "/home/your_user/.wg-easy:/etc/wireguard"  # Mount local configuration directory (replace with absolute path)
    ports:
      - "51820:51820/udp"  # Publish WireGuard UDP port
      - "51821:51821/tcp"  # Publish Web UI port
    cap_add:
      - NET_ADMIN  # Grant network administration capabilities
      - SYS_MODULE  # Grant access to load kernel modules (potentially risky)
    sysctls:
      net.ipv4.conf.all.src_valid_mark: "1"  # Enable source address validation
      net.ipv4.ip_forward: "1"  # Enable IP forwarding
    restart: unless-stopped  # Restart container if it crashes

# Optional Networks (if needed)
# networks:
#   wg_network:
#     driver: bridge  # Define a bridge network (optional)
Verifying Your Public IP Address
curl -sS https://ipinfo.io/json #the command to use
curl -sS http://ip-api.com/json/ #provides info about country, ISP, ...
curl -6 ifconfig.me #ipv6 info
Example output (if you use Hetzner VPS):
{
  "org": "AS24940 Hetzner Online GmbH"
}
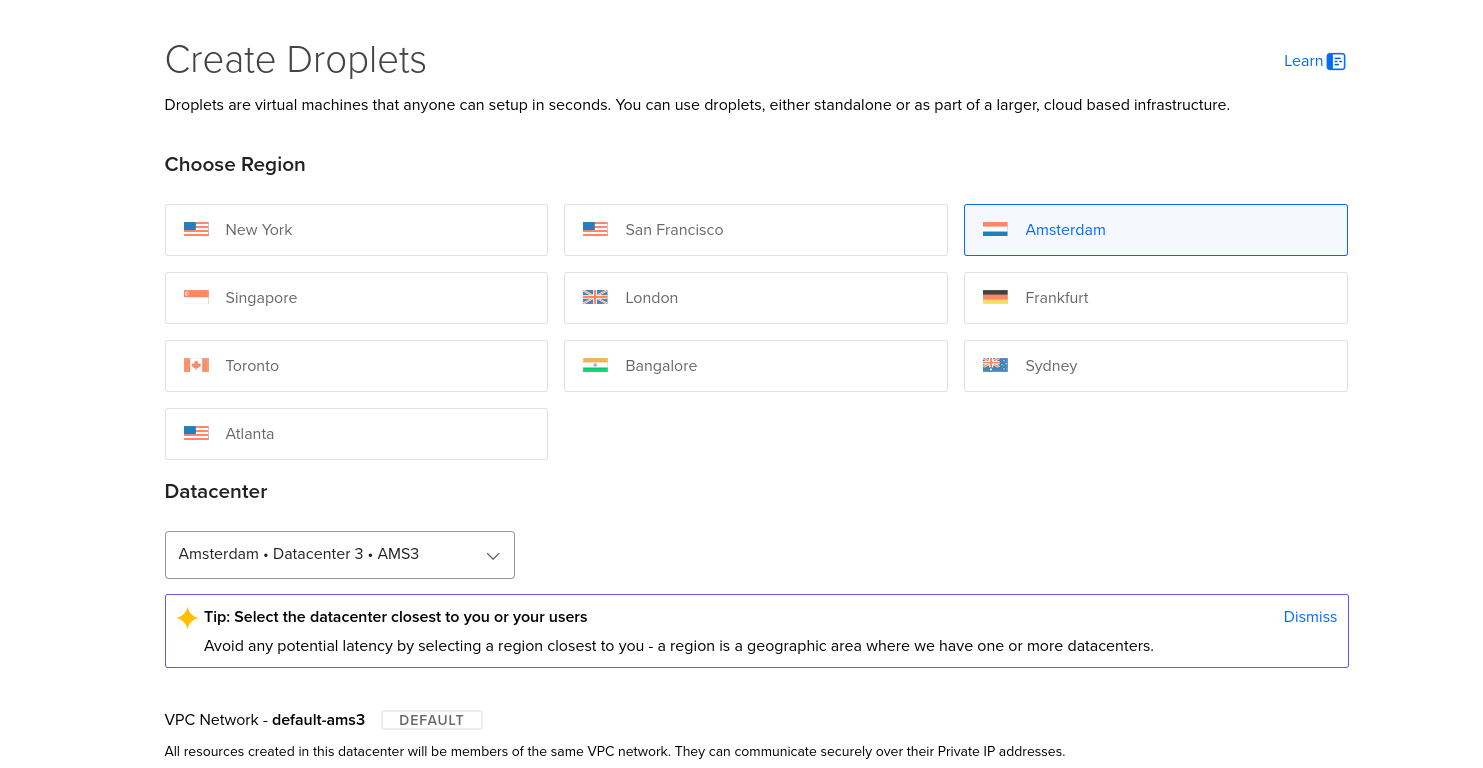
For Digital Ocean will appear as
DigitalOceanand with OVH there is extra config needed
Wireguard Client Setup
We are going to use the Wireguard Server Credentials that we have just created in the VPS.
Using the wgeasy UI at http://vpsip:51821 you will be able to connect devices via QR code.
Also to download the wireguard config file.
If you raspberry pi has desktop enabled, you can just download the file and use it to configure the bridge.
Wireguard Client
sudo apt install wireguard -y #The wireguard client
wg --version
# wireguard-tools v1.0.20210223 - https://git.zx2c4.com/wireguard-tools/
#see the status

sudo apt install resolvconf -y #required toowg config file via Tailscale with CLI or just create it manually via SSHsudo nano /etc/wireguard/wg0.conf #WRITE HERE YOUR WIREGUARD CONFIG
#nano /etc/wireguard/your_vpn_wireguard_configuration.conf #configure with CLI
#cp /home/Downloads/your_vpn_wireguard_configuration.conf /etc/wireguard #if download the config
sudo chmod 600 /etc/wireguard/wg0.conf
#sudo wg-quick up wg0The wg config file will look like:
[Interface]
PrivateKey = acoolkey
Address = 10.8.0.2/24
DNS = 1.1.1.1

[Peer]
PublicKey = anotherkey
PresharedKey = somekey
AllowedIPs = 0.0.0.0/0, ::/0
PersistentKeepalive = 0
Endpoint = 188.245.vps.ip:51820
And just connect your RPi Wireguard Client to the WG VPN Server configured at the VPS:
sudo wg-quick up wg0 #one time up
#sudo systemctl enable wg-quick@wg0 #to start on BOOT
sudo systemctl status wg-quick@wg0.service
sudo wg show

#sudo wg-quick your_vpn_wireguard_configuration #the name of the .conf file that you have downloaded
#sudo wg-quick up proton #the file name would be proton.conf
If you want to swap VPN, just do:
sudo wg-quick down wg0 #turn off the first one

sudo nano /etc/wireguard/wg1_Ams.conf #Im using a Digital Ocean Server for this one
sudo wg-quick up wg1_Ams #one time up
Now, your Pi is connected to your custom VPN Server:
curl -sS https://ipinfo.io/json #the command to use
#curl -sS http://ip-api.com/json/ #provides info about country, ISP, ...
#curl -6 ifconfig.me #ipv6 info

sudo apt-get install speedtest-cli
speedtest-cli #speedtest-cli --simple

ping 8.8.8.8
ping -4 google.com
Oh, we are in somewhere else now! And the speed test is the +- the same
{
  "ip": "VPSserverIP",
  "city": "Amsterdam",
  "region": "North Holland",
  "country": "NL",
  "loc": "52.3740,4.8897",
  "org": "AS14061 DigitalOcean, LLC",
  "postal": "1012",
  "timezone": "Europe/Amsterdam",
  "readme": "https://ipinfo.io/missingauth"
}
Checking the Pi WIFI connectivity 🌍
#nmcli dev wifi list
sudo nano /etc/wpa_supplicant/wpa_supplicant.conf #check WIFI creds
sudo systemctl status wpa_supplicant

ip addr show wlan0

sudo ip link set wlan0 up
rfkill list
#sudo rfkill unblock wifi
#rfkill list
If your Pi has CLI dont worry you will pass the details when modifying the script:
ifconfig #it will have the same name as given in the wg-quick setup
#ifconfig | grep -A 5 "wg1_Ams"

curl -O https://raw.githubusercontent.com/JAlcocerT/RPi/refs/heads/main/Z_Wifi2ETH/wifi2eth_wireguard.sh
nano wifi2eth_wireguard.sh #MAKE SURE YOU UNDERSTAND WHAT YOU WILL BE RUNNING & INSERT THE WG NAME

chmod +x wifi2eth_wireguard.sh
sudo bash ./wifi2eth_wireguard.sh
sudo reboot
To make sure it starts when reeboting:
systemctl list-unit-files --type=service | grep enabled
#sudo systemctl enable wg-quick@wg0 #to start on BOOT
sudo systemctl status wg-quick@wg0.service
And now, you can just connect some device to the Pi Ethernet Port and get VPN connection right away:
FAQ
the Raspberry Pi 4 supports 5 GHz Wi-Fi, as it comes with a built-in Wi-Fi 802.11ac (Wi-Fi 5) adapter.
This means that the Pi 4 can connect to both 2.4 GHz and 5 GHz Wi-Fi networks.
Software for Vacations
A VPN can be useful for vacations.
And this projects can help you plan them: