[AIoT] How to use LangChain to QnA Sensor Data
TL;DR
Coming from the pgsql x langchain post…
https://mermaid.js.org/syntax/entityRelationshipDiagram.html together with langchain RAG + db queries
How about some IoT as a companion?
Intro
Recently I was doing a setup and tech talk around plugandplay analytics with langchain connected to our dbs.
I used the opportunity also bring life data once again to the presentation ppt.
This time not via API calls, like to yfinance, but with such chartjs related component.
You can also try PandasAI and Sketch with Python.
 Data Chat Repository
 Data Chat Repository
Sketch is an AI code-writing assistant for pandas users that understands the context of your data, greatly improving the relevance of suggestions. Sketch is usable in seconds and doesn’t require adding a plugin to your IDE.
It all started with the RPi projects I published here about a Pi working together with a DHT22 sensor..
Then, I learnt how to use LangChain to chat with a DB.
Particularly the Chinook sample DB.
The next step is pretty much clear.
To join both worlds.
This is the goal of this post.
To be able to chat with a DB where the DHT22 sensor data (temp and humidity) is being stored.
Chat with DHT22 Sensor
Pre-Requisites
Recommended - Setup Containers for simpler dependency management
Get the DB Ready - We will do it with a MariaDB SQL Container, but you can use a MYSQL container or with MYSQL baremetal as in the initial example post
We just need a MariaDB or MySQL container deployed
docker-compose up -dOnce the DB container is running:
docker exec -it mariadb-db bash
#mysql -u root -p

# CREATE DATABASE chinook;
# USE chinook;
# SOURCE /path/to/chinook.sql; -- Update this path to your SQL file
# SOURCE /path/to/Chinook_MySql.sql; -- Update this path to your SQL file if needed

#SHOW TABLES;
Part 1 - IoT
Hardware Setup
pinoutSoftware Setup
We need two things:
- The Database (MariaDB / MySQL) to store the IoT data
- The Python Script to push the DHT sensor information
pip install -r requirements.txt

#pip install Adafruit_DHT==1.4.0
#pip show Adafruit_DHT
Saving IoT Data
Lets save all the sensor reads into a SQL database.
Python | DHT Data to SQL DB 📌
import Adafruit_DHT
import time
import os
import mysql.connector

# Replace with your MySQL connection credentials
MYSQL_HOST = "localhost"
MYSQL_USER = "username"
MYSQL_PASSWORD = "password"
MYSQL_DATABASE = "sensor_data"

DHT_SENSOR = Adafruit_DHT.DHT11  # Example with DHT11, we can use DHT22 as well
DHT_PIN = 4

while True:
    humidity, temperature = Adafruit_DHT.read(DHT_SENSOR, DHT_PIN)

    if humidity is not None and temperature is not None:
        # Connect to the MySQL database
        try:
            connection = mysql.connector.connect(
                host=MYSQL_HOST, user=MYSQL_USER, password=MYSQL_PASSWORD, database=MYSQL_DATABASE
            )
            cursor = connection.cursor()

            # Prepare the SQL INSERT statement
            sql = "INSERT INTO dht_sensor (timestamp, temperature, humidity) VALUES (%s, %s, %s)"
            data = (time.strftime("%Y-%m-%dT%H:%M:%SZ"), temperature, humidity)

            # Execute the SQL statement
            cursor.execute(sql, data)
            connection.commit()

            print("Data sent to MySQL")

        except mysql.connector.Error as err:
            print("Error connecting to MySQL database:", err)

        finally:
            if connection:
                connection.cursor().close()
                connection.close()

    else:
        print("Sensor failure. Check wiring.")

    time.sleep(3)
docker build -t dht_sensor_mariadb .Visualize the IoT Data
Lets use Metabase as BI Tool to visualize the IoT data that we are storing already.
Part 2 - AIoT Setup
Is the IoT Part already working?
Lets go with the AI part.
What it is ? 📌
When you are done:
#sudo docker stop $(sudo docker ps -aq) && sudo docker rm $(sudo docker ps -aq)
#docker system prune -a
Conclusions
When thinking about the Internet of the things
I just cant help but think of the Raspberry Pi, that I got some time back.
Then it was AI.
And now AI on the edge - Edge AI? and… AI-IOT or…AIoT?!?
For IoT on Raspberry Pi we have:
- MQTT https://jalcocert.github.io/RPi/posts/rpi-mqtt/
- GCP IoT Core vs ThingsBoard
- Edge Computing: Info collecting and processing closer to the source (IoT).
If worked on few IoT projects with the Pi.
See more here
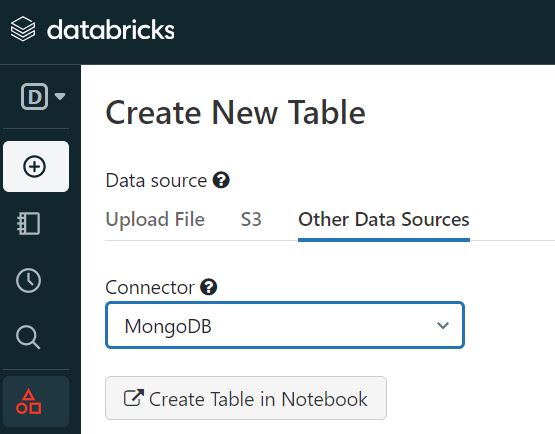
Push to MongoDB. See the data properly.
Edge Computing - https://github.com/qijianpeng/awesome-edge-computing
Domotica para pobres - https://forocoches.com/foro/showthread.php?t=6655749
MicroPython - https://awesome-micropython.com/
Preparing the Tech Talk
SliDev DB2Rest based Component
DB2REST is designed to be easily installed and self-hosted, allowing quick setup of secure REST APIs over databases on your servers.
I was exploring it superficially in couple ocassions:
- As part of things that you can embed into your website
- As an AI/BI tool to consider
IoT with DataBricks
Databricks is one of those D&A Tools that you should know.
We can do IoT projects with the Pi that push sensor data to Databricks.
Pi Cool Stuff
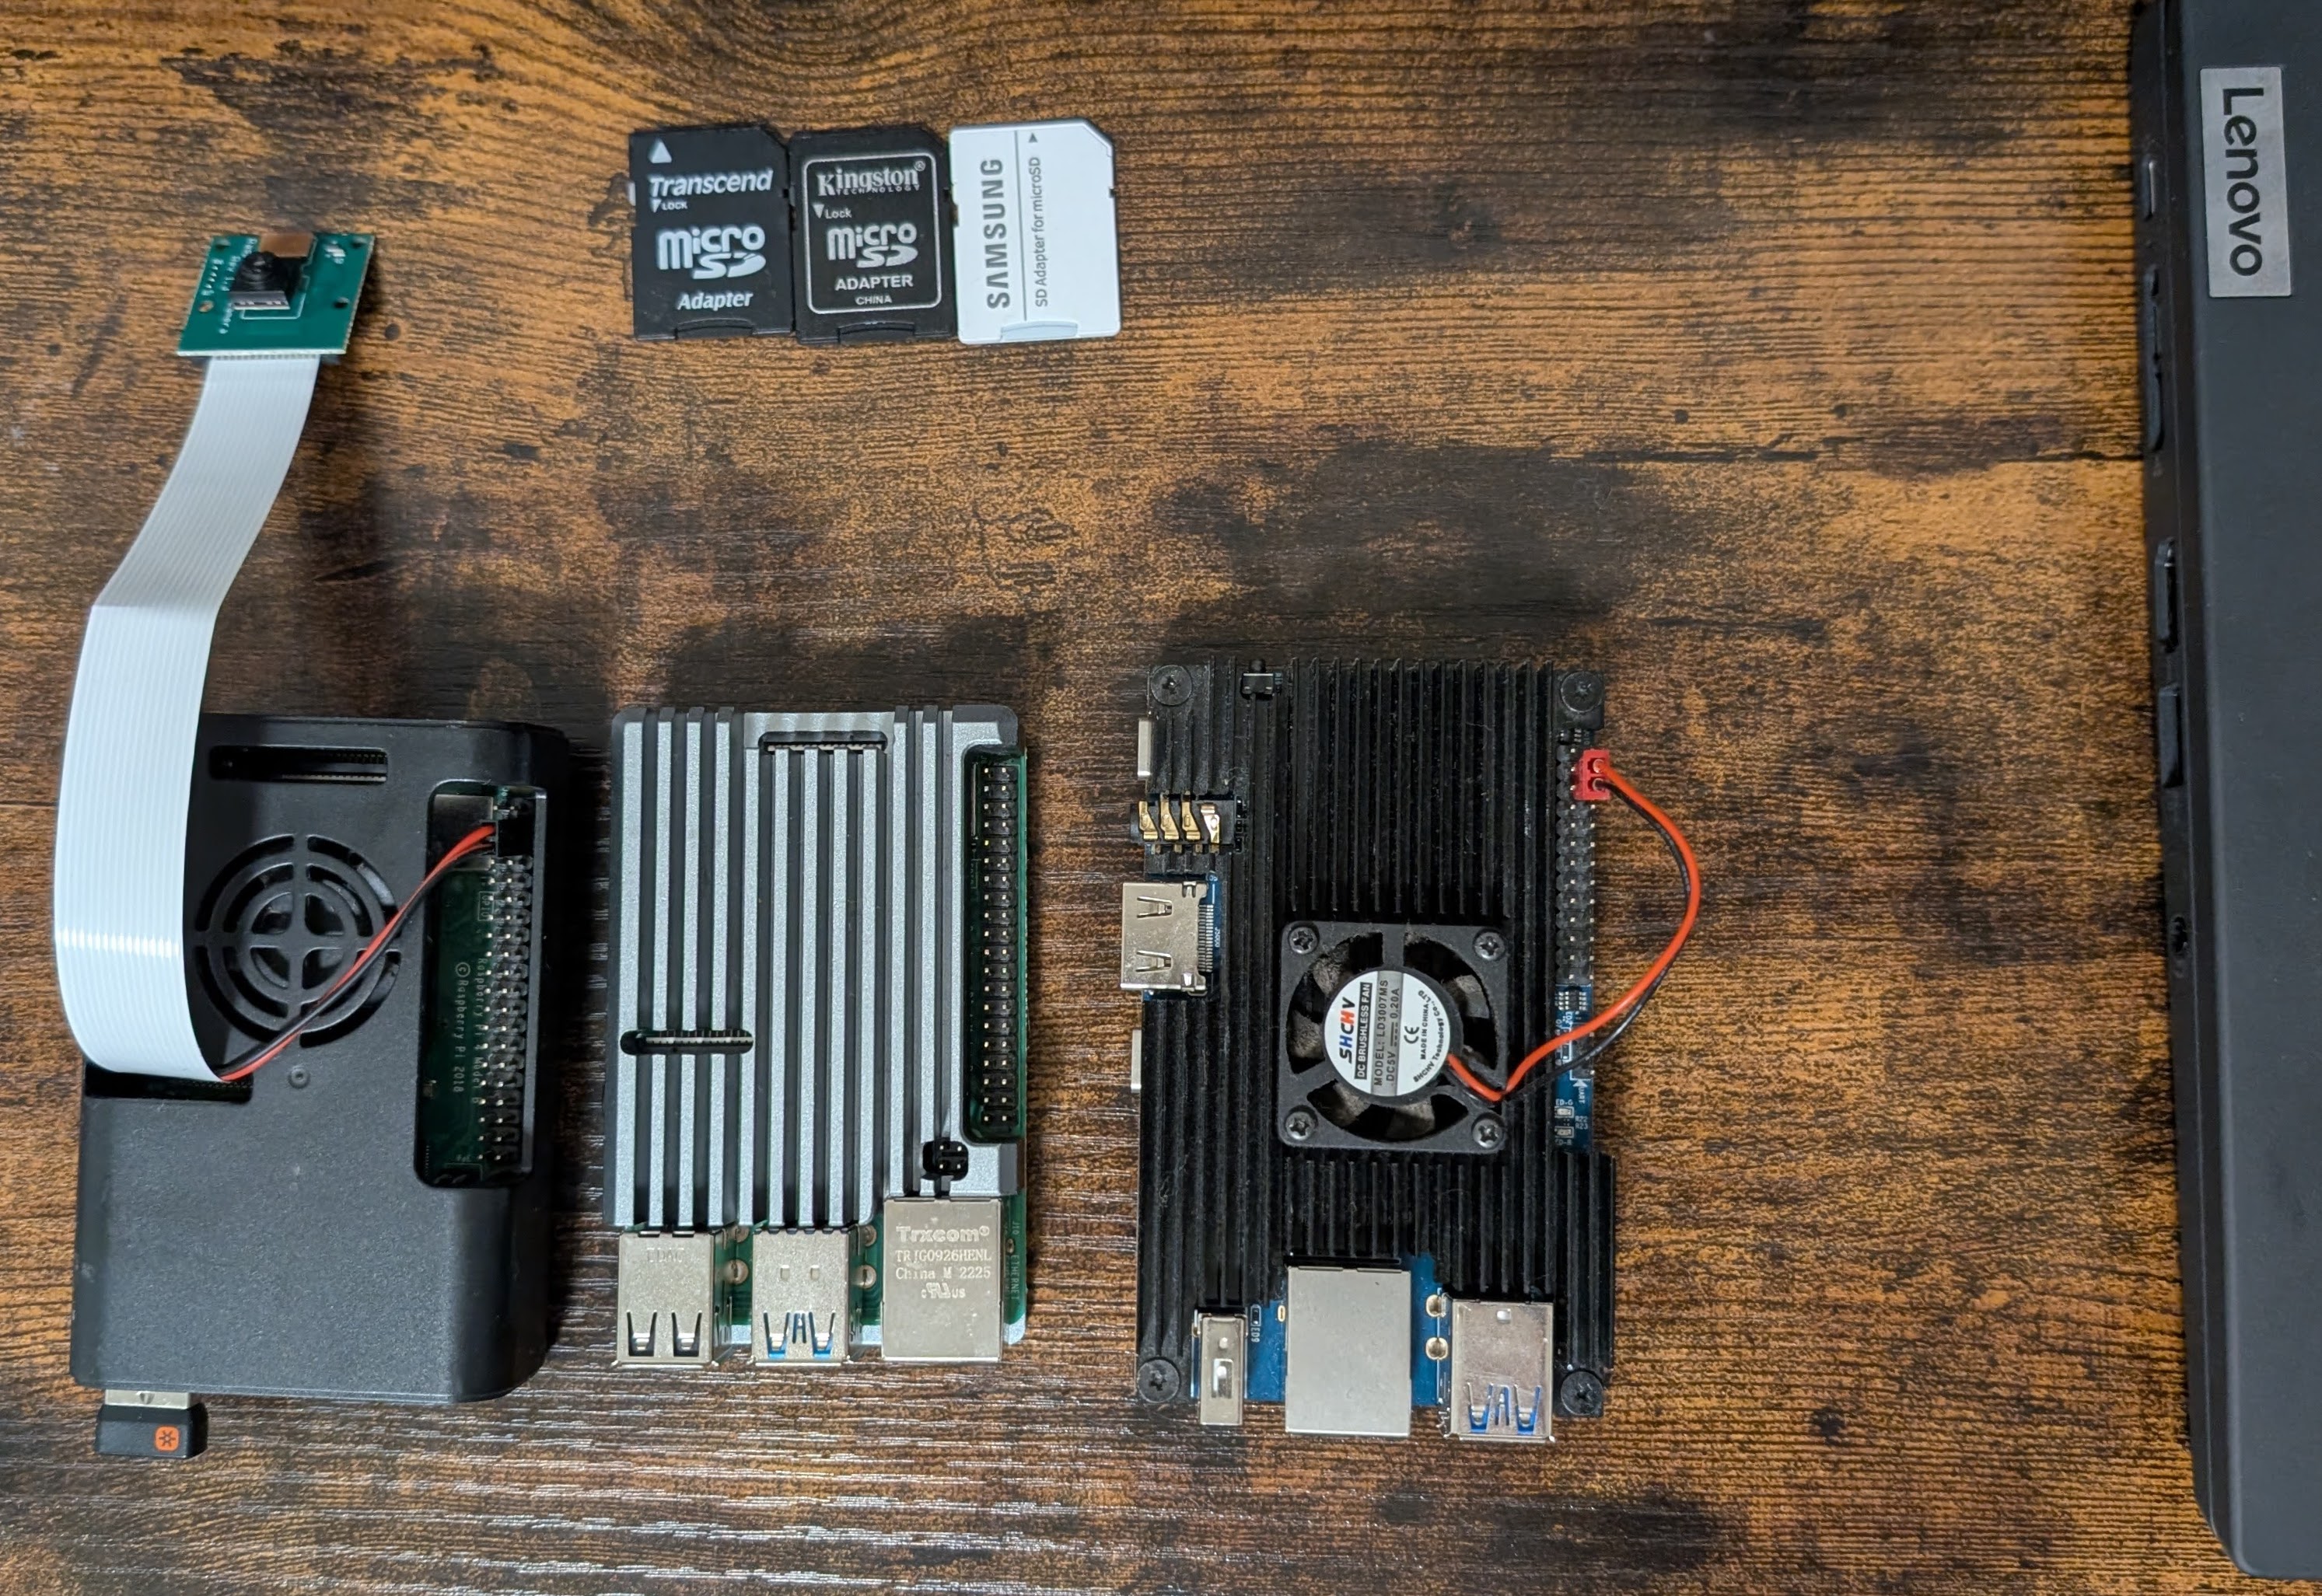
I keep finding more and more cool things about the Raspberry Pis, like:
git clone https://github.com/Bardo91/rpi_gpio_gui
#pip install PyQt5 RPi.GPIO
#pip3 install PyQt5 RPi.GPIO

python3 rpi_gpio_gui.py
Pi and leds
LEDs
MIT | Highly optimized open source ambient lighting implementation based on modern digital video and audio stream analysis for Windows, macOS and Linux (x86 and Raspberry Pi / ARM).
Zigbee
If you have been playing with IoT and some home devices, you will come to know Zigbee.
Probably also https://esphome.io if you like ESP32 boards!
FAQ
How to install Adafruit from its source? 📌
git clone https://github.com/adafruit/Adafruit_Python_DHT.git
cd Adafruit_Python_DHT
python3 setup.py install --force-pi

#This will bypass any issues you may encounter when doing pip install Adafuit_DHT==1.4.0
Python CLI Tools
- https://pypi.org/project/questionary/ - Create CLI utilities with python
- https://docs.pytest.org/en/stable/
Running LLMs in SBCs
It should not be strange, we can do so by using tools like Ollama:
Open-source tools for prompt testing and experimentation, with support for both LLMs (e.g. OpenAI, LLaMA) and vector databases (e.g. Chroma, Weaviate, LanceDB).
How to Enhance a Raspberry Pi for AI
- Edge TPU on RPi - Coral Edge TPU (Tensor Processing Unit - an USB acccelerator )
TPU (Tensor Processing Unit):
- Focus: TPUs are specifically designed for running Google’s TensorFlow machine learning framework. They are optimized for high-performance matrix multiplication, a fundamental operation in many deep learning algorithms.
- Architecture: TPUs are custom-designed by Google with a focus on maximizing performance for TensorFlow workloads. They prioritize speed and efficiency for * specific tasks within the TensorFlow ecosystem.
- You will hear more and more about NPU’s - Neural Processing Units
While both are designed to handle AI workloads, they have distinct differences in their focus, architecture, and availability.
NPUs are designed to mimic the structure and function of the human brain, excelling at tasks that involve large-scale parallel processing.
They are particularly well-suited for various AI applications, including:
- 🖼️ Image recognition
- 💬 Natural language processing
- 🗣️ Speech recognition
NPUs typically utilize a manycore architecture with specialized instructions and data formats optimized for AI algorithms.
This allows them to handle complex neural networks efficiently.
NPUs are often integrated into mobile processors from companies like Apple, Huawei, and Samsung.
You can also see them in SBCs like the OrangePi or new Pis.
Stream Processing at the IoT Edge, or…AIoT?
IoT Tools
Ekuiper works great when combined with EMQx Broker
Setup Ekuiper
You can get started with Ekuiper by following the quick start guide.
Apache v2 | Lightweight data stream processing engine for IoT edge
Lets use the Ekuiper Docker Image
docker run -p 9081:9081 -d --name ekuiper -e MQTT_SOURCE__DEFAULT__SERVER=tcp://broker.emqx.io:1883 lfedge/ekuiper:latestGo to
http://localhost:9081/
You could also do AI/ML with Ekuiper