Interacting with SSGs and md via Flask
TL;DR
Tinkering with markdown web editors via Flask(CMS v0.1) to make SSG edition more accesible.
In the meantime I got to put inside the container the flask app via uv and learnt that:
uv run gunicorn app:app -b 0.0.0.0:5050 --workers 2 --threads 4 --timeout 60Much better: flask-cms sh -lc "uv run gunicorn app:app -b 0.0.0.0:5050 --workers 2 --threads 4 --timeout 60" »> uv run app.py
Intro
I simply love SSGs and markdown.
Because of the makereadme project and this related post
I got to know about: its possible to edit md from webapps!
So Ive done few things with SSGs + Flask lately
MIT | EasyMDE: A simple, beautiful, and embeddable JavaScript Markdown editor. Delightful editing for beginners and experts alike. Features built-in autosaving and spell checking.
MIT | 🍞📝 Markdown WYSIWYG Editor. GFM Standard + Chart & UML Extensible.
Markdown-based styleguide generator
sudo snap install alighieriMIT A distraction-free tool for novelists and writers (Desktop and PWA)
- You also have Ghostwritter https://ghostwriter.kde.org/download/#linux as a desktop app to edit markdown
sudo add-apt-repository ppa:wereturtle/ppa
sudo apt update
sudo apt install ghostwriter
About SimpleMDE, editormd, toast UI editor… 🚀
We dont want to embed the Front Matter application itself, but rather replicate the user experience of having a powerful Markdown editor with a frontmatter UI within your Flask app.
How you can build a Flask web app with an editor like Front Matter CMS:
The Core Components
To achieve this, you’ll need to combine a few key technologies:
- Flask: The Python web framework to handle the backend logic.
- A Frontend Markdown Editor: This is the most crucial part. You’ll need a robust, JavaScript-based Markdown editor that you can embed in your web pages. This will provide the real-time preview and editing features you’re looking for.
- A Backend for File Handling: Your Flask routes will need to handle saving the content from the editor to your file system.
- A “Frontmatter” Interface: You’ll build a simple form or a more integrated UI to let users edit the metadata (title, date, slug, etc.) that goes into the YAML frontmatter block.
For the Markdown Editor
You have several excellent options for a client-side Markdown editor.
These libraries provide the visual interface, the live preview, and often more advanced features like image uploads.
- SimpleMDE or its successor, EasyMDE: These are popular, lightweight, and easy-to-integrate Markdown editors. They have a clean interface and are a great starting point.
- Editor.md: A more feature-rich editor that’s also popular. It’s known for its extensive functionality, including image uploads and full-screen mode.
- Toast UI Editor: A modern, powerful editor that supports both Markdown and WYSIWYG modes. It’s used in many projects and provides a great user experience.
For Flask Integration
- Flask extensions: Many of these JavaScript editors have a corresponding Flask extension that makes integration a breeze.
- Flask-SimpleMDE: An extension for SimpleMDE.
- Flask-MDEditor: An extension for Editor.md.
- Flask-MDE: Another good option for integrating a Markdown editor.
- Parsing Markdown and Frontmatter: On the backend, you’ll need a Python library to read and process the Markdown files.
python-frontmatter: This library is perfect for your use case. It can parse a Markdown string, separating the YAML frontmatter from the content body.Flask-FlatPages: This extension provides a more complete, but opinionated, solution for building a file-based CMS with Flask. It automatically handles reading and parsing Markdown files with frontmatter, making it a good choice for a blog or documentation site.
This approach gives you a complete, file-based CMS with a rich, client-side editing experience that feels very much like using Front Matter CMS, but fully integrated into your Flask application.
The idea:
- Take a SSG Theme
- Get the main page stuff configurable via
.env - Give possibility to easy add/edit/remove the posts
Astro x Flask
Last year I was doing a custom website via astro as covered on these:
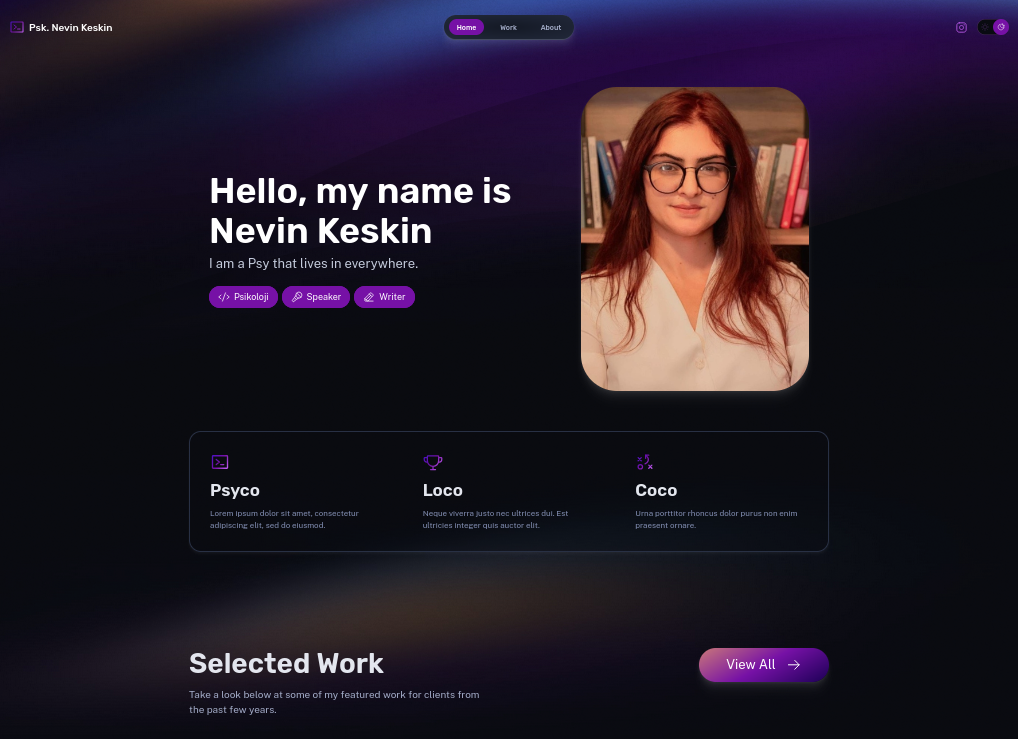 Morita x DocPlanner Web proposal
 Morita Web v1 - Source Code Y24/5
It was all thanks to the awsome Astro Portfolio example
And I vibecoded couple of extra goodies, like: whatsapp bouble and TG bouble as covered here
git clone https://github.com/JAlcocerT/morita-web
cd morita-web

# DANGER: this deletes all repo history locally
rm -rf .gitYou can just do the bare metal development:
npm install
npm run dev -- --host 0.0.0.0 --port 4321
And see that the theme still works, even when built:
npx serve -s dist -l 8080
#python3 -m http.server 8080 --directory dist
But lets apply some new good practices: Makefile first as readme.md can get out-dated
Local Dev:
make local-install
make local-dev
npm run dev -- --host 0.0.0.0 --port 4321

make local-build
Via containers:
web-containers-up
#sudo docker compose -f docker-compose.yml down
That will sping 2 node containers:
- One for the astro dev, this one
- Another for astro prod (which serves the built files at
./dist)
Ok, so what it worked before still works.
Great.
Now, lets do some Flask with GPT5:
make local-flask-install
make local-flask
And now you will get the ewb app into
localhost:5050and from any home device as well
Famous last words: can you make it look cooler?
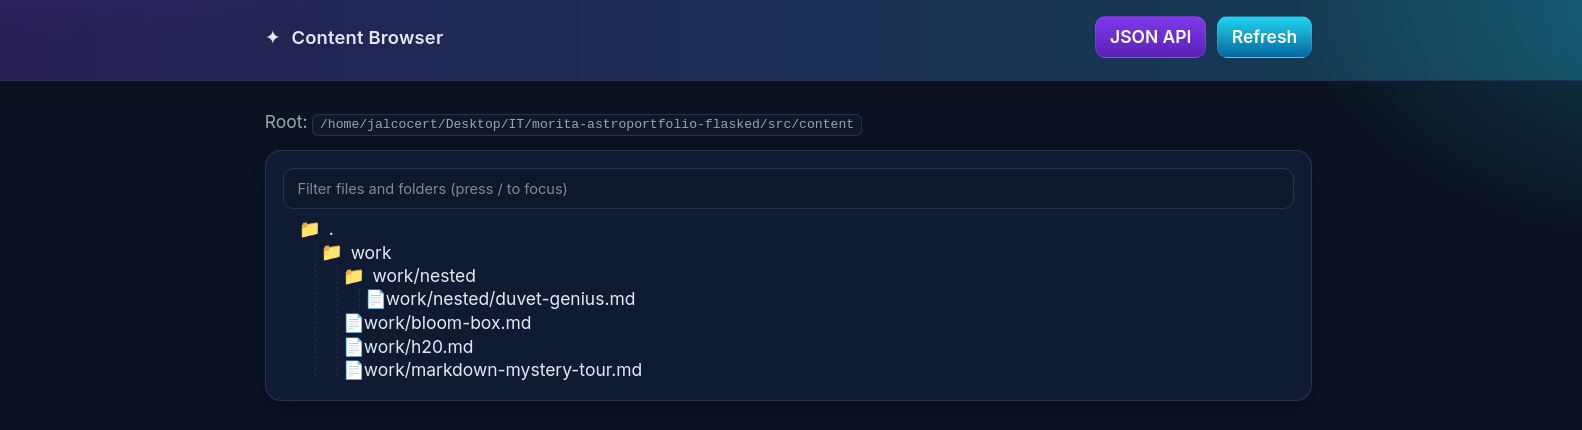
The
app.pytech explanation is here
Not bad.
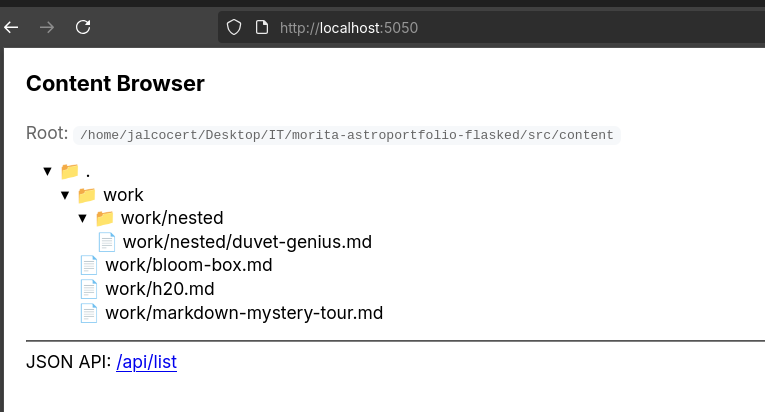
Now, how about the edit?
From the recent HUGO Theme Gallery x Flask, I got this info from gpt5 about web app flask editing..
But this time Windsurf just made its own and quick way of editing files:
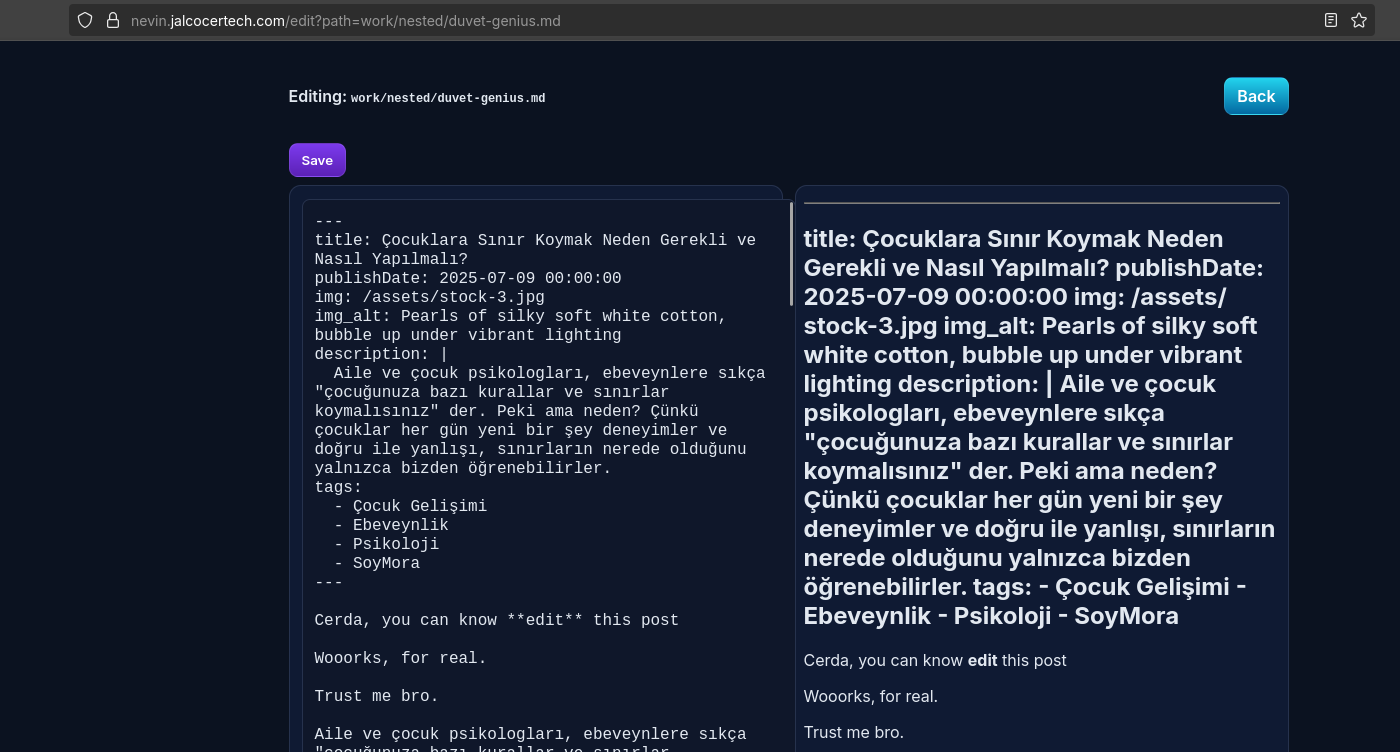
Which works and affects the local markdown files at ./src/content/work/*.md
So…for now thats not bad at all!
And the goals/implementation/limitations/possible next steps are here
Lets put the flask functionality into containers:
Morita Web v2 - Source Code Y25Morita Web v2 - Source Code Y25Flask Containerized
And quickly check that the FlaskCMS works via container:
docker compose -f docker-compose-flask.yml build

docker run --rm -d --name flask-cms \
  -p 5050:5050 \
  -e CONTENT_DIR=/app/src/content \
  flask-cms sh -lc "uv run app.py"
Aaaall good on
localhost:5050
But I got to know that using gunicorn is better when the webapp has to bring concurrency of users among other details that you can read here.
So remember to do uv add gunicorn and uv sync.
- Running regularly a flaks app via uv package manager is just:
uv run app.py
- Flask’s built-in dev server.
- Single-process, auto-reload, debugger.
- Not hardened for production.
- But even better if you do:
gunicorn app:app
- Production WSGI server.
- Multiple workers/threads, timeouts, graceful restarts.
- Better throughput and robustness.
More Web Server Gateway Interface and Flask … 🚀
WSGI is an interface standard that defines a common way for web servers to communicate with Python web applications or frameworks. It stands for Web Server Gateway Interface.
Essentially, it acts as a bridge, allowing any WSGI-compatible web server to run any WSGI-compatible web application.
This decouples the web server from the web application, so you can mix and match them.
WSGI’s Relation to Flask
Flask is a web framework that’s built on top of WSGI. When you run a Flask application, you’re not just running Flask; you’re running it through a WSGI server.
Flask’s core is designed to be a WSGI application, meaning it adheres to the WSGI specification.
This is why you can deploy a Flask app using a variety of WSGI servers like Gunicorn, uWSGI, or Waitress.
The WSGI server’s job is to take an incoming HTTP request, pass it to the Flask application in a standardized way, and then send the application’s response back to the client.
In a development environment, Flask’s built-in development server includes a simple WSGI server. However, for a production environment, you would use a more robust, dedicated WSGI server to handle things like performance, security, and scalability.
This is a key benefit of WSGI: it allows developers to focus on writing their application logic in Flask, while leaving the complexities of serving that application to a specialized, high-performance web server.
Gunicorn is a dedicated WSGI server. It’s a high-performance, lightweight, and widely used server designed specifically to run Python web applications that conform to the WSGI standard.
Other Popular WSGI Servers
While Gunicorn is a popular choice, several other WSGI servers are commonly used in production environments, each with its own strengths:
- uWSGI: A powerful and feature-rich application server that can serve as a WSGI container. It’s known for its high performance and extensive configuration options, although this can make it more complex to set up than Gunicorn.
- Waitress: A pure-Python WSGI server that’s often praised for its simplicity and ease of use. It’s a great choice for smaller to medium-sized applications or for developers who prefer an all-Python solution with minimal dependencies.
- mod_wsgi: An Apache HTTP Server module that allows you to serve WSGI applications directly within the Apache web server. This is a good option if your deployment is already built around Apache.
- CherryPy: While also a full-fledged web framework, CherryPy includes a production-ready, thread-pooled WSGI server that can be used to run other WSGI applications.
Then rebuild and:
docker run --rm -d --name flask-cms \
  -p 5050:5050 \
  -e CONTENT_DIR=/app/src/content \
  flask-cms sh -lc "uv run gunicorn app:app -b 0.0.0.0:5050 --workers 2 --threads 4 --timeout 60"
We are good to move forward.
Lets create the docker-compose for the flask web and just sping it via make:
make flask-up
#curl -fsS http://127.0.0.1:5050/api/list
The curl command should return you the list of folders, as part of the healthcheck of the compose.
With that ready, next step is to add some custom login.
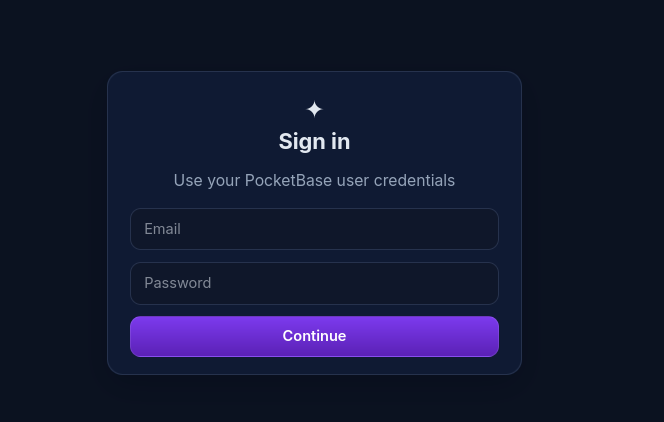
As this is a one person app, Ill go the user/password way: this time, using pocketbase
Flask x PocketBase
I was put in front of PB quite recently as I covered here.
And I could not wait to try this combination!
I asked windsurf for some architectural help on how to get PB to be the one dictating who logs in and who does not as per this project doc
So we will get a Flask Container + PB Container: you could also vibe code a simpler auth with just Flask, as Ill do for this RE tweaks
I didnt manage to create the initial admin and pass programatically

Just create your admin:
localhost:8080/_/and lets move forward
But anyways:
make pb-build
make pb-up
Will get your PB container spinned and waiting for your flask user creation.
Now we needed a script to create the user of the flask app (the ones who can get authenticated):
PB_ADMIN_EMAIL=you@example.com \
PB_ADMIN_PASSWORD=change-me-strong \
uv run scripts/create_user.py --email new.user@example.com --password change-me-strong
Or better, via Make:
cp .env.sample .env #adapt the .env with the PB admin credentials and url
source .env

make pb-create-user
#uv run app.py
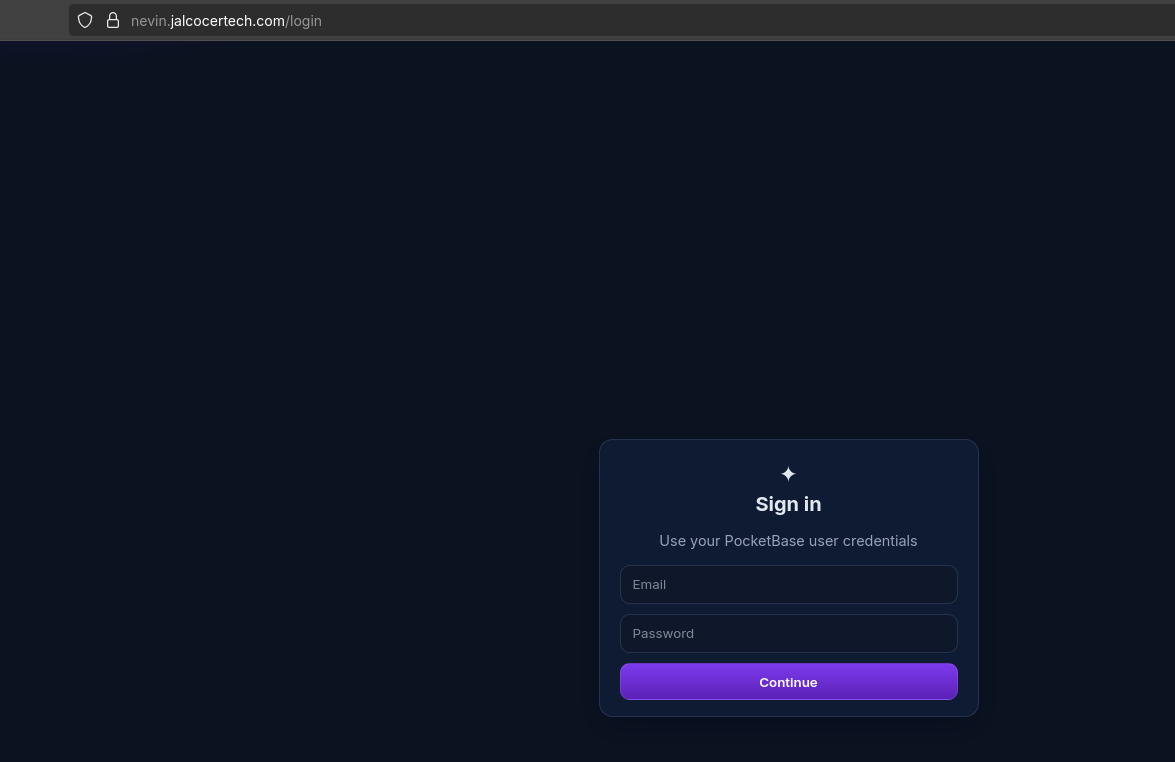
make flask-up #in case that you stopped the flask containerAnd now you can go to localhost:5050/ and see that you get redirected to: localhost:5050/login
Via CLI, these wont get you a 200 now, as we cant access them without being one of the registered users under PB collection users:
curl -I http://localhost:5050/
curl -I http://localhost:5050/api/list
HTTP/1.1 302 FOUND
Server: Werkzeug/3.1.3 Python/3.12.10
Date: Sat, 09 Aug 2025 20:18:55 GMT
Content-Type: text/html; charset=utf-8
Content-Length: 199
Location: /login
Vary: Cookie
Connection: closeThose two (Flask and PB) are working together pretty nicely!
All plugged, with the other 2 node containers for Astro as per docker-compose.yml:
make stack-up #spins flask + pb + dev astroWhen done editing:
npm run build
#docker compose -f docker-compose.yml logs -f astro-prod
make web-prod-up
From this point, you have to ways forward:
- Spend time to put billing with stripe
- Spin the stack publically with https via Traefik setup or just do a quick view at your homelab with CF tunnels
Flask x Stripe
This is going to be a one time thing.
Still, I wanted to try the integration: has an user paid, or not really?
I have been messing around with Stripe as per:
Traefik x VPS
Time to share this with the public.
Get some VPS and authenticate your github: https://github.com/settings/keys Add new SSH Key
ssh-keygen -t ed25519 -C "your_email@example.com"
eval "$(ssh-agent -s)"
ssh-add ~/.ssh/id_ed25519
Take the output of this:
cat ~/.ssh/id_ed25519.pub #paste it int gh UIAnd just:
ssh -T git@github.com
#Warning: Permanently added 'github.com' (ED25519) to the list of known hosts.
#Hi JAlcocerT! You've successfully authenticated, but GitHub does not provide shell access.
And time to bring yet one more container: Traefik for those https and stuff
Conclusions
Ive been tinkering lately with ssg’s+flask:
- From a quick waiting list that can be swapped to a landing page, covered here
git clone git@github.com:JAlcocerT/waiting-to-landing.git
cd waiting-to-landing

#make run-dev #will spin a waiting list connected to formbricks (see the .env vars)
MODE=LANDING make run-dev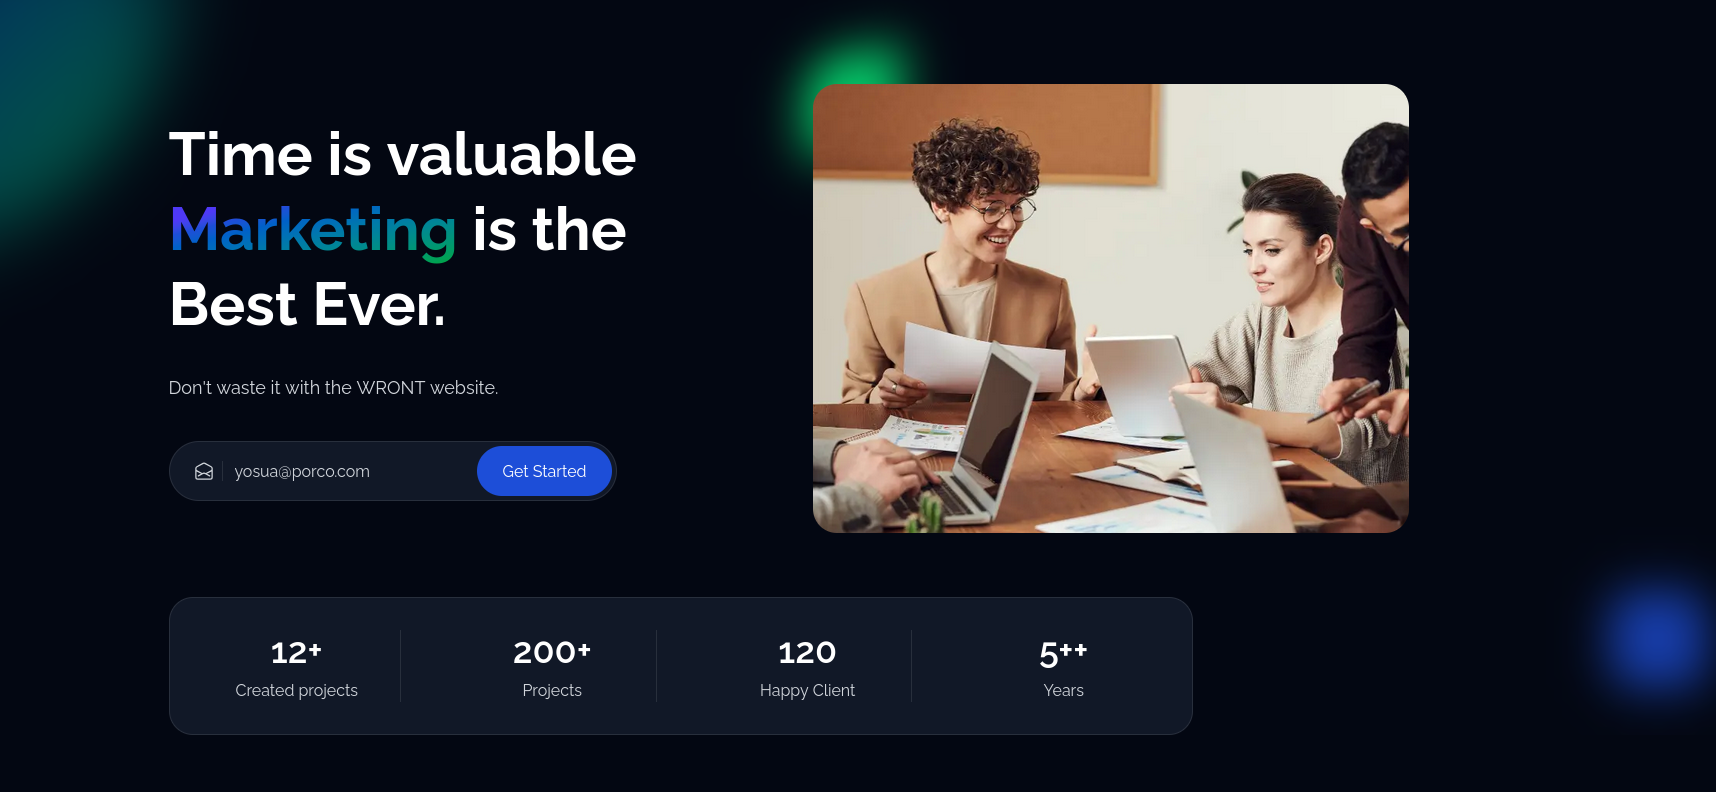
And now these 2 astro+flaskCMS: mentalhealth and real estate
What these are screaming is to have Logto+Stripe setup:
Stripe x Flask - Webify v0.1Webify Repo and Container - Source CodeBut anyways, lets see how to better serve these: mental health and re
Mental Health
git clone git@github.com:JAlcocerT/morita-astroportfolio-flasked.git
cd morita-astroportfolio-flasked

make stack-up
You will have to:
Go to
192.168.1.11:8080/_/to create that pb admin user/pass.Create the user who can use the app
cp .env.sample .env #adapt the .env with the PB admin credentials and url
source .env

#make pb-create-user #in case that you have not synced the PB data- Login to Flask via
192.168.1.11:5050 - See live changes to astro via
192.168.1.11:4321
How about the https?
If you havent gone the Traefik v3.3 way.
You can still just plug/attach your flask container to the CF tunnel network
#docker network ls | grep cloudflared_tunnel
docker network connect cloudflared_tunnel flask-cms #connect

#verify
#docker inspect flask-cms --format '{{json .NetworkSettings.Networks}}' | jq
You can also connect flask to the existing CF network via docker-compose!
Dont forget to go to CF UI:
Zero Trust->Networks->Tunnels->Public Hostnames
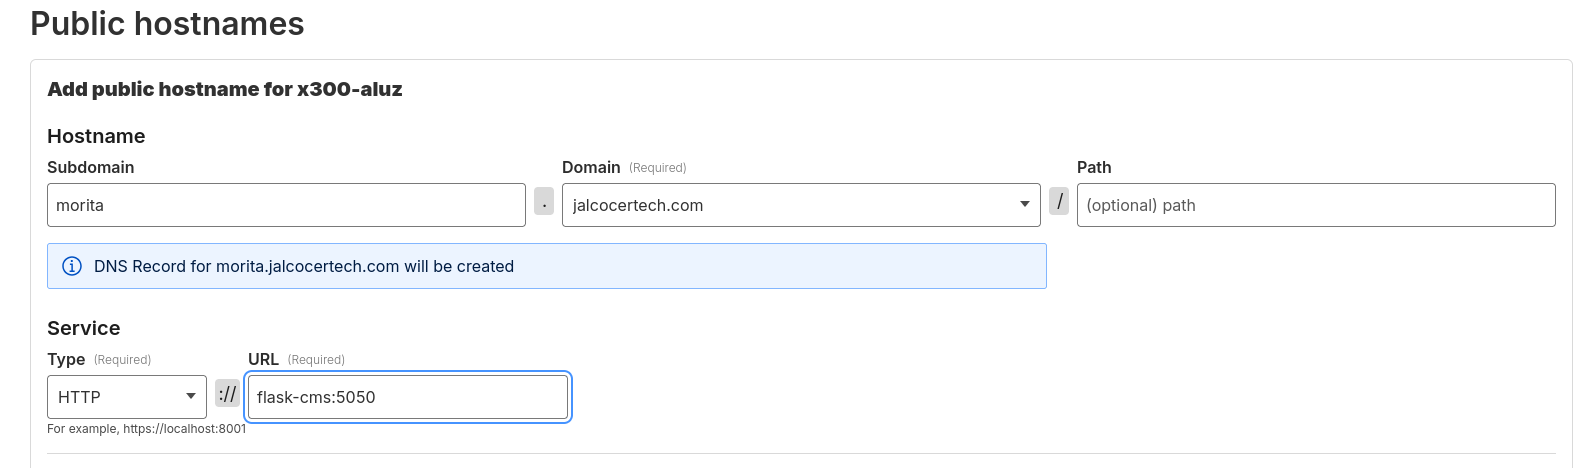
And we are good to go!
Real Estate
For the last ~12 months Ive thought about real estate quite a lot.
It all started with this post.
Later on, few posts followed:
- https://jalcocert.github.io/JAlcocerT/python-real-estate-mortage-calculator/
- https://jalcocert.github.io/JAlcocerT/streamlit-is-cool/
I even tested to migrate the streamlit functionality of the RE WebApp to Reflex
It all started by helping a friend.
Last time I gave him updates, we concluded with: https://jalcocert.github.io/JAlcocerT/real-estate-website/#conclusions
Recently, we had a chat and we talked about n8n and automation.
So its time to bring some upgrades to the project:
- Astro SSG: yes, but photos and descriptions has to be send via Web UI
- Keep the scrapping feature
- Bringing n8n and phase out the old streamlit recommendator webapp
- Streamlit Mortage calculator
As in the meantime Ive been tinkering with astro components: like this image slider component
I took the landing and services part from screwfast.
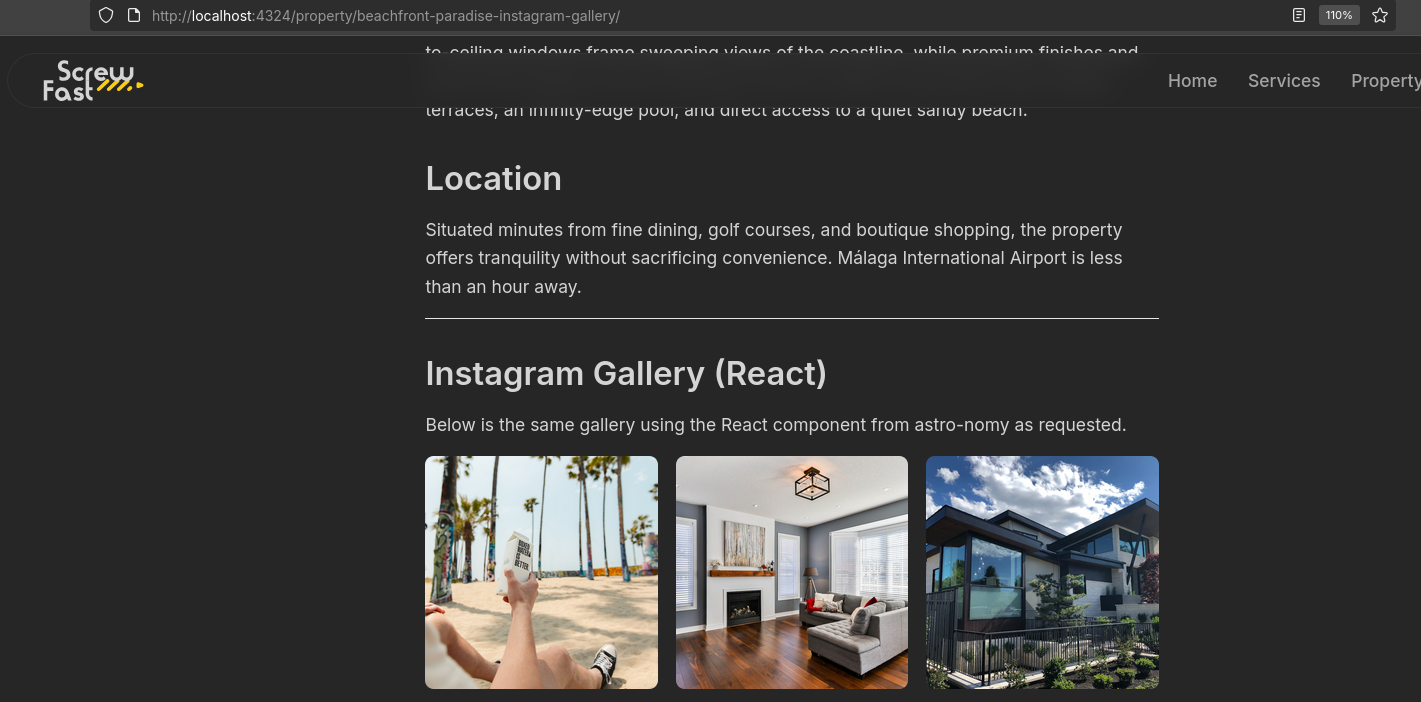
Then the idea of the localhost:4321/property section, that it is filterable by tags - from the astro-nomy theme.
Together with this improved Instagram like gallery component, with load more, zoom in and arrow key navigation.
So, within the project folder:
#first demo oct24 - https://github.com/IoTechCrafts/ScrewFastMoises

#updates
#https://github.com/JAlcocerT/cybernetik-realestate-moises #cybernetyk and astro-nomy themes + ig like galleries
#https://github.com/JAlcocerT/ScrewFastMoiRealEstate #ScrapPhotosWebApp

git clone https://github.com/JAlcocerT/real-estate-moi
cd moirealestate-astro-theme

#npm run dev -- --host 0.0.0.0 --port 4324
sudo docker-compose up -d astro-dev
And this works properly in dev:
Just making sure the build works and we can visualize it:
#npm run build
##npx http-server ./dist -p 4321


{ npx astro check --verbose || true; npx astro build --verbose; } |& tee build-logs.txt #check those long logs
#head -n 200 build-logs.txt
#tail -n 200 build-logs.txt #I got tons of errorson the build...while dev was all OK

#npx http-server dist -p 4321 #and I could not find the results on ./dist
#npx http-server .vercel/output/static -p 4321 #because this theme pushed them by default to other folder
It was all due to the
process-html.mjs
So after configuring the
astro.config.mjs, the built files are going to./distand this works:
npx http-server dist -p 4321
sudo docker-compose build astro-prod
sudo docker-compose up -d astro-prod
docker logs -f astro-prod
The package.json will be picky if you keep:
"build": "astro check && astro build && node process-html.mjs",Which can be replaced by:
"build": "astro build && node process-html.mjs"# sudo npm run build
# npx http-server dist -p 4321
sudo docker-compose build astro-prod
sudo docker-compose up -d astro-prod
docker logs -f astro-prodAll reeeady: curl -I http://localhost:8087
astro.config.mjs with the site variable.Well, no.
I still wanted to tweak the theme so that the main content can be easily tweakable.
FlaskCMS x Quick Auth
This time i vibecoded a flask web app that just allows one user/password to login/out: HARD_USER and HARD_PASS
Which is configured via environment variable, so that things move quickly.
It will just allow to upload photos to a location (also as per env), where the real estate galleries will formed: UPLOAD_ROOT

It looks to the same place where the improved gallery component is searching for content
Spin the Flask web app with custom user/password and proper secret key via:
docker compose -f /home/jalcocert/Desktop/IT/real-estate-moi/moirealestate-flaskcms/docker-compose.yml up -d --build
SECRET_KEY="$(openssl rand -base64 32)" CMS_USER=myuser CMS_PASS=securepass docker compose up -d- Flask SECRET_KEY: It’s the key Flask uses to sign session cookies (and other signed data like flash messages).
- Why it matters: If someone knows your
SECRET_KEY, they can forge session cookies (e.g., log in as someone else). - It must be secret, random, and not committed to git.
- Why it matters: If someone knows your
This flask real estate uploader is documented on this .md
Quick Deploy to HomeLab
git clone git@github.com:JAlcocerT/real-estate-moi.git
cd real-estate-moi

make flaskcms-build
docker inspect moirealestate-flaskcms --format '{{json .NetworkSettings.Networks}}' | jq
To pass all the goodies via CLI:
SECRET_KEY="$(openssl rand -base64 32)" CMS_USER=myuser CMS_PASS=securepass make flaskcms-up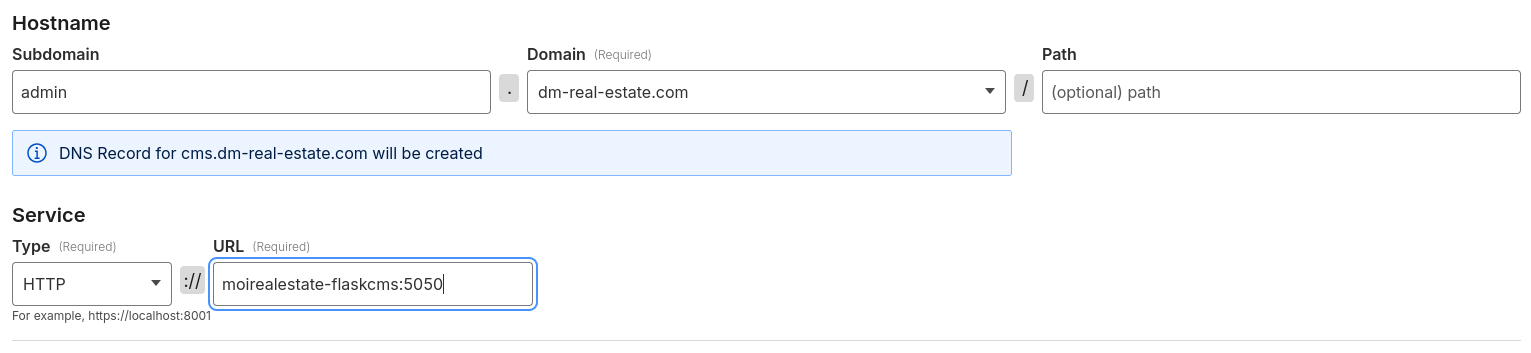
I later added a way to enable creation new folders and deleting photos (only inside the CMS_UPLOAD_ROOT)
CMS_ENABLE_MKDIR=true CMS_ENABLE_DELETE=true uv run app.py