[IoT] Setup RPi Pico W and ESP32 MicroControllers
TL;DR
Cool IoT Stuff that the ESP32 can do!
Intro
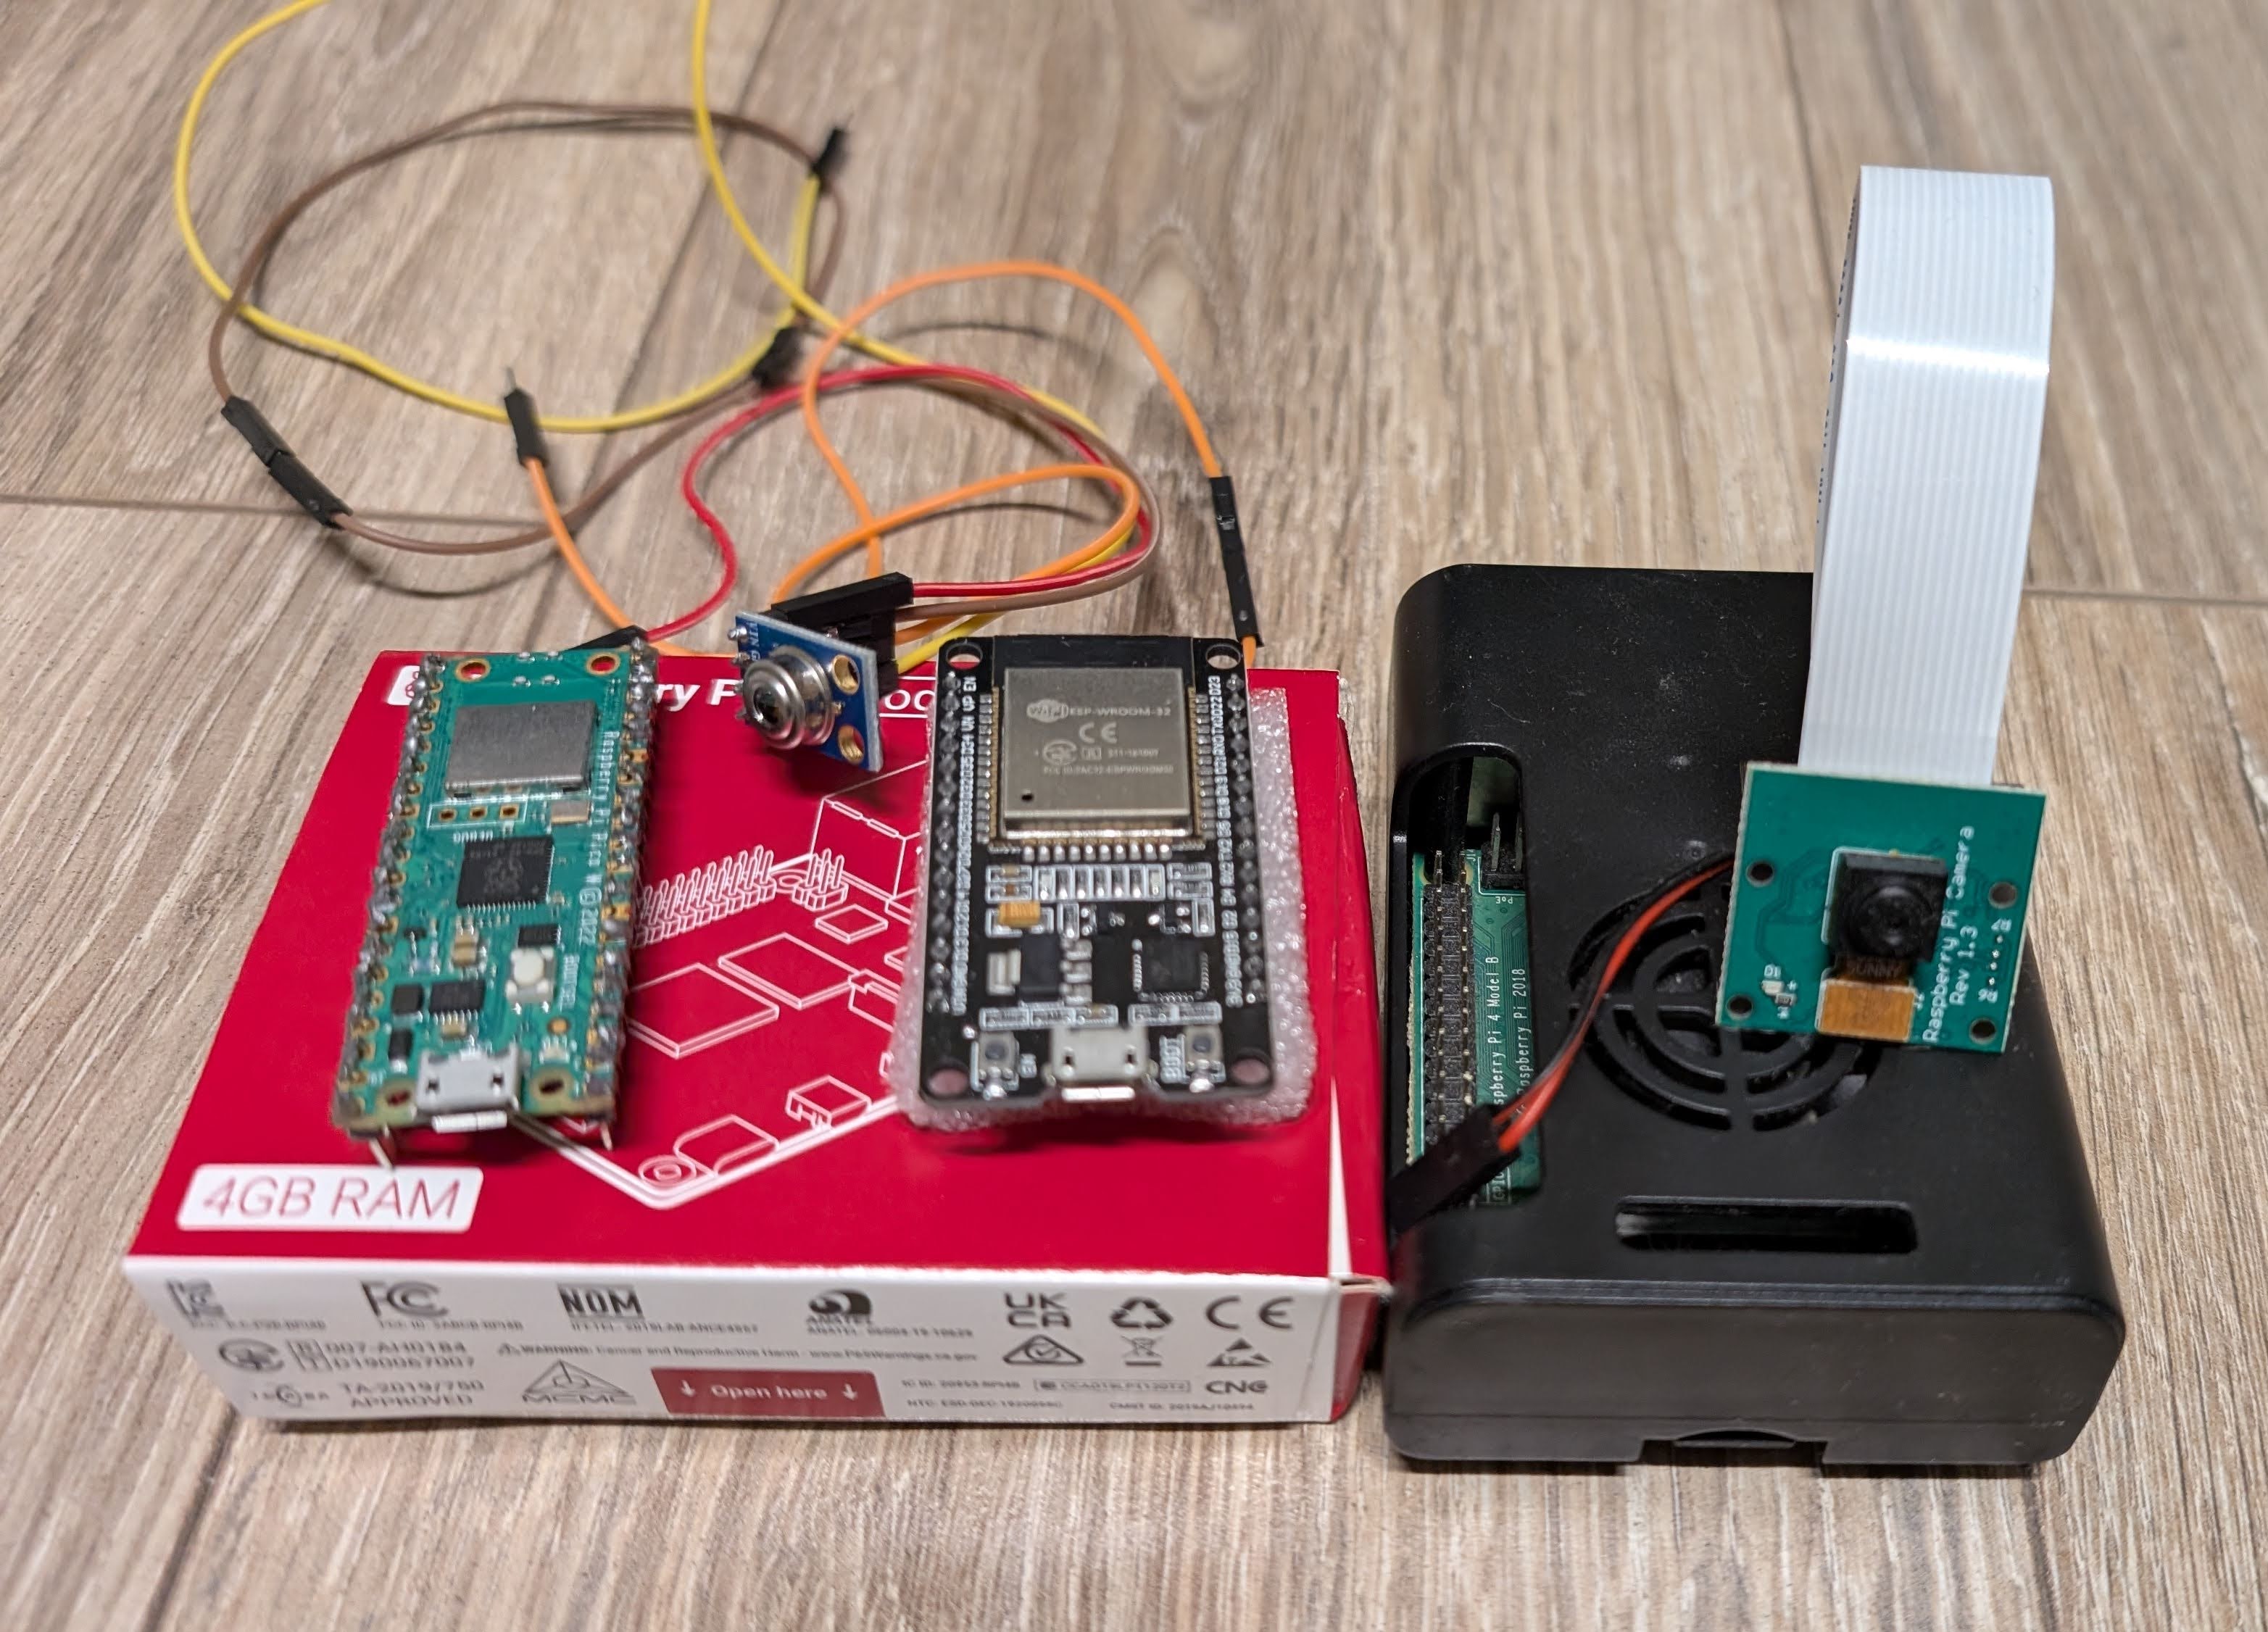
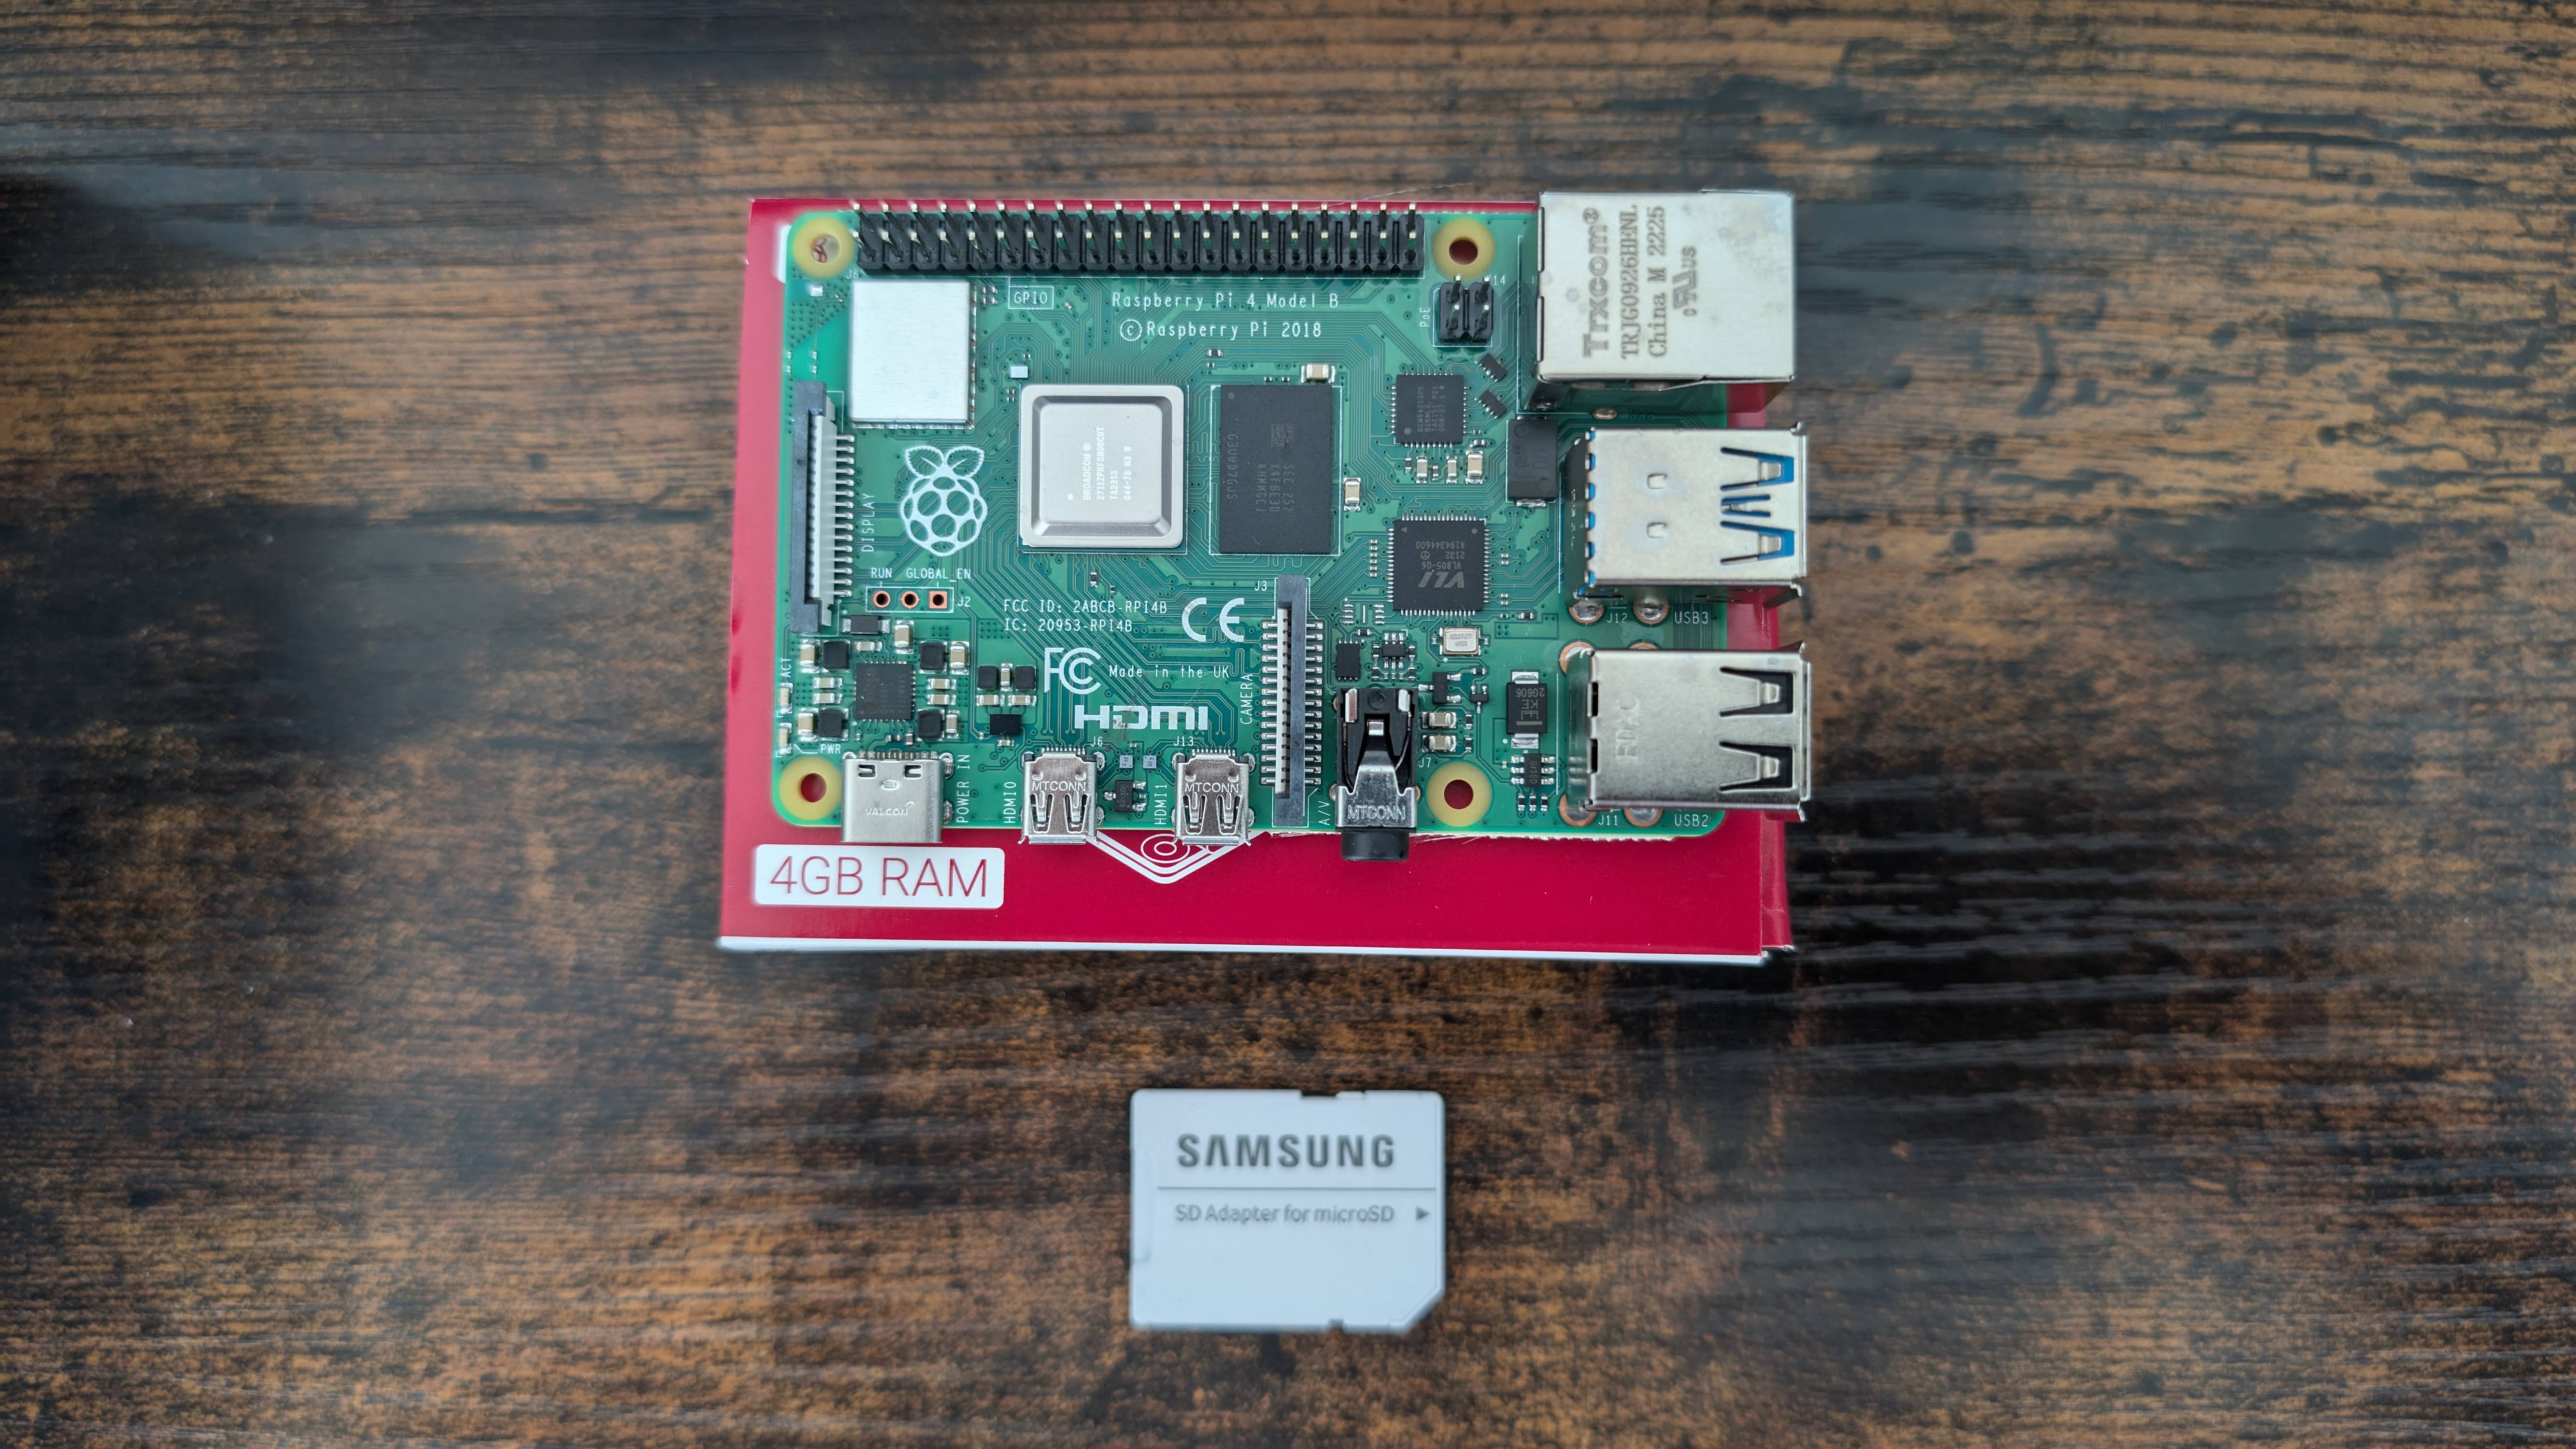
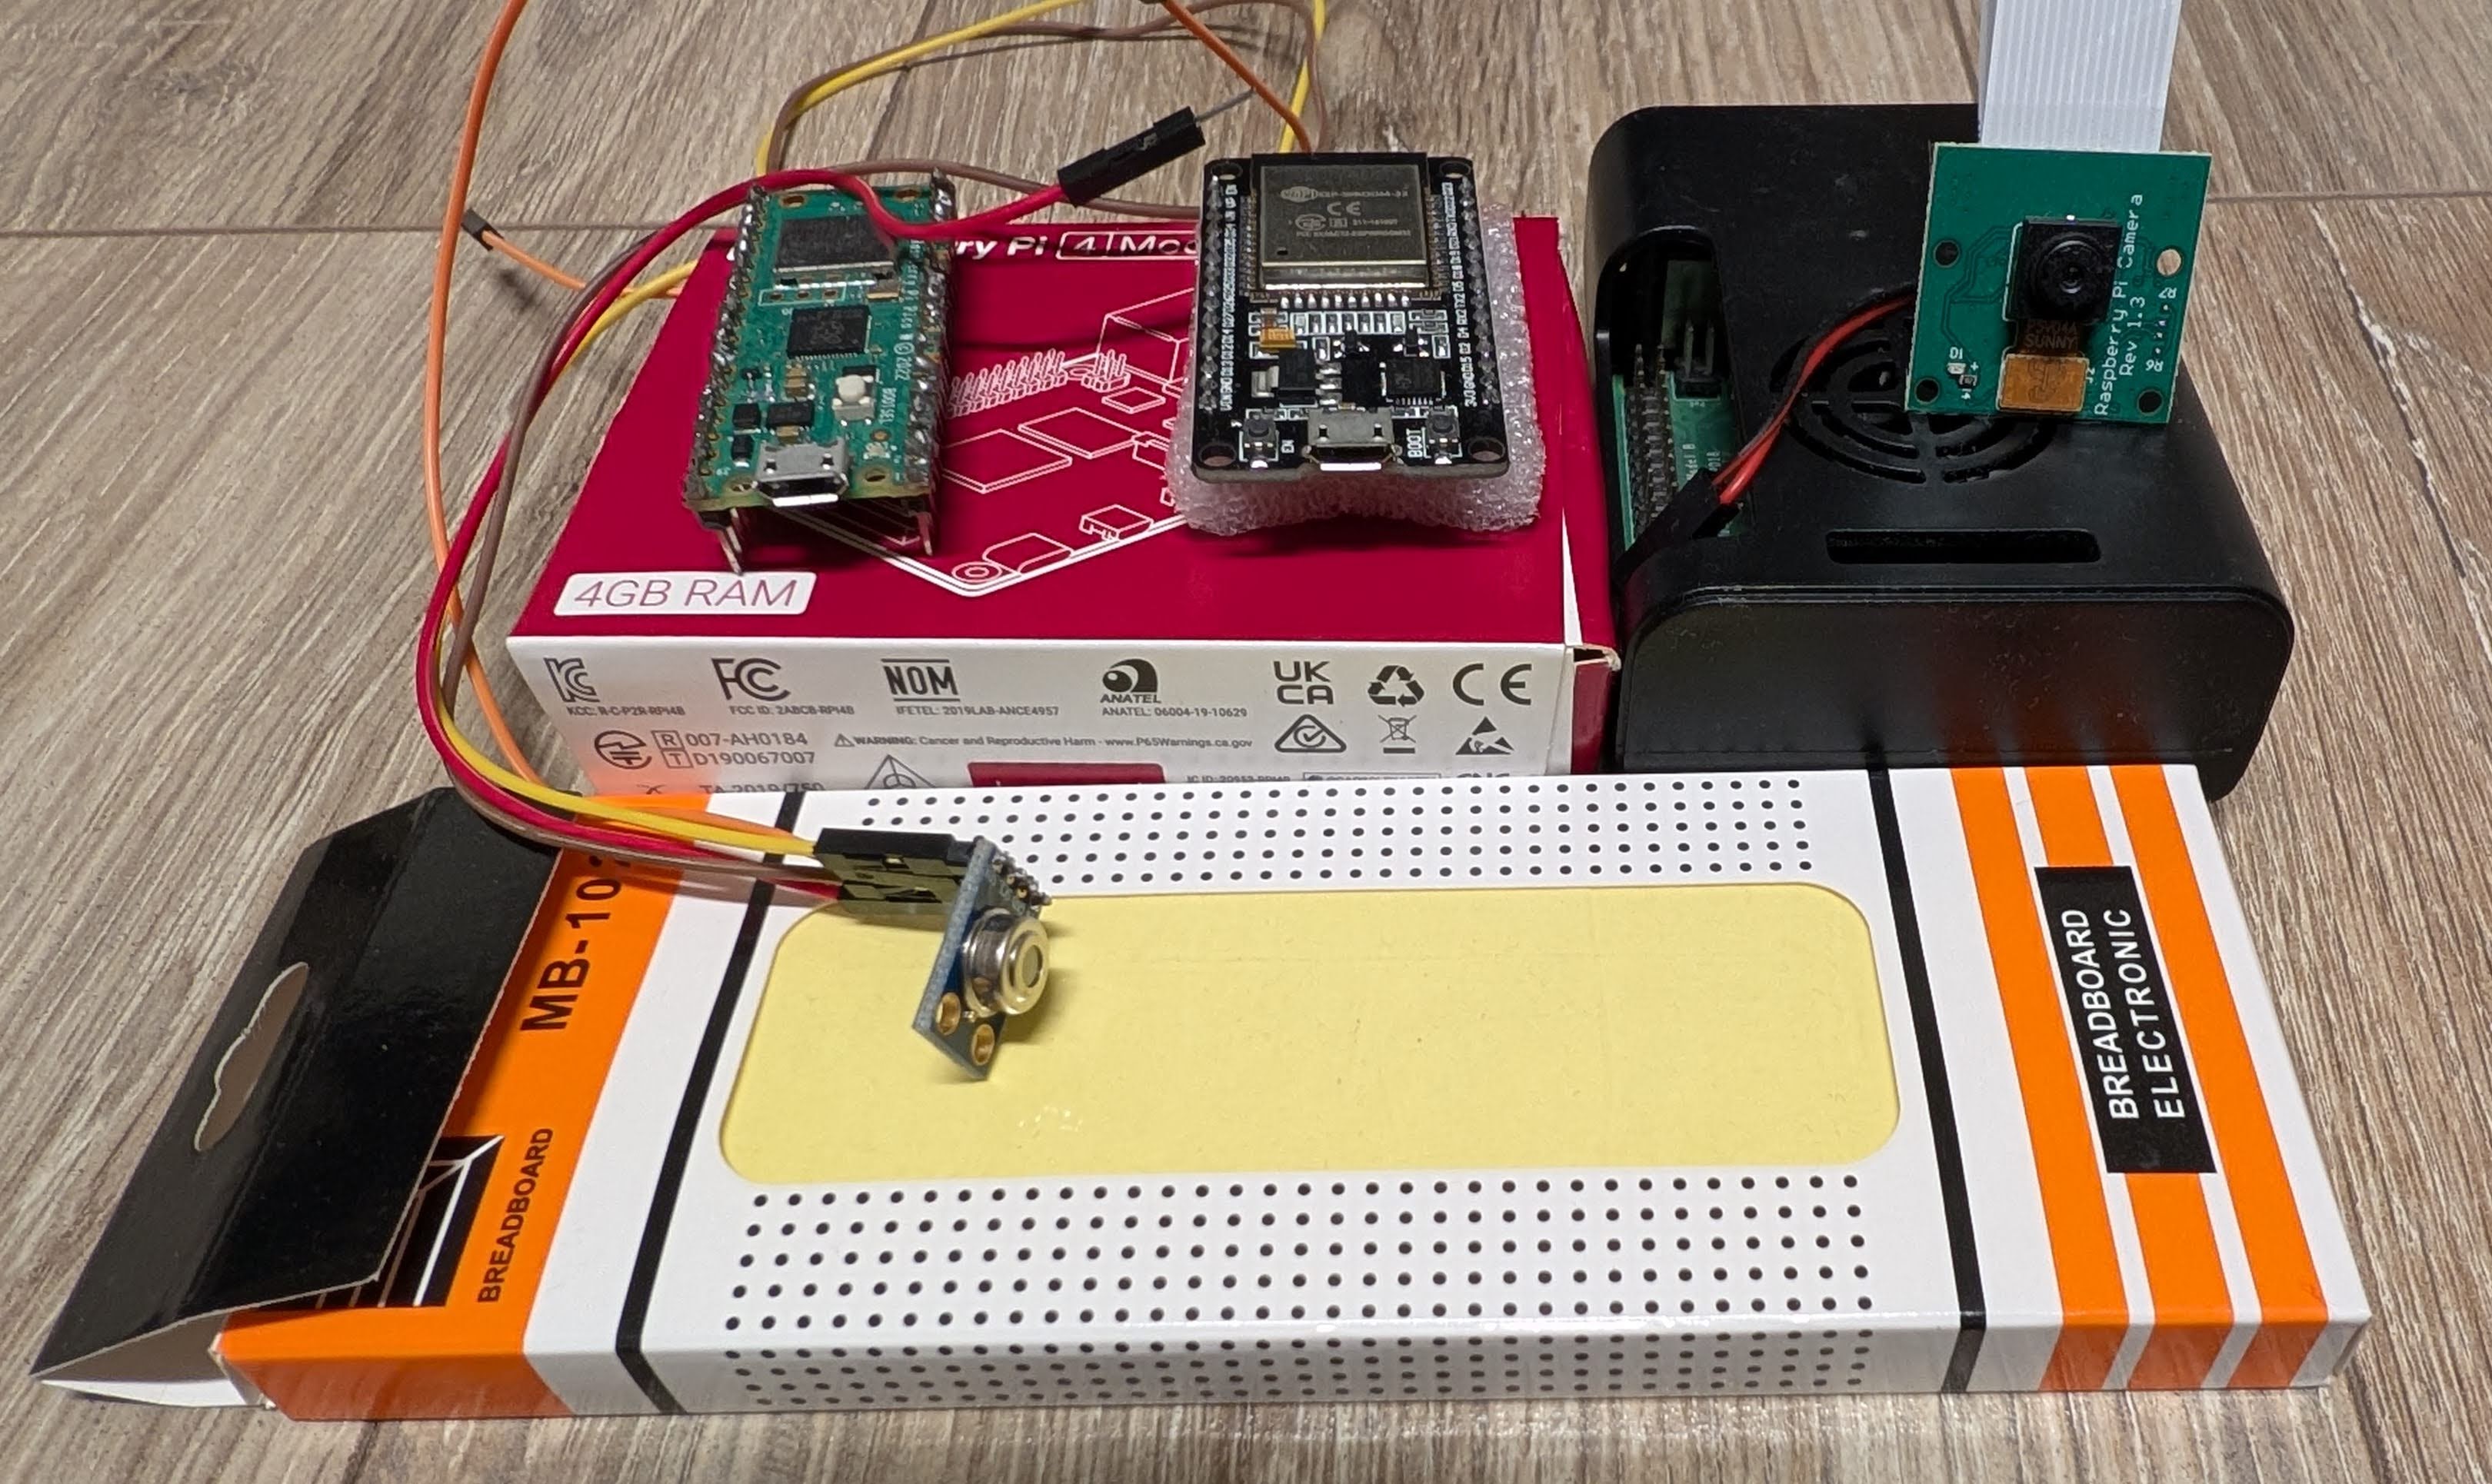
Last year I bough a couple of companions for my Raspberry Pi 4 2GB:
And Recently, this new release got my attention:
- Raspberry Pi Pico 2 - A brand new model, with both ARM and RISC-V cores
Let me show you how to get started with MicroControllers
Just A note on breadboards first:
Micro-Controllers
What you need to know about microcontrollers:
- They dont need an OS
- They run in loop whatever logic is loaded
- The are low consumption devices (much more than even SBC’s)
They are great companions for SBC’s like a RPi:
Raspberry Pi and MLX90614 Temp Sensor
Raspberry Pi together with Infrared Sensors [Grafanaand InfluxDB]
Simulate IoT Projects
Tool to simulate these projects in the browser
Raspberry Pi and DHT11/22 Sensors
Using a Raspberry Pi 4 with DHT Temperature Sensors [MongoDB and MetaBase]
The ESP32
An alternative micro-controller to the PicoW!
- Connecting ESP32 to Linux - https://github.com/tio/tio
- IDE - Thonny / Ardu IDE / VSCode …
I prefered to go With Arduino IDE and create test projects like this one.
Dont forget to include the libraries:
Tools -> Manage Libraries -> DHT sensor libraryfor ESPx
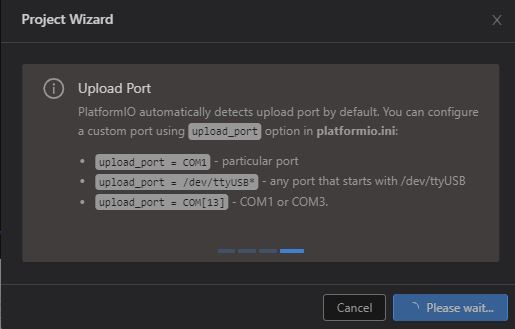
If you are going to do it via VSCode and PlatformIO…
#ext install platformio.platformio-ide
code --install-extension platformio.platformio-ide
Source code: https://github.com/platformio/platformio-vscode-ide/tree/develop
Platformio, is an embedded development ecosystem and a popular VS Code extension. Focus: building, debugging, and uploading firmware for C/C++ frameworks (Arduino, ESP-IDF, etc.).
PlatformIO IDE for VSCode: The next generation integrated development environment for IoT
I recommend you also the Serial Monitor extension, this one, as seen:
#ext install ms-vscode.vscode-serial-monitor
code --install-extension ms-vscode.vscode-serial-monitor
ESP32 x DS18B20: it can measure from -55 to 125C
And other people has done cool stuff with this sensor: https://blog.cavelab.dev/2024/11/rpi-outdoor-temperature/
data to D13
ESP32 x DHT22
GND VIN (3v3 also works) D23
https://registry.platformio.org/libraries/adafruit/DHT%20sensor%20library —> https://github.com/adafruit/DHT-sensor-library
in platformio.ini
adafruit/DHT sensor library@^1.4.4
lib_deps= https://github.com/blynkkk/blynk-library.git https://github.com/adafruit/Adafruit_Sensor https://github.com/adafruit/DHT-sensor-library
in the main.cpp
#include <DHT.h>
https://github.com/adafruit/DHT-sensor-library
not this one: adafruit/Adafruit Unified Sensor@^1.1.13
lib_deps = https://github.com/adafruit/DHT-sensor-library.git
OR
lib_deps = adafruit/DHT sensor library@^1.4.4
Testing ESP32
I have to say thanks to Tomasz and his great content that helped me get started with this: https://www.youtube.com/watch?v=tc3Qnf79Ny8&t=0s
To ‘upload’ the code to the ESP32, please make sure that you have the proper DATA cable (I was expending too many hours because of this).
Blinking ESP32 Lights via CPP Connecting ESP32 to Wifi
ESP32 - Blinking Lights in Cpp 🚀
#include <Arduino.h>

void setup() {
  pinMode(LED_BUILTIN, OUTPUT);
  Serial.begin(921600);
  Serial.println("Hello from the setup");
}

void loop() {
  delay(1000);
  digitalWrite(LED_BUILTIN, HIGH);
  Serial.println("Hello from the loop");
  delay(1000);
  digitalWrite(LED_BUILTIN, LOW);
}
Connecting ESP32 to WIFI | Resources 🚀
- https://www.youtube.com/watch?v=aAG0bp0Q-y4
- https://github.com/ttarnowski/esp32-wifi-connect
- https://github.com/ttarnowski/esp32-wifi-connect/blob/nonblocking/src/main.cpp
#define WIFI_SSID "wifi_network_name"
#define WIFI_PASSWORD "wifi_password"

void setup() {
  Serial.begin(921600);
  pinMode(LED_BUILTIN, OUTPUT);

  WiFi.begin(WIFI_SSID, WIFI_PASSWORD);

  Serial.println("starting");
}

bool isConnected = false;

void loop() {
  if (WiFi.status() == WL_CONNECTED && !isConnected) {
    Serial.println("Connected");
    digitalWrite(LED_BUILTIN, HIGH);
    isConnected = true;
  }

  if (WiFi.status() != WL_CONNECTED) {
    Serial.println(".");
    digitalWrite(LED_BUILTIN, !digitalRead(LED_BUILTIN));
    delay(1000);
    isConnected = false;
  }
}Sending DHT11 Data to Arduino Cloud
The Raspberry Pi Pico W
Consumption: ~50-150mA and can be powered via a PC usb
- Compared to the RPi 4b 2gb: 5v3A which idles at 5V0.6A ~2/3w
Codes - https://github.com/JAlcocerT/RPi/tree/main/Z_MicroControllers/RPiPicoW
Ideas for Readme’s - https://github.com/STJRush/handycode/tree/master/Raspi%20Pico
you can visualize the pinout
https://picockpit.com/raspberry-pi/everything-about-the-raspberry-pi-pico/
The chip: RP2040
lsusb #Bus 003 Device 010: ID XYZ MicroPython Board in FS (File System) mode

#ls /dev/tty*

sudo apt-get install picocom
sudo picocom -b 115200 /dev/ttyACM0
The schema: https://docs.micropython.org/en/latest/rp2/quickref.html
W version (wifi): https://www.raspberrypi.com/documentation/microcontrollers/raspberry-pi-pico.html#raspberry-pi-pico-w-and-pico-wh
Pico W and MicroPython
Thanks to core-electronics
- Hold the BOOTSEL button on the Pico W
- Connect the Pico W to your computer via the USB cable
- Release the BOOTSEL button -> you will see a new device in the PC.
Download a MicroPython Release and move it to the Pico folder:
- Mip: https://github.com/micropython/micropython-lib
- installing from fork:
import mip
mip.install(PACKAGE_NAME, index="https://USERNAME.github.io/micropython-lib/mip/BRANCH_NAME")unplug usb and plug
To install libraries, i have observed that recently upip has been depricated in favour of mip
Raspberry Pi Pico W - IDE Setup
- PicoW + VSCode - https://www.youtube.com/watch?v=Q1Kfg8k54jM
- Pico with the ArduIDE
- Tools -> Board -> Boards Manager -> Install Arduino MBed OS RP2040 Boards - https://www.youtube.com/watch?v=5YOEauk9bLo
- Pico with Thony
- Arduino launched a micropython package manager!
Testing the Raspberry Pi Pico W
PicoW - Blinking Led Example with MicroPython 🚀
The led is the pin 25 as per the schema
Run -> Configure Interpreter -> Interpreter -> MicroPython (Raspberry Pi Pico)
View -> files
The Pico will look for a main.py to execute in loop View -> plotter
CTRL+D for soft reboot and load the program
from machine import Pin
from time import sleep

#led = Pin(25, Pin.OUT)
led = Pin("LED", Pin.OUT) #For Pico W: Thanks to Easy Learning Video https://www.youtube.com/watch?v=PvH_yKwtoEA

n=0

while True:
    led.toggle()
    print("13 times {} is {}".format(n,13))
    n = n+1
sleep(0.5)PicoW - Reading internal temp sensor with MicroPython 🚀
import machine
import utime
sensor_temp = machine.ADC(4)
conversion_factor = 3.3 / (65535) #pico's datasheet
while True:
    reading = sensor_temp.read_u16() * conversion_factor
    temperature = 27 - (reading - 0.706)/0.001721
    print(temperature)
    utime.sleep(2)
Connecting the Pico to Wifi 🚀
# A simple example that:
# - Connects to a WiFi Network defined by "ssid" and "password"
# - Performs a GET request (loads a webpage)
# - Queries the current time from a server

import network   # handles connecting to WiFi
import urequests # handles making and servicing network requests

# Connect to network
wlan = network.WLAN(network.STA_IF)
wlan.active(True)

# Fill in your network name (ssid) and password here:
ssid = 'HUAWEI P30'
password = 'mokradupa68' #Funny, isn't it?
wlan.connect(ssid, password)


# Example 1. Make a GET request for google.com and print HTML
# Print the html content from google.com
print("1. Querying the Web.com:")
r = urequests.get("https://fossengineer.com")
print(r.content)

r = urequests.get("http://date.jsontest.com/")
print(r.json())
print(r.json()['time'])main.py to avoid the automatic execution.Temperature Sensors with Pi Pico
MQTT With MicroControllers
UpTime Kuma can also monitor MQTT:
Setup Eclipse Mosquitto and NodeRed 🚀
Open a web browser and navigate to http://raspberry_pi_ip:1880 (replace raspberry_pi_ip with your Raspberry Pi’s IP address).
You should see the Node-RED user interface.
version: '3'
services:
  mosquitto:
    image: eclipse-mosquitto
    container_name: mosquitto
    ports:
      - "1883:1883"
      - "9001:9001"
    restart: always
    volumes:
      - /path/to/mosquitto/config:/mosquitto/config

  nodered:
    image: nodered/node-red
    container_name: nodered
    ports:
      - "1880:1880"
    restart: always
    volumes:
      - /path/to/nodered/data:/data
    environment:
      - TZ=your_time_zone
MQTT with the RPi and ESP32
Let’s setup MosquiTTO and make sure that we understand how Pub/Sub works with a dummy example:
- https://www.youtube.com/watch?v=ebsXSCKsHeQ&t=302s
- https://helloworld.co.in/article/mqtt-raspberry-pi-esp32
sudo apt install -y mosquitto
sudo apt install -y mosquitto-clients

#sudo apt install python3-pip
sudo pip3 install paho-mqtt

sudo systemctl status mosquitto.service
Publish sample data (from the RPi to the Rpi): https://github.com/jiteshsaini/mqtt-demo/blob/main/rpi_mqtt_clients/client_pub.py
import time
import paho.mqtt.client as mqtt


def on_publish(client, userdata, mid):
    print("message published")


client = mqtt.Client("rpi_client2") #this name should be unique
client.on_publish = on_publish
client.connect('127.0.0.1',1883)
# start a new thread
client.loop_start()

k=0
while True:
    k=k+1
    if(k>20):
        k=1

    try:
        msg =str(k)
        pubMsg = client.publish(
            topic='rpi/broadcast',
            payload=msg.encode('utf-8'),
            qos=0,
        )
        pubMsg.wait_for_publish()
        print(pubMsg.is_published())

    except Exception as e:
        print(e)

    time.sleep(2)
This will receive the sample data when both scripts are running - (in the RPi): https://github.com/jiteshsaini/mqtt-demo/blob/main/rpi_mqtt_clients/client_sub.py
import paho.mqtt.client as mqtt
import time

def on_connect(client, userdata, flags, rc):
   global flag_connected
   flag_connected = 1
   client_subscriptions(client)
   print("Connected to MQTT server")

def on_disconnect(client, userdata, rc):
   global flag_connected
   flag_connected = 0
   print("Disconnected from MQTT server")

# a callback functions
def callback_esp32_sensor1(client, userdata, msg):
    print('ESP sensor1 data: ', msg.payload.decode('utf-8'))


def callback_esp32_sensor2(client, userdata, msg):
    print('ESP sensor2 data: ', str(msg.payload.decode('utf-8')))

def callback_rpi_broadcast(client, userdata, msg):
    print('RPi Broadcast message:  ', str(msg.payload.decode('utf-8')))

def client_subscriptions(client):
    client.subscribe("esp32/#")
    client.subscribe("rpi/broadcast")

client = mqtt.Client("rpi_client1") #this should be a unique name
flag_connected = 0

client.on_connect = on_connect
client.on_disconnect = on_disconnect
client.message_callback_add('esp32/sensor1', callback_esp32_sensor1)
client.message_callback_add('esp32/sensor2', callback_esp32_sensor2)
client.message_callback_add('rpi/broadcast', callback_rpi_broadcast)
client.connect('127.0.0.1',1883)
# start a new thread
client.loop_start()
client_subscriptions(client)
print("......client setup complete............")


while True:
    time.sleep(4)
    if (flag_connected != 1):
print("trying to connect MQTT server..")Now, to publish data from the ESP32: https://github.com/jiteshsaini/mqtt-demo/blob/main/esp32_clients/esp_mqtt_client1/esp_mqtt_client1.ino
You will need https://registry.platformio.org/libraries/knolleary/PubSubClient/installation in the platformio.ini as
lib_deps = knolleary/PubSubClient@^2.8
PubSub from ESP32 to Raspberry Pi
/*********
  Author: Jitesh Saini
  This code is built upon the example code in pubsubclient library
  Complete project details at https://helloworld.co.in
*********/

#include <WiFi.h>
#include <PubSubClient.h>

// Replace the SSID/Password details as per your wifi router
const char* ssid = "yourSSID";
const char* password = "yourPassword";

// Replace your MQTT Broker IP address here:
const char* mqtt_server = "192.168.1.45";

WiFiClient espClient;
PubSubClient client(espClient);

long lastMsg = 0;

#define ledPin 2

void blink_led(unsigned int times, unsigned int duration){
  for (int i = 0; i < times; i++) {
    digitalWrite(ledPin, HIGH);
    delay(duration);
    digitalWrite(ledPin, LOW);
    delay(200);
  }
}

void setup_wifi() {
  delay(50);
  Serial.println();
  Serial.print("Connecting to ");
  Serial.println(ssid);

  WiFi.begin(ssid, password);

  int c=0;
  while (WiFi.status() != WL_CONNECTED) {
    blink_led(2,200); //blink LED twice (for 200ms ON time) to indicate that wifi not connected
    delay(1000); //
    Serial.print(".");
    c=c+1;
    if(c>10){
        ESP.restart(); //restart ESP after 10 seconds
    }
  }

  Serial.println("");
  Serial.println("WiFi connected");
  Serial.println("IP address: ");
  Serial.println(WiFi.localIP());

}

void connect_mqttServer() {
  // Loop until we're reconnected
  while (!client.connected()) {

        //first check if connected to wifi
        if(WiFi.status() != WL_CONNECTED){
          //if not connected, then first connect to wifi
          setup_wifi();
        }

        //now attemt to connect to MQTT server
        Serial.print("Attempting MQTT connection...");
        // Attempt to connect
        if (client.connect("ESP32_client1")) { // Change the name of client here if multiple ESP32 are connected
          //attempt successful
          Serial.println("connected");
          // Subscribe to topics here
          client.subscribe("rpi/broadcast");
          //client.subscribe("rpi/xyz"); //subscribe more topics here

        }
        else {
          //attempt not successful
          Serial.print("failed, rc=");
          Serial.print(client.state());
          Serial.println(" trying again in 2 seconds");

          blink_led(3,200); //blink LED three times (200ms on duration) to show that MQTT server connection attempt failed
          // Wait 2 seconds before retrying
          delay(2000);
        }
  }

}

//this function will be executed whenever there is data available on subscribed topics
void callback(char* topic, byte* message, unsigned int length) {
  Serial.print("Message arrived on topic: ");
  Serial.print(topic);
  Serial.print(". Message: ");
  String messageTemp;

  for (int i = 0; i < length; i++) {
    Serial.print((char)message[i]);
    messageTemp += (char)message[i];
  }
  Serial.println();

  // Check if a message is received on the topic "rpi/broadcast"
  if (String(topic) == "rpi/broadcast") {
      if(messageTemp == "10"){
        Serial.println("Action: blink LED");
        blink_led(1,1250); //blink LED once (for 1250ms ON time)
      }
  }

  //Similarly add more if statements to check for other subscribed topics
}

void setup() {
  pinMode(ledPin, OUTPUT);
  Serial.begin(115200);

  setup_wifi();
  client.setServer(mqtt_server,1883);//1883 is the default port for MQTT server
  client.setCallback(callback);
}

void loop() {

  if (!client.connected()) {
    connect_mqttServer();
  }

  client.loop();

  long now = millis();
  if (now - lastMsg > 4000) {
    lastMsg = now;

    client.publish("esp32/sensor1", "88"); //topic name (to which this ESP32 publishes its data). 88 is the dummy value.

  }

}Conclusions
ESP32’s are so cool.
You can also use them with PhyPhox via micropython :
Who knows, maybe as part of your trackdays
FAQ
MicroController Power Consumption
With a regular powerbank, you can get 5V and up to 1A.
Power Consumption Calculations 🚀
To estimate how long a 10,000mAh power bank (5V, 1A output) will last when powering an ESP32, let’s calculate step by step:
- Key Parameters
Power Bank Capacity: 10,000mAh at 5V.
ESP32 Power Consumption: Depends on its mode of operation:
- Active Wi-Fi Transmission: ~160-200mA at 3.3V.
- Idle Mode: ~20-30mA at 3.3V.
- Deep Sleep: ~10µA (0.01mA) at 3.3V.
We’ll assume average consumption during active use is ~150mA at 3.3V.
Power Conversion: The ESP32 operates at 3.3V, so a voltage regulator will step down from 5V, introducing some inefficiency (~85-90% efficient). We’ll use 85% for calculation.
- Adjust for Voltage and Efficiency
Convert the power bank’s capacity from 5V to 3.3V to match the ESP32:
[ \text{Effective Capacity at 3.3V} = 10,000 , \text{mAh} \times \frac{5}{3.3} \times 0.85 = 12,879 , \text{mAh at 3.3V} ]
Estimate Runtime Using the ESP32’s average current draw (150mA at 3.3V): [ \text{Runtime (hours)} = \frac{\text{Effective Capacity}}{\text{ESP32 Current Draw}} = \frac{12,879}{150} \approx 85.9 , \text{hours} ]
Realistic Adjustments
If the ESP32 is in deep sleep most of the time (e.g., IoT sensor application):
- Assume ~1mA average current draw.
- Runtime: [ \frac{12,879}{1} \approx 12,879 , \text{hours} , (\approx 536 , \text{days}). ]
If running in high-power mode constantly (e.g., Wi-Fi transmission):
- Assume ~200mA average current draw.
- Runtime: [ \frac{12,879}{200} \approx 64.4 , \text{hours}. ]
Summary
- Active Wi-Fi Use: ~64-86 hours (2.5-3.5 days).
- Deep Sleep Mode: Several months to a year, depending on wake-up intervals.
The actual runtime depends ofc, on your ESP32’s workload and power mode.
Understanding mAh versus Wh 🚀
A 10,000mAh power bank is not exactly the same as 37Wh
unless we know the nominal voltage of the battery inside the power bank.
Understanding mAh and Wh
- mAh (milliamp-hours) measures the charge capacity of a battery at a specific voltage.
- Wh (watt-hours) measures the total energy capacity, which depends on both the charge capacity and the voltage.
The relationship is: [ \text{Wh} = \text{mAh} \times \text{Voltage} \div 1000 ]
Power Bank Voltage
- The internal batteries of power banks typically use 3.7V lithium-ion cells.
- Manufacturers often label the mAh capacity based on the 3.7V nominal voltage of the battery cells.
For a 10,000mAh power bank: [ \text{Wh} = 10,000 , \text{mAh} \times 3.7 , \text{V} \div 1000 = 37 , \text{Wh} ]
This is likely where the “37Wh” value comes from.
Output Voltage (5V)
When the power bank steps up the voltage to 5V for USB output, the effective energy capacity changes due to voltage conversion losses (efficiency):
- Assume 85-90% efficiency for the boost converter.
- Effective Wh at 5V: [ \text{Wh at 5V} = 37 , \text{Wh} \times 0.85 = 31.45 , \text{Wh (approx.)} ]
Conclusion
- At 3.7V (internal battery): 10,000mAh ≈ 37Wh.
- At 5V (output): The usable energy will be slightly less due to conversion losses, approximately 31.45Wh if efficiency is ~85%.
Solar Power & MicroControllers
I wanted to try with an low cost (~20$) Solar Panel CL-0915 which goes up to 15W (5V3A).
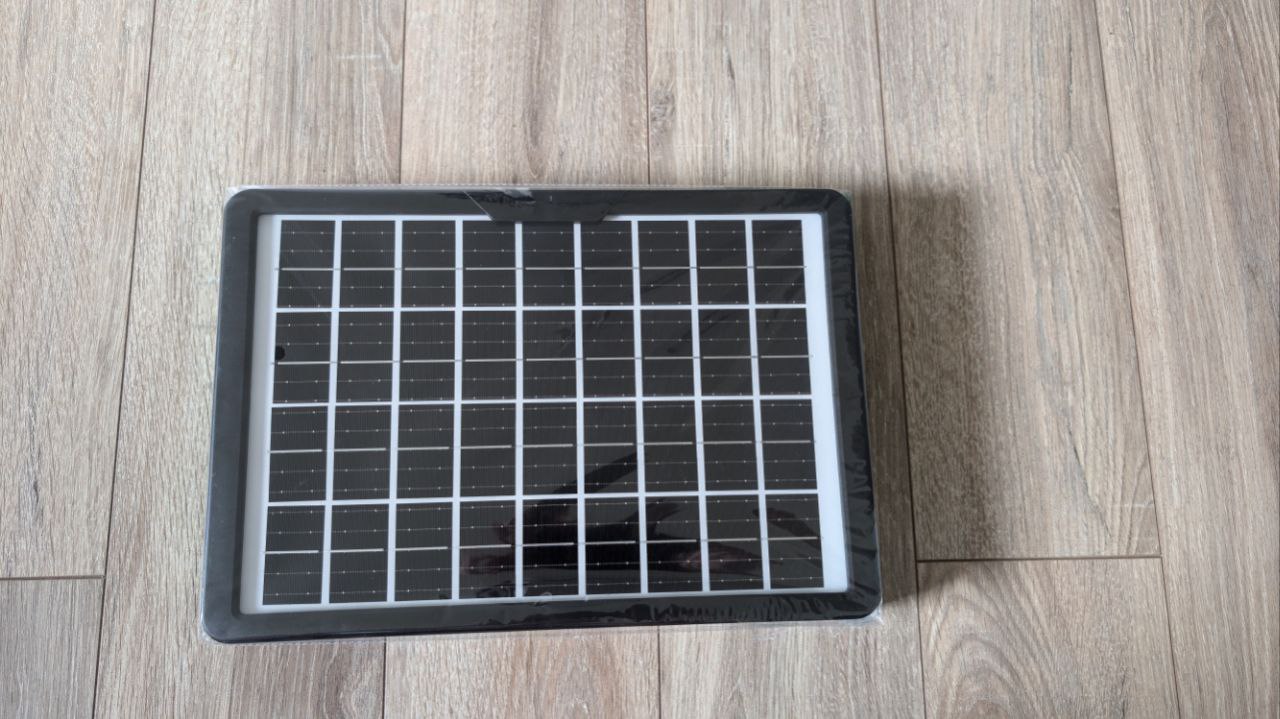
Thats really on the edge to power a Pi4.
And ofc, the 5V3A are in ideal conditions, so dont bother: a Pi wont boot up with it.
But…microcontrollers do.
Even two of them (ESP32) at the same time.
Just really, dont try with a Pi4.
Interesting IoT Resources
- https://maps.sensor.community/#16/51.1295/16.9902
- https://opensensemap.org/explore/5fe22454c31ca0001caa780f
ESP32 with AWS
ESP32 GPIO pins in real-time with AWS API Gateway WebSockets
- PlatformIO project with ESP32 WebSocket Client (C/C++)
- Serverless Framework project utilizing AWS API Gateway WebSockets, AWS Lambda, and AWS DynamoDB to handle the communication between clients (TypeScript)
- Web Application to control ESP32 from the browser (ReactJS)
ESP32 as WebServer
If you are into websites…
Be aware that the ESP32 could potentially be your small webserver