More Photo and Video fun stuff
TL;DR
We come from…getting to know what ffmpeg is for benchmarks to compare CPU performance.
Wait, there is even a repo for video CLI stuff!
 Video Edition Repository
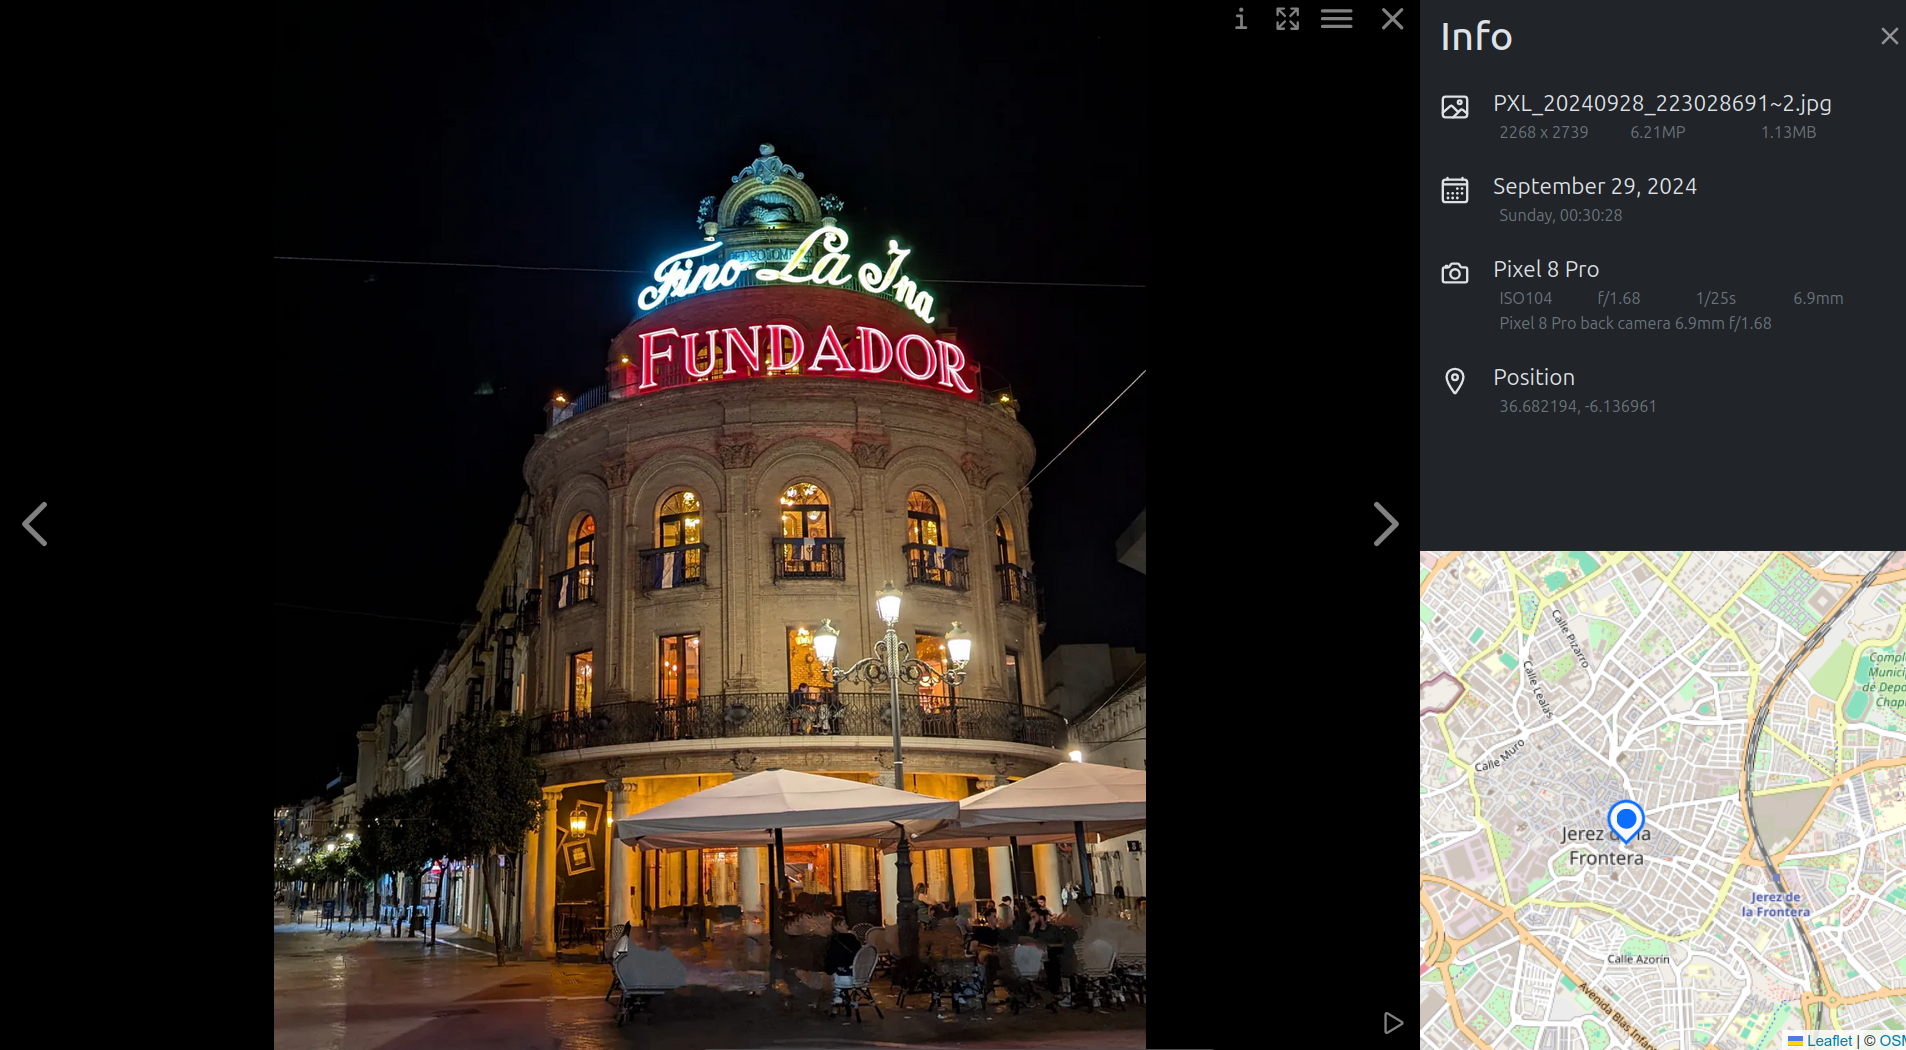 Photo Management Tools Post
Intro
After few months tinkering with an action camera and trying to get better at photos/videos
All that huge storage requirement force you to ship those travel/adventure videos faster…
-0.7EV, 50fps, S 1/400, ISO 100 ~25600 (max range), AWB, Texture -1 and Noise Reduction -2.Ive been learning few stuff on the way.
- And now there is a chance to do a photo & video recap
I will be showing you how to put your videos into social media with:
- PostIZ
- N8N
- AI Powered Shorts (Audio and description)
 Jellyfin to watch your videosjellyfin Selfh
Because there are people doing really cool videos: https://www.youtube.com/@JustDriving4K
See also:
And all of this is great, but consider this while creating.
Never forget: share your content, specially if its that easy with Postiz
Video Editing
In that way the acelerometer information will be captured in the mp4 file.
CLI Tricks
There is people outthere doing cool things with ffmpeg: https://github.com/FFmpeg/FFmpeg
- https://blog.bartzz.com/create-stunning-timelapses-with-ffmpeg/
- https://schnerring.net/blog/use-obs-and-ffmpeg-to-create-gif-like-screencasts/
Transfering Files
mkdir -p "$HOME/Desktop/CAM1-$(date +%m-%d)" && rsync -avP --include='*.MP4' --exclude='*' . "$HOME/Desktop/CAM1-$(date +%m-%d)"
#rsync -avP --include='*.MP4' --exclude='*' . "/media/jalcocert/Backup2TB/OA5Pro/May-Jul25"- Create a dated folder: A new directory like
CAM1-07-05will be created on your Desktop. If it already exists from a previous run on the same day,mkdir -pwill just do nothing and succeed. - Conditional Execution: If the directory creation is successful,
rsyncwill proceed. - Copy MP4s:
rsyncwill then scan the current directory you are in, and copy only files that end with.MP4into the newly created (or existing) dated folder on your Desktop. It will do this efficiently, preserve file attributes, and show you the progress.
This command is perfect for quickly backing up or moving only video files (from a OA5Pro) into a clearly dated folder on your desktop.
If you want to send files to your HomeLab server via CLI: I got ~90MB/s transfer speed
#rsync -avP /path/to/video.mp4 username@destination_host:/path/to/destination/
rsync -avP /media/jalcocert/OsmoAction/DCIM/DJI_001/output_video.mp4 jalcocert@192.168.1.11:/home/jalcocert/Norway

#rsync -avP /path/to/local/folder/ username@destination_host:/path/to/remote/destination/
rsync -avP /home/jalcocert/Desktop/norway-4k/Norway-13-15Jul25 jalcocert@192.168.1.11:/home/jalcocert/Norway
Videos with FFMPeg
If you are lazy enough and just want to paste one video to the next one.
This is for you.
Just put your video parts together / silenced / with a given .mp3 audio:
#Cut between two second or from a second to the end
#ffmpeg -i DJI_20250515200111_0003_D.MP4 -ss 10 -to 90 -c copy output.mp4
#ffmpeg -i DJI_20250515200111_0003_D.MP4 -ss 91 -c copy output_.mp4
ffmpeg -i "$(ls *.MP4)" -ss 26 -c copy output_.mp4

#Last 52s
ffmpeg -sseof -52 -i DJI_20250520200235_0006_D.MP4 -c copy output_last_52s.mp4

## For Tinkering with more video parts
ls *.MP4 | sed "s/^/file '/; s/$/'/" > file_list.txt #add .mp4 of current folder to a list

#Clean the LRF
##rm *.LRF #clean (if needed) all LRF files

#Generate a video from few parts (audio or silenced)
ffmpeg -f concat -safe 0 -i file_list.txt -c copy output_video.mp4 #original audio
#ffmpeg -f concat -safe 0 -i file_list.txt -c copy /media/jalcocert/SD_Card/DCIM/output_video.mp4 #original audio to another folder
ffmpeg -f concat -safe 0 -i file_list.txt -c:v copy -an silenced_output_video.mp4 #silenced video
#ffmpeg -i output_video.mp4 -filter:v "setpts=PTS/4" -an fast_output_video.mp4 #x4

#ffmpeg -stream_loop -1 -i "AETHER - Density & Time.mp3" -i silenced_output_video.mp4 -c:v copy -c:a aac -shortest output_with_song.mp4
ffmpeg -stream_loop -1 -i "output.mp3" -i silenced_output_video.mp4 -c:v copy -c:a aac -shortest output_with_song.mp4

### 🎵 Music by...
#https://www.youtube.com/audiolibrary
For W11, you have these equivalent scripts, like:
Get-ChildItem -Filter "*.MP4" | ForEach-Object { "file '$($_.Name)'" } | Set-Content file_list.txt
ffmpeg -f concat -safe 0 -i file_list.txt -c copy output.mp4 #simple join
More FFMPEG CLI Tricks: .gifs | Ubuntu 📌
Extracting images from a video…and making a gif
You have few alternatives.
- From a given timeframe until the end, 1 frame:
#from the second 90 of the video, give me 1fps
ffmpeg -i DJI_20250802102352_0021_D.MP4 -vf "select='gte(t\,90)',fps=1" -vsync vfr frame_%03d.png
ffmpeg -i DJI_20250802102352_0021_D.MP4 -vf "select='gte(t\,90)',fps=1" -vsync vfr frame_%03d.jpg- And just between 90s and 105s timeframe, 1fps:
ffmpeg -i DJI_20250802102352_0021_D.MP4 -vf "select='between(t,0,10)',fps=1" -vsync vfr frame_%03d.png- Make a gif with the pulled images
ffmpeg -framerate 10 -i frame_%03d.png output.gif- Applying custom luts with ffmpeg: this did not give me the result I wanted
#https://video.stackexchange.com/questions/21483/apply-custom-lut-via-ffmpeg
ffmpeg -i "Input.mov" -vf lut3d="ARRIP3D65PQ108-33.cube" -s 1920x1080 -c:v dnxhd -pix_fmt yuv422p -b:v 120M DNxHD_for_Editing.mxf
Look if you have space, still:
df -h | awk '$2 ~ /G/ && $2+0 > 3' #if you set logs, careful with the disk space (see drives >3GB)du -h --max-depth=1 | sort -hr | head -n 20Shorts
While 1080p (Full HD: 1920x180) is a very common and recommended resolution for YouTube.
To upload you can try with brave or firefox:
pkill -9 braveYou can definitely upload videos in other resolutions, both higher and lower.
- Frame Rate: Upload your video in the same frame rate it was recorded. Common frame rates include 24, 25, 30, 48, 50, and 60 frames per second.
- Aspect Ratio: The standard aspect ratio for YouTube is 16:9. While other aspect ratios are supported, 16:9 generally provides the best viewing experience across different devices.
4K UHD (Ultra High Definition): This is the most common 4K resolution for televisions, monitors, and streaming services.
Its typical dimensions are 3840 pixels wide by 2160 pixels high (3840 x 2160).
This resolution has exactly four times the number of pixels as 1080p (1920 x 1080)!
How about adding TTS generated audio to shorts?
- Generate the AI Audio with TTS:
soxi -D audio_reply.wav #video duration- Get your short content transfered:
mkdir -p "$HOME/Desktop/CAM1-$(date +%m-%d)" && rsync -avP --include='*.MP4' --exclude='*' . "$HOME/Desktop/CAM1-$(date +%m-%d)"From SD card I get transfers at 68MB/s and from the internal ~200MB/s (when using an external nvme case usb-c)
- Make 175s pieces max:
#Shorts (limited to 3min or generated audio duration)

#As per audio duration, which is passed to the CLI
ffmpeg -i DJI_2025abc123.MP4 -t $(soxi -D audio_reply.wav) -c copy cut_output.mp4
ffmpeg -i "$(ls *.MP4)" -t $(soxi -D audio_reply.wav) -c copy cut_output.mp4

#As per hardcoded duration
#ffmpeg -i DJI_2025abc123.MP4 -t 175 -c copy output.mp4- Extract the audio of the
.MP4piece, and combine it with the ai generated audio:
#Take the cut video and combine its audio with the AI generated
ffmpeg -i cut_output.mp4 -i audio_reply.wav \
-filter_complex "[0:a:0]volume=0.6[vid_audio];[1:a:0]volume=1.4[reply_audio];[vid_audio][reply_audio]amix=inputs=2:duration=longest[aout]" \
-map "[aout]" -c:a libmp3lame output.mp3
# ffmpeg -i DJI_20250511143231_0004_D.MP4 -i audio_reply.wav \
# -filter_complex "[0:a:0][1:a:0]amix=inputs=2:duration=longest[aout]" \
# -map "[aout]" -c:a libmp3lame output.mp3

# ffmpeg -i DJI_20250511143231_0004_D.MP4 -i audio_reply.wav \
# -filter_complex "[0:a:0]volume=0.6[vid_audio];[1:a:0]volume=1.4[reply_audio];[vid_audio][reply_audio]amix=inputs=2:duration=longest[aout]" \
# -map "[aout]" -c:a libmp3lame output.mp3

#with just one video in the folder:
ffmpeg -i "$(ls *.MP4)" -i audio_reply.wav \
-filter_complex "[0:a:0]volume=0.6[vid_audio];[1:a:0]volume=1.4[reply_audio];[vid_audio][reply_audio]amix=inputs=2:duration=longest[aout]" \
-map "[aout]" -c:a libmp3lame output.mp3- Put back the combined audio to the
.mp4:
#For a Quick Short:
ffmpeg -i cut_output.mp4 -i output.mp3 -map 0:v -map 1:a -c:v copy -c:a libmp3lame -q:a 0 -shortest final_output.mp4
This is how you will see shorts: they look better on phones, with vertical layout way of watching
And for videos longer than 3 minutes, they will render as: youtube will detect the horizontal/vertical layout
In theory, You can also take a 1080p part from a 4K video withour rencoding: but i was not satisfied with the results, at least for now
ffmpeg -i DJI_20250518172824_0001_D.MP4 -c copy -bsf:v hevc_metadata=crop_left=960:crop_right=960:crop_top=0:crop_bottom=1080 output_horizontal_1080p_no_encode.mp4Thumbnails
Having a catchy image on a video can make a difference on how many people get to see it.
If you have extracted an image from your video, you can force it to be the video thumbnail:
#ffmpeg -i extracted-image.png -c:v libwebp -quality 80 ./compressed_thumbnail.webp
ffmpeg -i cat.png -c:v libwebp -quality 80 ./compressed_thumbnail.png
#ffmpeg -i DJI_20250802115907_0033_D.MP4 -vf "select='between(t,0,10)',fps=1" -vsync vfr frame_%03d.png
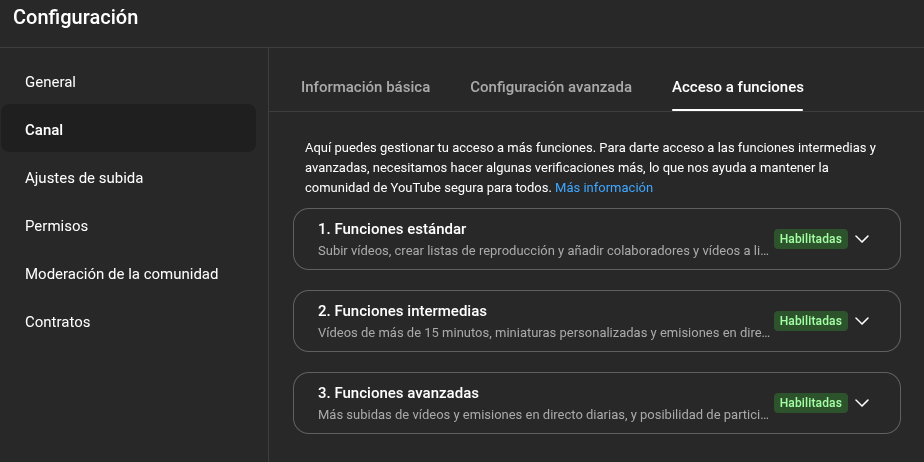
#ffmpeg -i frame_001.png -c:v libwebp -quality 80 ./compressed_thumbnail.pngAlso, having proper youtube channel setting can help:
AI Powered shorts
A friend told me recently to have a look to these to do interesting youtube shorts:
Text2Video
So in 2024…it is text to image.
Now is text to video
- Mochi-1 - https://www.youtube.com/watch?v=WKyaGpiOjW4
- AI Video generation with HeyGen
InVideo -
- Workflow: go to Elon Munsk Twitter -> ChatGPT to create the speech
- Create thumbnail with Flux (via SeArt.ai), 9/16 format for YT Short
- Then go with the speech to elevenlabs (T2S) - Download Audio
- Use CapCut
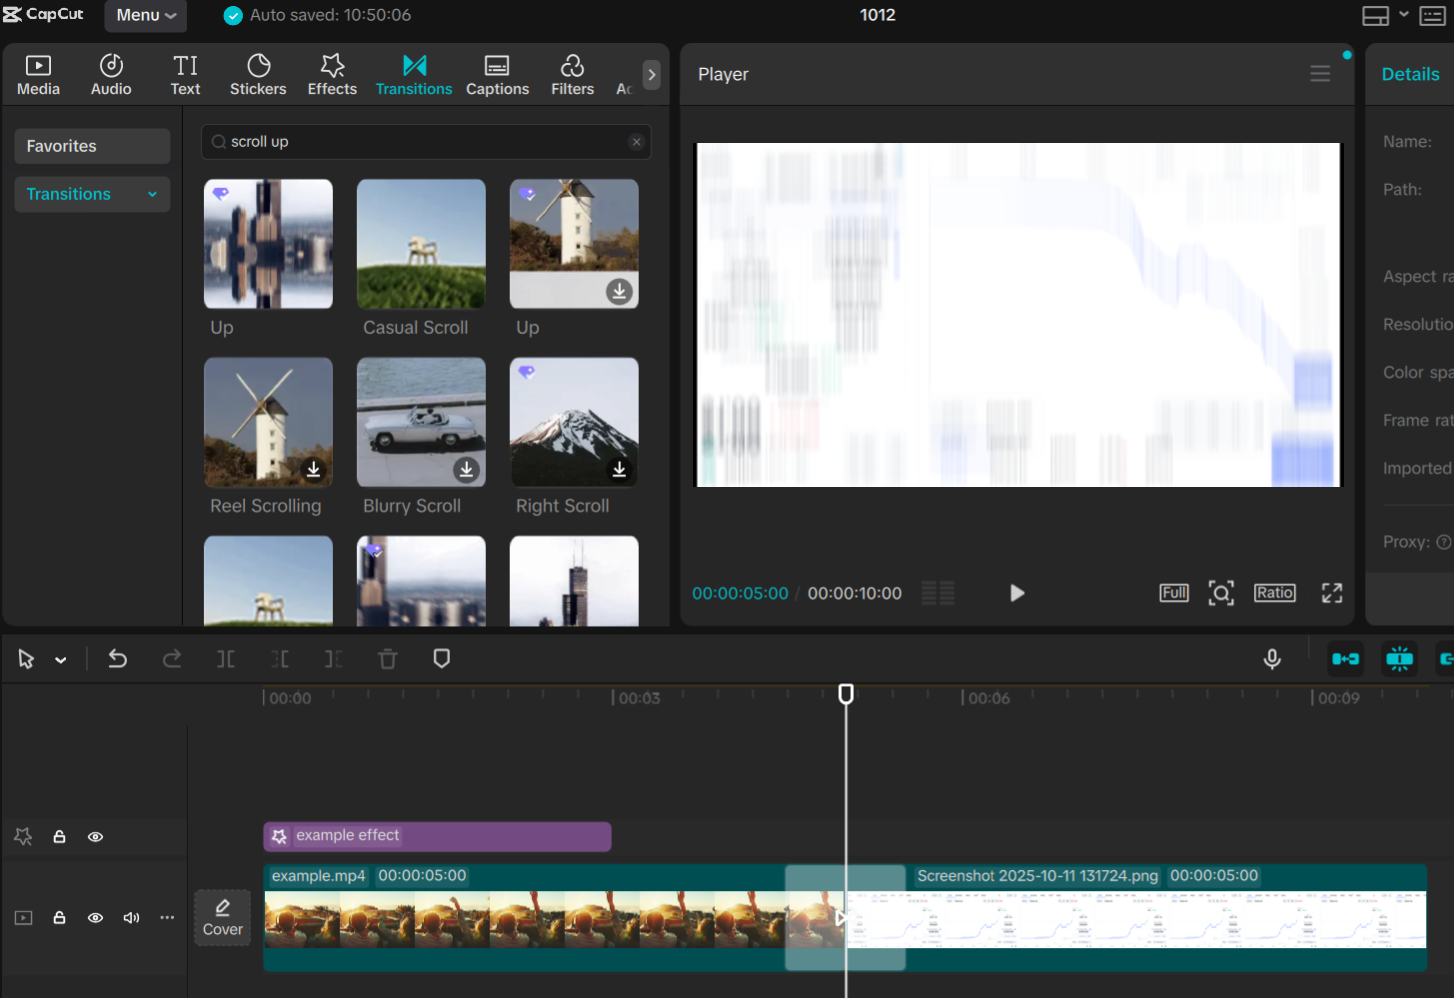
If you use CapCut on an iphone, you will just export to
mov, so use Vert to convert to MP4.
- Suno.ai for audio/songs…
- Klingai.com for video generated from images/text
- Ilevenlabs to create TTSpeech
- Thanks to GitPodcast, I saw that its also possible to do with Azure AI Speech
- Even via Gemini API / Google AI Studio as seen on this post and this post of TTS - https://aistudio.google.com/generate-speech
Whatever you do, dont forget to add proper video description
Its kind of what these channels do!
Telemetry
Initially I tought that would be possible only with the GoPro…
- https://goprotelemetryextractor.com/cycling-stats-video-overlay?affi=safabrian#download_0
- https://jalcocert.github.io/JAlcocerT/tinkering-telemetry-trackdays/
But I was wrong, action cameras, including the oa5pro, have built in acelerometers (just that not all of them have GPS’s):
#choco install exiftool
#exiftool -ver
exiftool -ee DJI_20250518182847_0015_D.MP4 #working when recorded W and no RS!Adding Telemetry to MP4s
How to Telemetry Overlay a Video?
I tried to bypass this with: https://jalcocert.github.io/JAlcocerT/polar-data-python-analysis/
and with https://jalcocert.github.io/JAlcocerT/blog/tinker-phyphox/
Then the geospatial analysis came…https://jalcocert.github.io/JAlcocerT/geospatial-data/
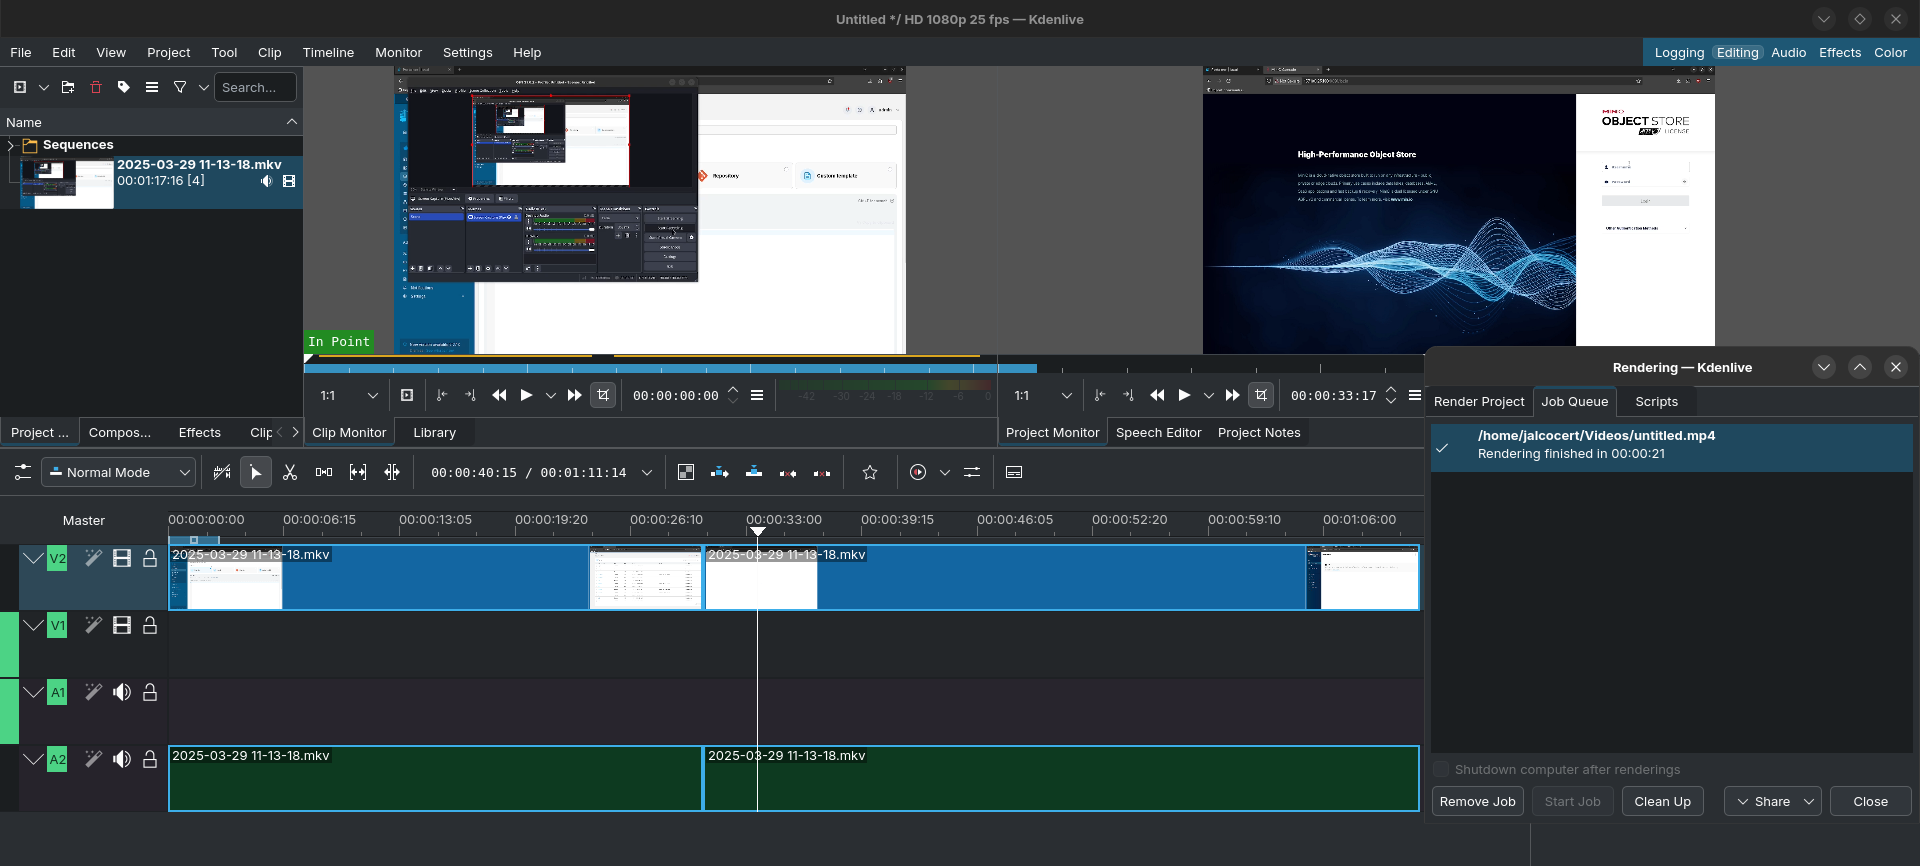
Kdenlive
I was tinkering with KDEnlive sometime ago, with the x300…
flatpak install flathub org.kde.kdenlive
#https://docs.linuxserver.io/images/docker-kdenlive/This video was very helpful to understand additional KDE tricks:
Most important ones for me were: S to select, X to cut/slice video part.
Right click to the video part and change speed to make it go faster up to 4000% aka x40.
You can also make zoom in KDE applying:
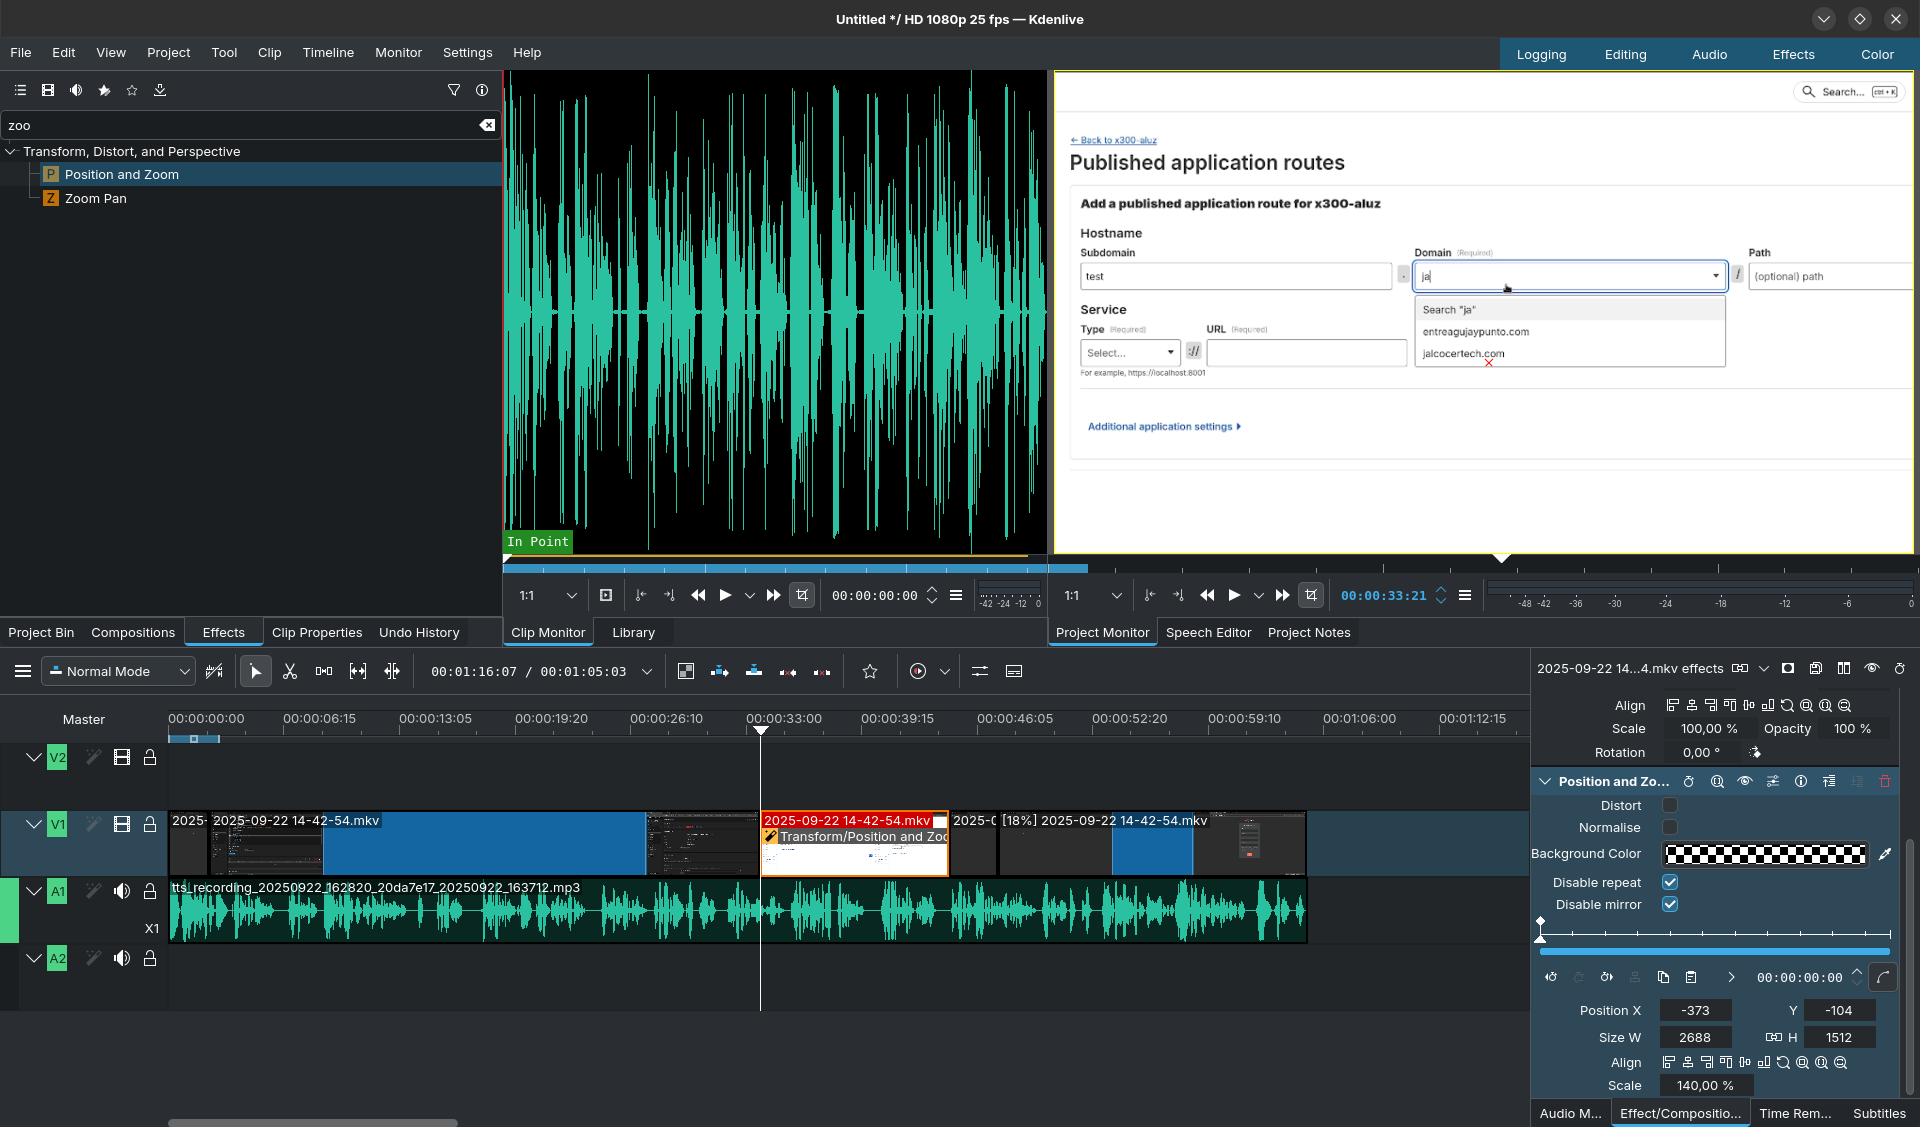
Then CTRL + enter to render
Have rediscovered KDEnlive for LUT (.cube files) color grading application!
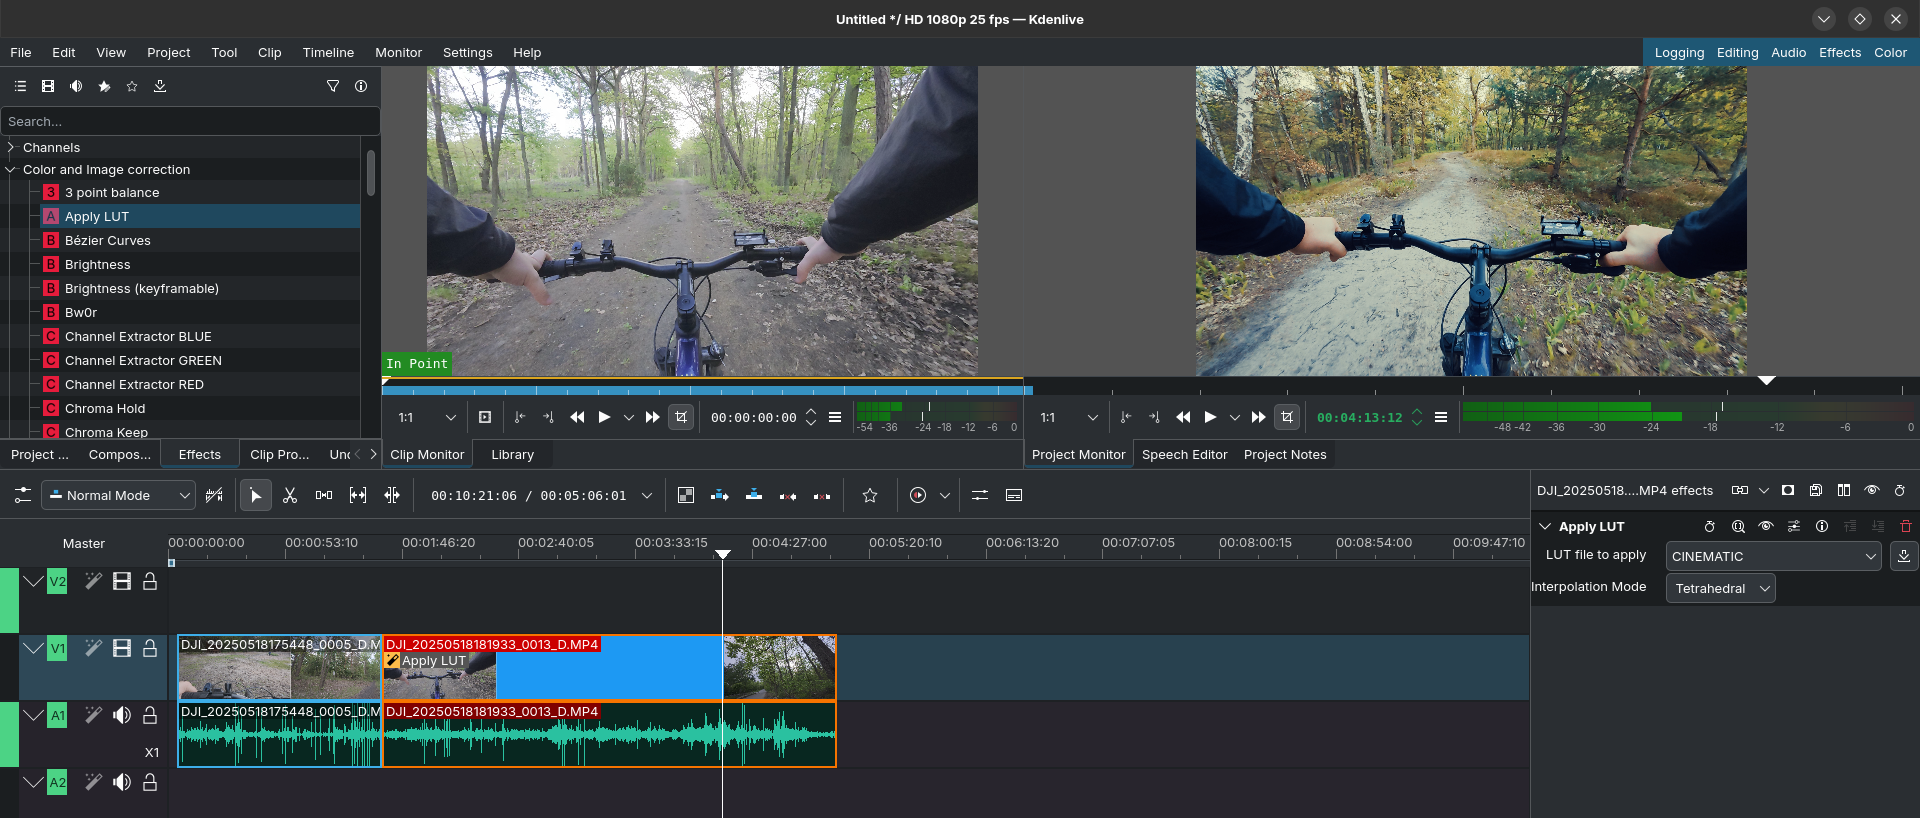
You can try few of the default ones available:
I personally like the CINEMATIC.cube that KDE brings:
#find / -name "*.cube" 2>/dev/null
#cd /var/lib/flatpak/app/org.kde.kdenlive/x86_64/stable/1e36391e875577fd4cd61f5a02e7e52d1cf22598a625d235d49546fd39b77c0c/files/share/kdenlive/luts
cp CINEMATIC.cube /home/jalcocert/Desktop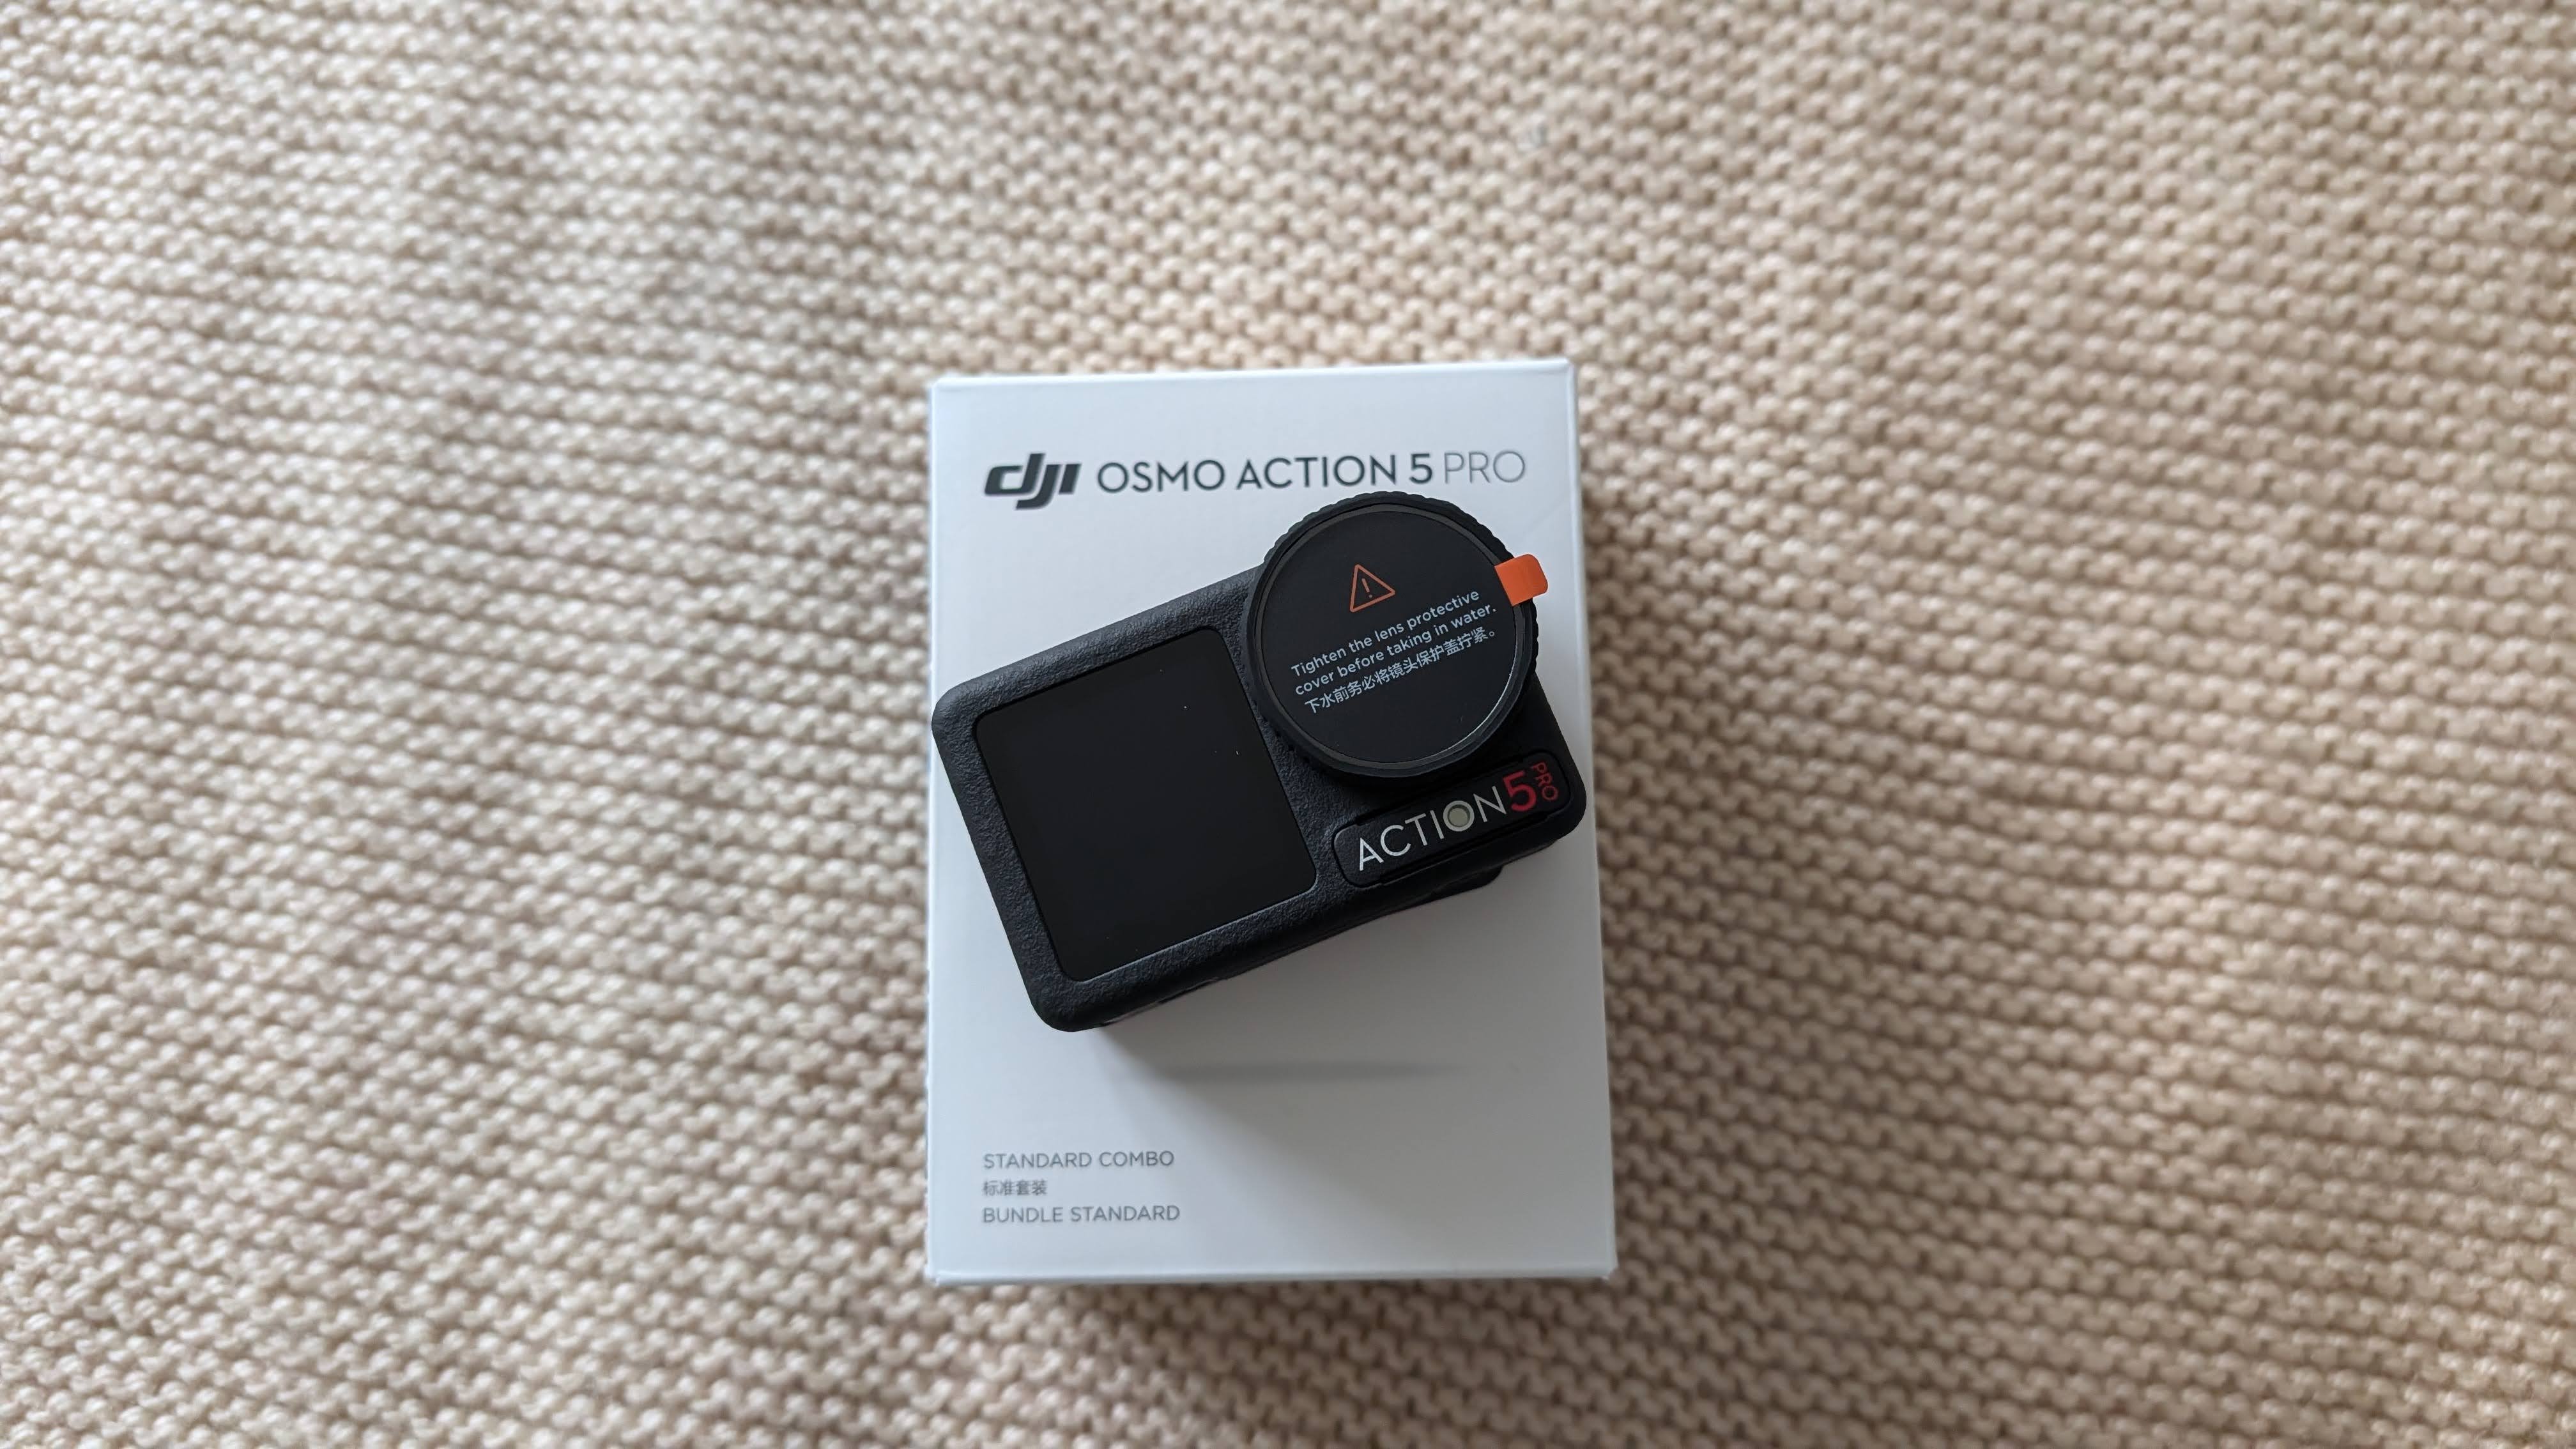
Those LUT .cube files can potentially be applied via FFMPEG CLI:
# ffmpeg -i DJI_20250518175448_0005_D.MP4 -ss 0 -to 10 -c copy output_first_10_seconds.mp4
# ffmpeg -i output_first_10_seconds.mp4 -i ./CINEMATIC.cube -filter_complex "lut3d" -c:a copy output_first_10_seconds_cinematic.mp4
Gyroflow
I already had a look to Gyroflow on the last video post.
For the DJI, they provide some lens profile:
And it can also be done with gyroflow-CLI:
gyroflow-cli --input DJI_20250518182847_0015_D.MP4 --output stabilized_video.mp4Photo Editing
Spending a lot on smartphone with cool cameras to…use snapseed?
Come on… whats next?
Uploading to social media in low resolution?

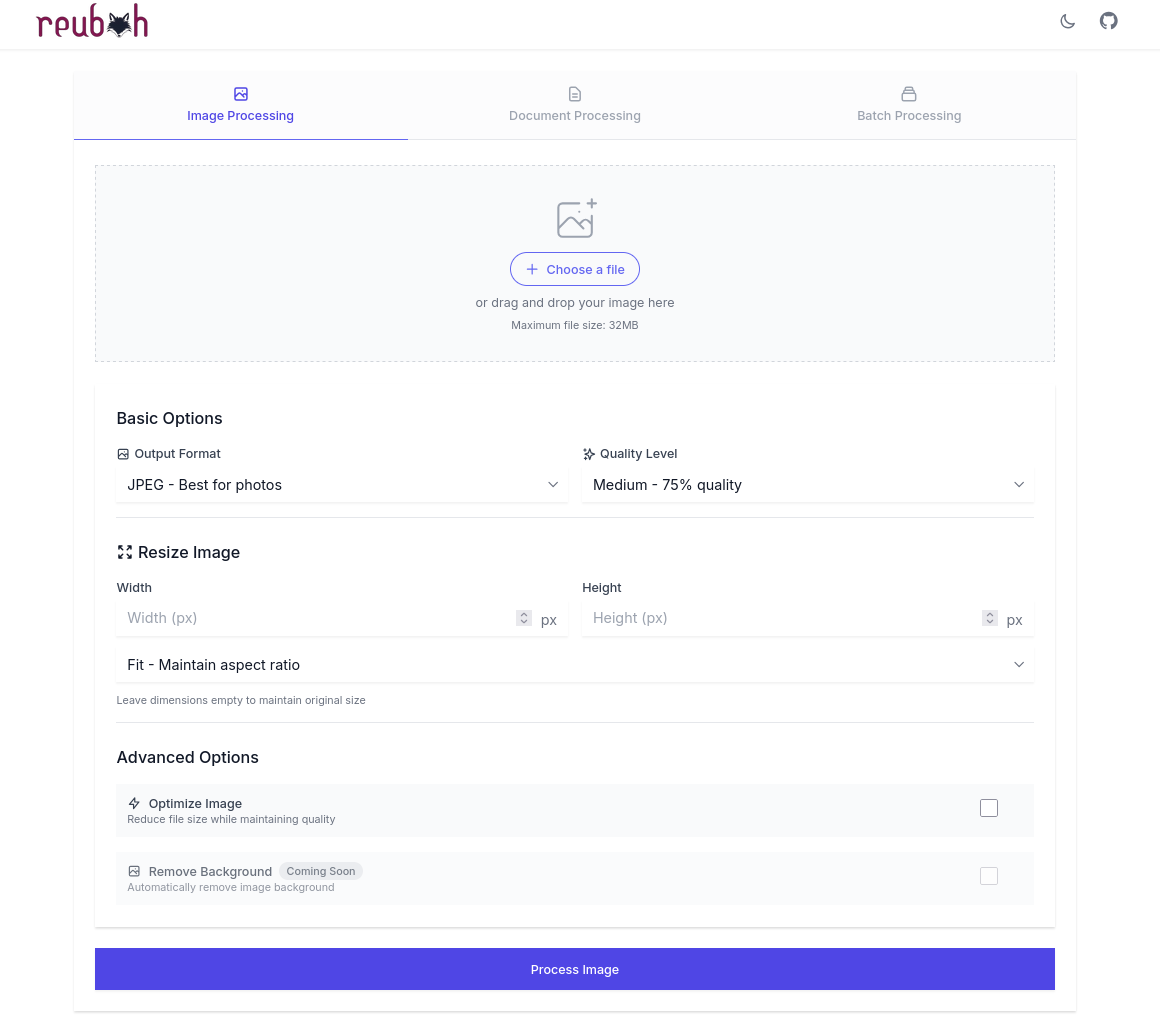
Lets do some CLI Photo tinkering:
file libreportfolio.png
#libreportfolio.png: PNG image data, 2048 x 2048, 8-bit/color RGBA, non-interlaced
convert libreportfolio.png -resize 1200x630^ -gravity Center -extent 1200x630 -quality 85% libreportfolio-og.jpeg
convert libreportfolio.png -resize 1200x630^ -gravity Center -extent 1200x630 libreportfolio-og.pngDarktable
Darktable is an open source photography workflow application and raw developer:
As a light room alternative!
Other photo editing
For just displaying, I like PiGallery
If you are into OSS, see:
- GIMP - The GNU Image Manipulation Program - https://gitlab.gnome.org/GNOME/gimp
- digiKam
- Photoflow
# Update package lists
sudo apt update

# Install Darktable
sudo apt install darktable

# Install digiKam
sudo apt install digikam

# Install PhotoFlow (available in Ubuntu 22.04+)
sudo add-apt-repository ppa:apandada1/photoflow
sudo apt update
sudo apt install photoflowsudo snap install pintaSimple GTK Paint Program
- See also Imagor: https://github.com/cshum/imagor
To remove photo backgrounds with OSS:
Tools for Creator Mode:
- OBS Studio - To record your screen
- SHAREX
- OpenShot or
Shotcut - Audacity - For audio edition
Conclusions
Every file has some metadata.
If you want, you can clean it with: https://github.com/KitQuietDev/rMeta
MIT | Secure, local tool for metadata stripping, GPG encryption, and file sanitization.
To enhance the quality of the images, we had UpScayl in our toolbox.
And there is a repo with some tweaks to make to UpScayl usable via CLI:
Now its time to put theory in practice:
Should you go for proper cameras, or just do with your smartphone?
You will need ton of space (specially for video).
Never forget about proper photo/video backups before your trips!
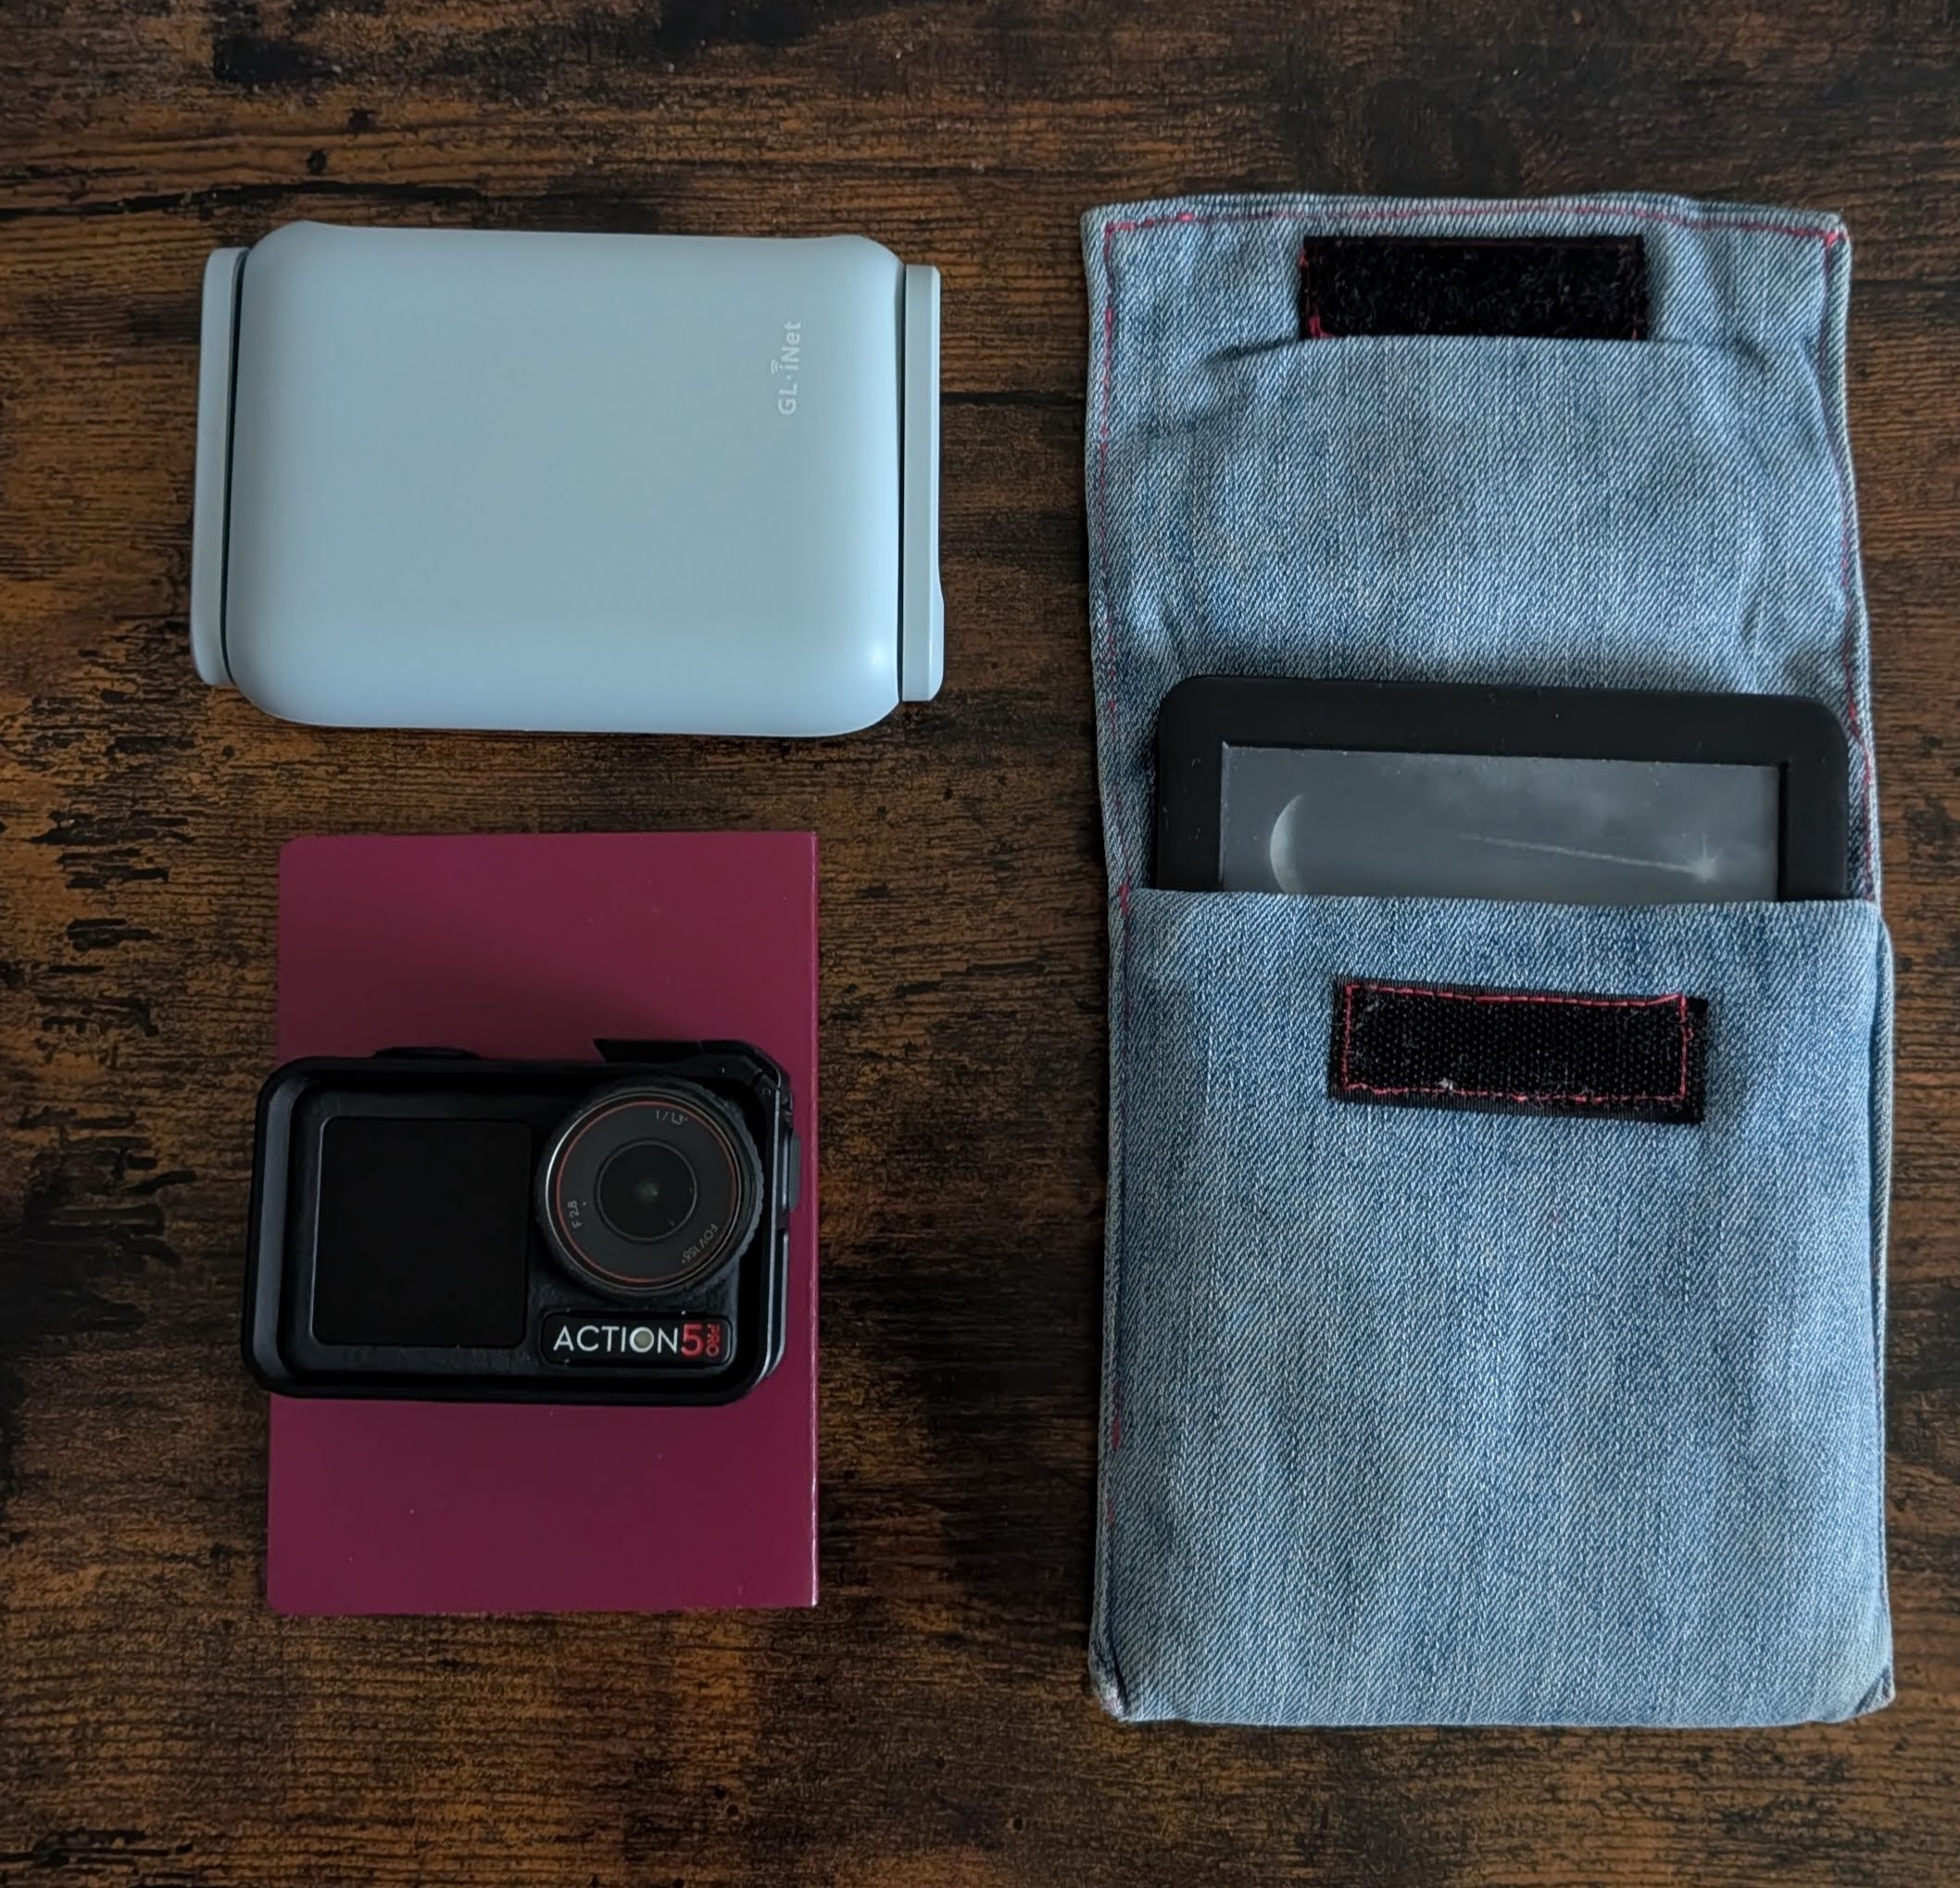 Tech for a TripPhoto Tools
ND Filters
A Neutral Density (ND) filter is essentially a sunglass for your camera lens.
It’s a filter made of darkened glass or resin that reduces the amount of light entering the camera sensor without affecting the color or hue of the scene.
How they work:
- ND filters are designed to reduce the intensity of all wavelengths of light equally. This means they dim the overall brightness of the scene without introducing any color casts (in theory; some cheaper ND filters might have slight color shifts).
- They work by absorbing or reflecting a certain percentage of the incoming light.
What ND Filders do | Types of ND 📌
What they do:
By reducing the amount of light reaching the sensor, ND filters allow you to:
- Shoot with wider apertures in bright conditions: This lets you achieve a shallow depth of field (blurry background) even in bright sunlight, which would otherwise overexpose your image if you tried to open up the aperture.
- Use slower shutter speeds in bright conditions: This enables you to capture motion blur in subjects like flowing water, moving clouds, or passing vehicles, creating a smoother, more artistic look. Without an ND filter in bright light, using a slow shutter speed would result in an overexposed image.
- Maintain a desired shutter speed for cinematic motion: As you mentioned, the 180-degree shutter rule often dictates a shutter speed double your frame rate. In bright conditions, without an ND filter, you might be forced to use a faster shutter speed than desired, resulting in less natural-looking motion. An ND filter allows you to stick to your desired shutter speed even when there’s plenty of light.
- Balance exposure: In situations with a very bright sky and a darker foreground, graduated ND filters (darker on one half, clear on the other with a gradual transition) can help balance the exposure across the scene, preventing the sky from being overexposed while keeping the foreground well-lit.
Types of ND Filters:
- Fixed ND Filters: These filters have a fixed density, meaning they reduce the light by a specific amount (e.g., 1-stop, 2-stop, 10-stop). You would need a set of these for different lighting conditions.
- Variable ND Filters: These filters consist of two polarizing layers that can be rotated relative to each other to control the amount of light reduction. They offer more flexibility but can sometimes introduce an “X” pattern or uneven darkening at their extreme settings, especially on wide-angle lenses.
- Graduated ND Filters (GND): These are dark on one half and gradually become clear on the other. They are typically rectangular and used in a filter holder to allow for precise positioning of the dark area (often used for landscapes).
In the context of video | ND Filters, Summarized 📌
ND filters are particularly crucial for video because you typically want to maintain a consistent frame rate and shutter speed for natural motion.
Adjusting the aperture and ISO (sensitivity) are the primary ways to control exposure, but aperture also affects depth of field, and increasing ISO can introduce noise.
ND filters provide an additional way to control the amount of light without sacrificing your desired cinematic motion or depth of field.
While a good quality ND filter should ideally not affect color, some cheaper ones might introduce a slight color cast.
- It’s generally recommended to invest in reputable brands to minimize this issue.
- Post-processing can often correct minor color casts if they occur.
Essentially, ND filters give you greater control over your exposure settings in bright light, allowing you to achieve creative effects and maintain the desired look and feel of your video or photographs
Color Grading
A Color Grading LUT (Lookup Table) is essentially a preset color filter that you can apply to your video footage or images to quickly alter and enhance its colors.
Think of it as a shortcut for complex color adjustments.
A breakdown of what Color Grading means 📌
Lookup Table: At its core, a LUT is a file containing a series of numerical values. These values act as a map, instructing your editing software how to transform the existing colors in your footage to a new set of colors.
Color Transformation: When you apply a LUT, the software analyzes the original color values of each pixel in your video or image and then uses the LUT’s data to change those values according to a predetermined formula. This can affect various aspects of color, including:
- Hue: The actual color (e.g., red, blue, green).
- Saturation: The intensity or purity of a color.
- Luminance: The brightness or darkness of a color.
- Contrast: The difference between the light and dark areas.
- Gamma: The overall tonal range and distribution of brightness.
Predetermined Look: LUTs are designed to achieve a specific visual style or look. This could be anything from a subtle color correction to a dramatic cinematic effect, or even emulating the look of specific film stocks.
Efficiency: Instead of manually tweaking numerous color parameters for each shot, applying a LUT provides a one-click solution to achieve a consistent look across your project, saving significant time in the color grading process.
Think of it like this: Imagine you have a recipe (the LUT) that tells you exactly how much of each color ingredient (the original footage colors) you need to mix to get a specific final color dish (the color-graded footage).
Key things to understand about LUTs:
- Not a Replacement for Color Correction: While LUTs handle color grading (the creative aspect of establishing a look), they are generally not a substitute for basic color correction.
It’s often best to first balance your footage for white balance, exposure, and contrast before applying a creative LUT.
- Different Types of LUTs:
- Technical LUTs (Conversion LUTs): These are designed to convert footage from a specific camera’s log format (a flat, high dynamic range format) to a standard color space like Rec. 709, providing a more natural starting point for grading.
- Creative LUTs (Look LUTs): These are designed to impart a specific aesthetic or style to your footage, such as a vintage feel, a cinematic look, or a specific color palette.
- File Formats: Common LUT file formats include
.cube,.3dl, and.look. - Software Compatibility: LUTs are widely supported by most professional video editing and color grading software (e.g., DaVinci Resolve, Adobe Premiere Pro, Final Cut Pro).
In essence, a color grading LUT is a powerful tool that offers a quick and efficient way to apply complex color transformations to your footage, helping you achieve a desired visual style and maintain consistency across your projects.
- Applying LUT with KDEnlive +
.Cube’s for the DJI Oa5pro: https://www.dji.com/pl/downloads/softwares/dji-osmo-action-5-pro-d-log-m-to-rec-709-vivid-lut
KDEnlive | Color Grading with Cube files 📌
Kdenlive has a built-in effect specifically for applying LUTs. Here’s how you can use it:
- Open the Effects Tab: In Kdenlive, go to the “Effects” tab (usually on the right side).
- Search for “Apply LUT”: In the search bar at the top of the Effects tab, type “Apply LUT”.
- Add the Effect: Drag the “Apply LUT” effect onto the clip you want to color grade on the timeline. You can also apply it to a track or the master track to affect multiple clips.
- Open Effect Settings: Select the clip with the “Apply LUT” effect and go to the “Effect/Composition Stack” tab (often in the same area as the Project Bin or Properties). You should see the settings for the “Apply LUT” effect.
- Select the LUT File:
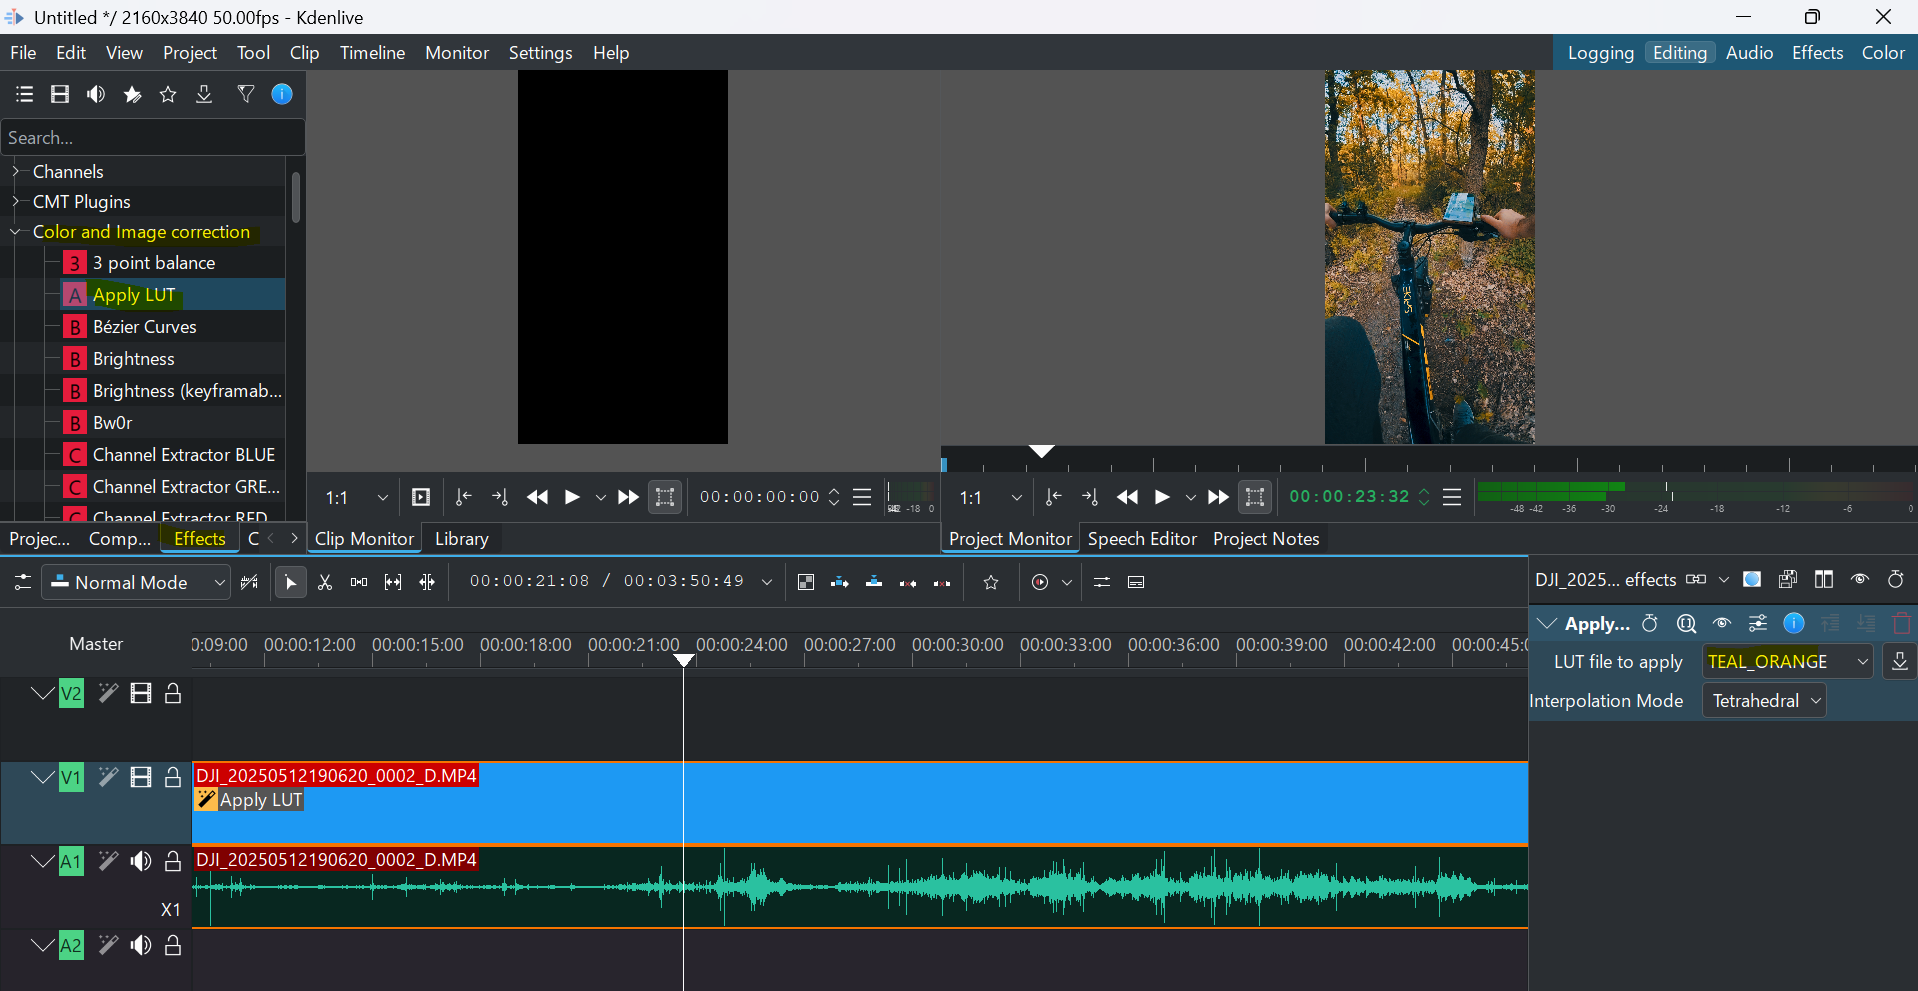
- In the “LUT file to apply” dropdown menu, you might see some default LUTs.
- To use a custom LUT file (e.g., a
.cubeor.3dlfile you’ve downloaded), select “Custom…”. This will open a file dialog where you can browse to and select your LUT file.
- Interpolation Mode (Optional): You can choose the interpolation mode (Nearest, Trilinear, Tetrahedral). Trilinear or Tetrahedral usually offer smoother results but might be slightly more resource-intensive.
Kdenlive supports .3dl (After Effects) and .cube (Iridas) LUT file formats.
FFmpeg + LUT | CLI Details 📌
FFmpeg, being a command-line tool, requires you to use the appropriate filter to apply LUTs. The primary filter for this is lut3d.
Here’s the basic syntax:
ffmpeg -i input.mp4 -vf lut3d="path/to/your/lutfile.cube" output.mp4Explanation:
ffmpeg: The command-line tool.-i input.mp4: Specifies the input video file.-vf lut3d="path/to/your/lutfile.cube": This is the video filter option (-vf) that applies the 3D LUT. Replace"path/to/your/lutfile.cube"with the actual path to your LUT file. FFmpeg commonly supports the.cubeformat.output.mp4: Specifies the name of the output video file with the LUT applied.
Example for other LUT formats (using haldclut which can be generated from various LUTs):
If you have a LUT in a format that lut3d doesn’t directly support, you might need to convert it to a Hald CLUT PNG image and then use the haldclut filter in FFmpeg:
- Generate Hald CLUT: You might need a separate tool or script to convert your
.3dlor other LUT format into a Hald CLUT PNG image. - Apply with FFmpeg:
ffmpeg -i input.mp4 -i haldclut.png -filter_complex haldclut output.mp4-i haldclut.png: Specifies the Hald CLUT image as a second input.-filter_complex haldclut: Uses thehaldclutfilter.
Important Considerations for FFmpeg:
- File Paths: Make sure the path to your LUT file is correct.
- Output Encoding: You might want to add encoding options (e.g.,
-c:v libx264 -crf 23for H.264 encoding) to control the quality and format of your output video. - Complex Filtering: You can chain other FFmpeg filters with
lut3dfor more advanced processing.
In summary, both Kdenlive (with its dedicated “Apply LUT” effect) and FFmpeg (using the lut3d filter) provide ways to apply color grading LUTs to your video footage. Kdenlive offers a more graphical and user-friendly approach, while FFmpeg provides powerful command-line control and flexibility.
Yes, you can definitely apply .cube files to any MP4 video file using the right software. Here’s how it works with the tools you mentioned:
1. Kdenlive:
- Yes, Kdenlive has a built-in “Apply LUT” effect that directly supports
.cubefiles. - You can apply this effect to individual clips, tracks, or even the master track to affect the entire project.
- You’ll need to import the
.cubefile through the effect’s settings.
2. FFmpeg:
- Yes, FFmpeg can apply
.cubeLUT files to MP4 videos using thelut3dvideo filter. - You’ll need to use the command-line interface and specify the path to your
.cubefile in the filter options.
In general, .cube is a widely supported LUT format in many video editing and color grading applications beyond just Kdenlive and FFmpeg. This includes popular software like:
- DaVinci Resolve
- Adobe Premiere Pro
- Adobe After Effects
- Final Cut Pro
The process generally involves:
- Importing the MP4 video into your chosen software.
- Applying a LUT effect or filter to the video clip.
- Loading or selecting the
.cubefile within the LUT effect’s settings. - Rendering or exporting the video to permanently apply the color grading.
So, regardless of the MP4 file itself (as long as it’s a standard, decodable video), you can use .cube LUTs to change its color appearance using compatible software like Kdenlive or FFmpeg.
D-log
Shutter Speed
Yes, in most standard video production scenarios, it absolutely makes sense and is generally recommended to have your shutter speed roughly double your frame rate.
This is often referred to as the “180-degree shutter rule.”
Why the 180 rule is a good practice 📌
- Natural Motion Blur: This combination creates a level of motion blur that looks natural to the human eye. It mimics how we perceive motion in the real world. Each frame captures movement over roughly half of the time it takes for the next frame to be captured.
- Cinematic Look: This is a key element in achieving a cinematic feel. Too little motion blur can make movement look stroboscopic and unnatural, while too much can make everything appear smeary and soft.
- Standard Practice: It’s a widely accepted and followed guideline in filmmaking and video production, making your footage fit seamlessly with other professionally shot material.
- Balance: It strikes a good balance between sharpness and motion portrayal. Objects in motion will have a natural blur, helping to convey speed and movement without sacrificing too much detail in static parts of the frame.
Here’s how it breaks down with common frame rates:
- 24 fps (cinematic standard): Shutter speed around 1/48th of a second (often rounded to 1/50th on many cameras).
- 30 fps (common for broadcast and online content): Shutter speed around 1/60th of a second.
- 60 fps (for slow-motion playback at 30 fps): Shutter speed around 1/120th of a second.
- 120 fps (for even slower slow-motion at 30 or 60 fps): Shutter speed around 1/240th of a second.
When might you deviate from the 180-degree shutter rule?
While the double frame rate rule is a great starting point, there are creative reasons to deviate:
- Faster Shutter Speed (less motion blur):
- Stroboscopic Effect: To create a sharp, almost stop-motion-like effect, often used for action sequences or dreamlike states (e.g., the opening of “Saving Private Ryan”).
- Increased Clarity in Fast Motion: To reduce motion blur and make fast-moving objects appear sharper.
- Slower Shutter Speed (more motion blur):
- Dreamy or Ethereal Look: To create a soft, flowing feel.
- Exaggerated Sense of Speed: To make fast-moving objects leave long trails of blur.
- Low Light Situations (as a last resort): If you absolutely need more light and can’t open your aperture or increase ISO further, a slower shutter speed will let in more light, but at the cost of increased motion blur.
In conclusion:
For the vast majority of your video work, aiming for a shutter speed that is double your frame rate is a solid foundation for achieving natural-looking and aesthetically pleasing motion.
Deviating from this rule should be a conscious creative choice made to achieve a specific visual effect!
FAQ
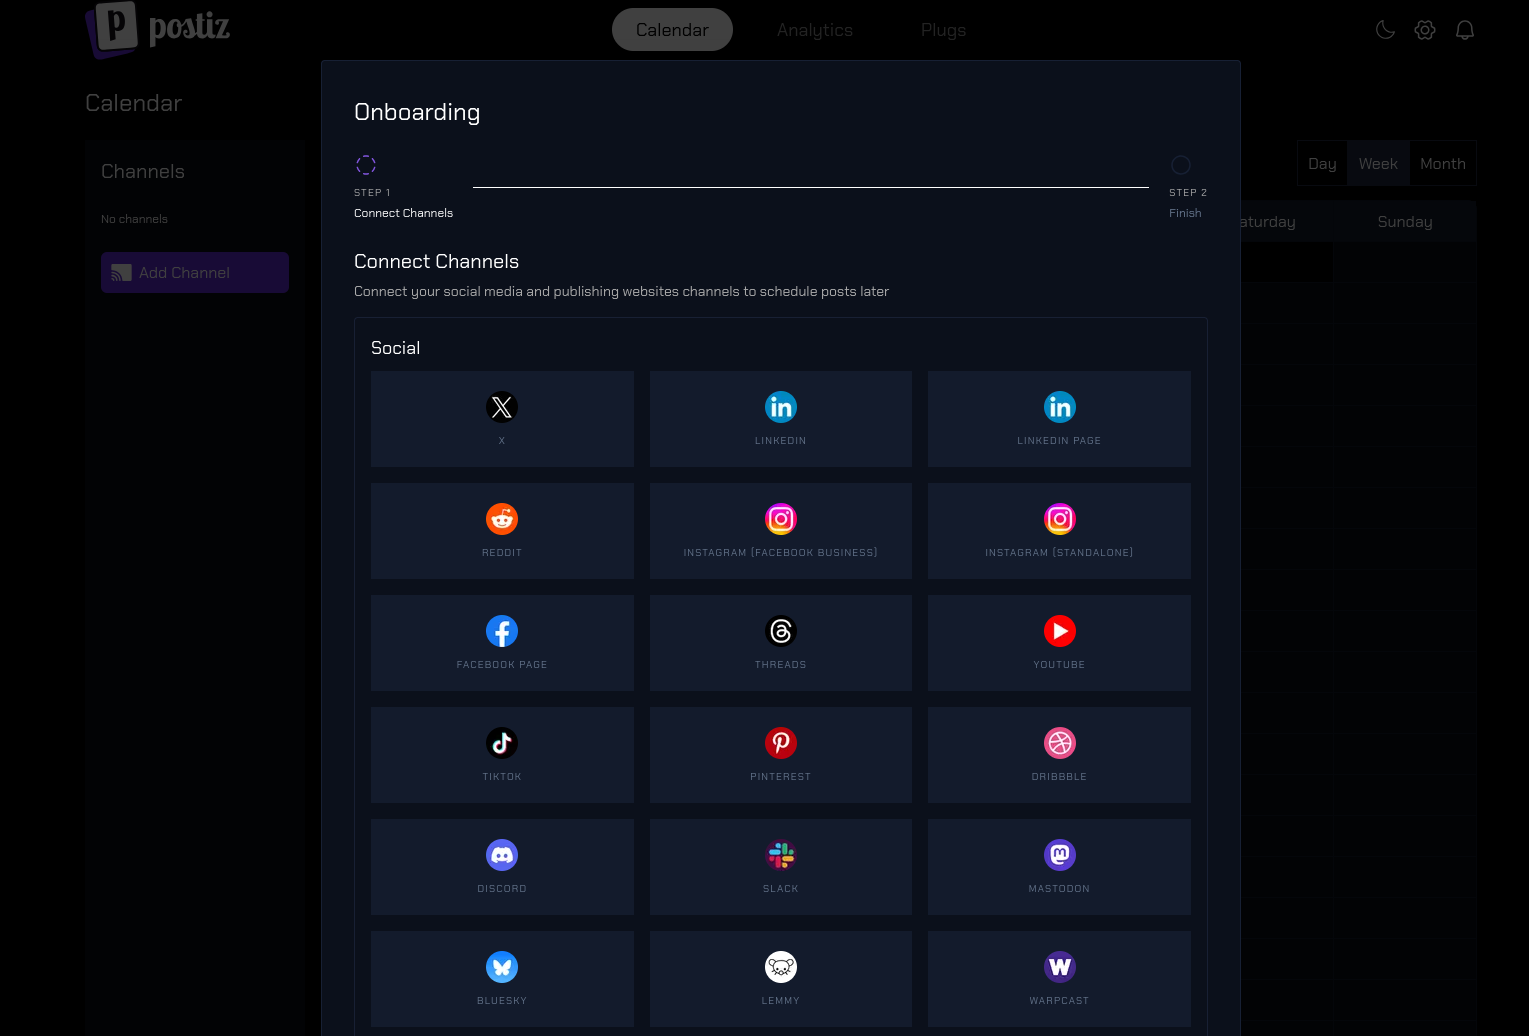
How to Setup PostIZ
Schedule post on social media:
I got PostIZ working together Traefik to get https and SSL certificates:
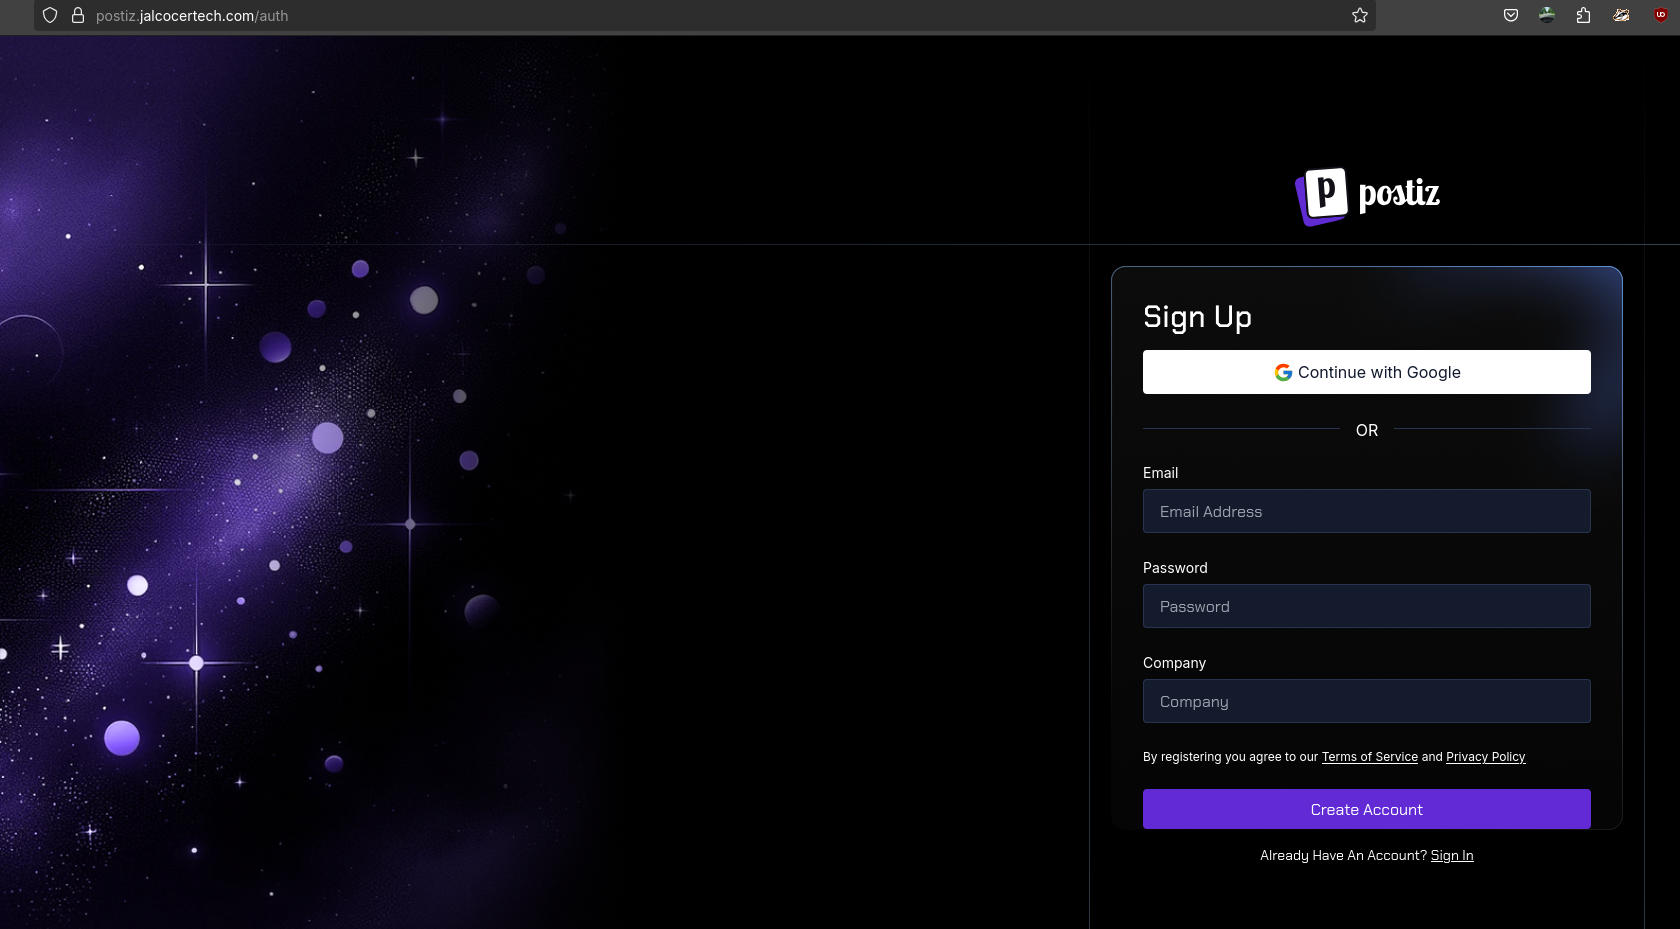
Once logged into PostIZ:
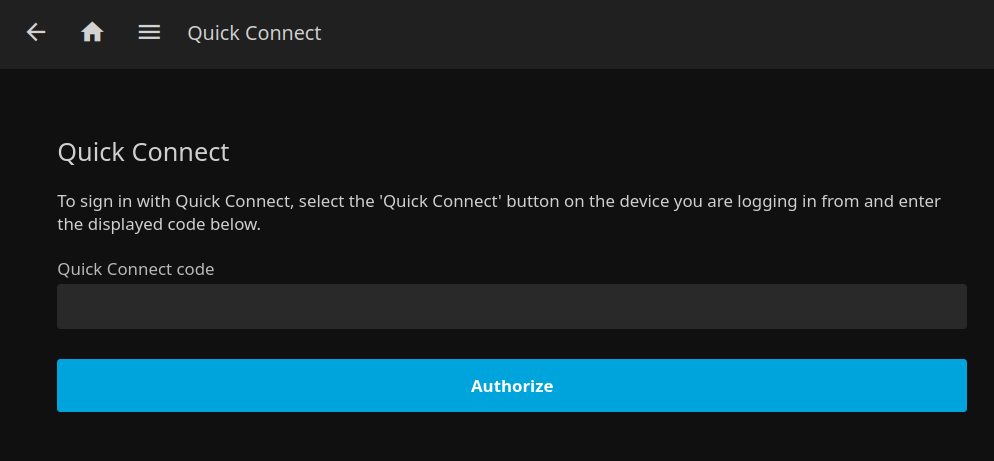
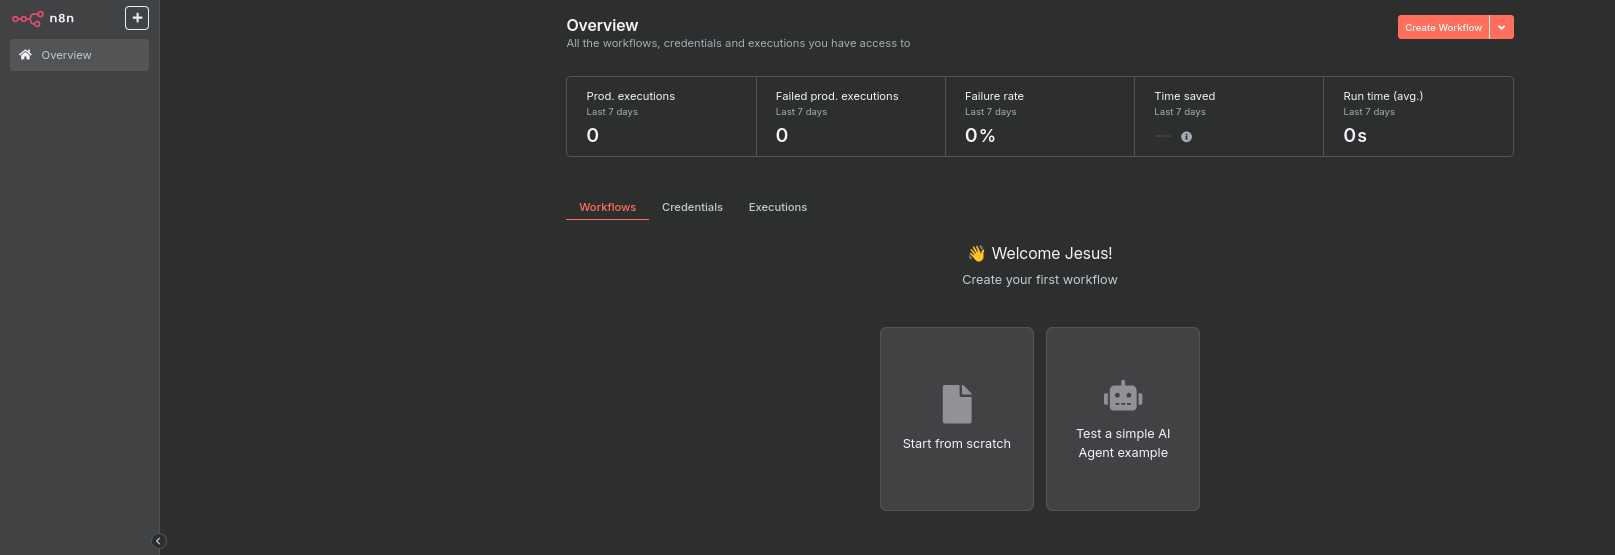
How to setup n8n
As long as you have docker ready, you are good to go:

Then, create your N8N workflows:
Just use this compose within your server ready for containers: