Automation for your Agency
Tl;DR
If you dont have anything valuable to automate, maybe others do and need your help ($)
Intro
Just recently I covered how to build a quick product with auth + landing
Also, couple of marketers show me a cool workflow
And I saw this insightful video:
If you read me for some time already, you are also aware of APIs, Webhooks and automations (not only with n8n)
How can this all be put together?
I mean…a ,custom’ solution that provides out of the box a UI for the final user.
Why automation?
The video titled “The ‘Boring’ AI Business Model Making Millionaires in 2025” by Ben AI discusses a lucrative and largely overlooked market: AI-powered service agencies, which he calls “AI first service agencies.”
Ben emphasizes that despite the booming AI SaaS (Software as a Service) market and the AI agency sector, the traditional service industry—such as digital marketing, talent, and operational services—remains the largest and most profitable market being disrupted by AI.
Key Themes from the Video
Market Potential
Ben notes that in 2025, the AI automation agency market is valued at around $11 billion, while the AI SaaS market is approximately $300 billion.
However, the service industry, valued at trillions, is being transformed by AI in ways that are not yet fully recognized.[1]
According to the video, the service industry is broadly divided into three main categories:
Growth Services: These services help businesses generate new pipeline or revenue, including lead generation and digital marketing services like content creation, paid ads, SEO, and social media marketing.
Talent Services: These provide companies with new talent, including recruiting agencies, staffing agencies, and headhunters.
These 2 being a way to get leads a a way to deliver them.
Get demand, provide supply :)
- Operational Services: These include various support functions such as legal services, outsourced customer support (e.g., call centers), accounting, and bookkeeping.
Ben focuses mostly on digital marketing services and talent services in the video, highlighting that these two categories provide the highest ROI to businesses by addressing key bottlenecks like acquiring new leads and managing new customer growth.
The other two markets mentioned for comparison in the video are:
AI Automation Agency Market: Valued around ~$11 billion, these agencies use AI to automate and deliver services more efficiently.
AI SaaS Market: Valued around ~$300 billion, focusing on AI software products delivered as services.
The video emphasizes that the traditional service industry (growth, talent, operational) remains the largest and most untapped market being disrupted by AI.[1]
What Are AI First Service Agencies?
These agencies combine domain expertise with AI and automation to streamline service delivery, increase margins, and serve more clients efficiently.
Examples include lead generation, recruiting, marketing, and creative services that utilize AI for prospecting, content creation, and process automation.
Why Are They Profitable?
Traditional agencies struggle with low margins (around 20-30%), scalability through hiring, and high competition.
AI agencies, by automating key processes, can handle more clients per manager, improve outcomes, reduce costs, and offer lower prices or outcome-based pricing models.
Examples & Success Metrics
- Cold IQ, a lead generation AI agency, generated about $6 million in ARR with only 30-35 employees by heavily automating prospecting and outreach processes.
- Rocket, a recruiting agency, uses AI to source and deliver better candidates faster.
- Superside, a broad marketing agency, doubled ARR after implementing AI, and others like the AI SEO system reduce operational costs and increase margins.
Productization & Market Expansion
Ben highlights the trend of transforming services into self-serve, productized solutions. Examples include Hoppy Copy (newsletter automation), POPAI (video script creation), and Opus Clips (video editing). The core idea is delivering outcomes, not just AI tools, with AI serving as an enabler for better, faster, and cheaper service delivery.[1]
Strategic Opportunities
- The red ocean: compete for high-budget clients with AI-enhanced, efficient services.
- The blue ocean: target underserved niches and small businesses, offering lower-priced, outcome-oriented services that were previously too expensive for traditional agencies.[1]
How To Start & Monetize
Ben recommends combining domain expertise with technical skills or partnering with AI-savvy engineers.
Starting as a custom AI automation service targeting agencies or niche markets can build expertise while gradually productizing services into self-serve platforms.
Monetization options include retainer-based, outcome-based, and product sales to agencies and end-users alike.
Final Advice
He stresses the importance of automating key processes, building end-to-end AI systems, and focusing on delivering real business outcomes—like leads, revenue, or brand awareness—rather than just selling AI tools.
Targeting smaller or underserved markets with lower prices is a strategic move enabled by automation, creating largely untapped demand.[1]
This summary encapsulates how AI-powered service agencies are transforming what Ben describes as an “unsexy,” low-margin market into highly scalable, profitable ventures leveraging automation and outcome-based strategies.
Here is a breakdown of famous or notable companies operating in each of the three parts of the service industry as per the video, and in the AI automation agency and AI SaaS sectors mentioned:
Growth Services (Digital Marketing, Lead Gen, etc.)
- GrowthRocks (London, UK) — Growth hacking agency working with Volvo, FedEx
- Rockboost (The Netherlands) — Growth hacking, clients include Cisco, Philips, Sony
- Deviate Labs (Los Angeles, USA) — Consulting for growth marketing
- Growth Division (London, UK) — Custom growth teams for startups
- Voxturr (San Francisco, USA) — Growth backing for startups, SMBs, enterprises[1]
Talent Services (Recruitment, Staffing)
- Randstad (Netherlands) — One of the world’s largest staffing companies
- Robert Half — Recruitment specializing in finance, accounting, IT, law
- ManpowerGroup — Large global workforce provider
- Hays — Specialist recruitment agency with IT, finance, engineering niches
- Adecco — Staffing solutions across various industries globally[2][3]
Operational Services (Legal, Accounting, Support, Automation)
- Honeywell International Inc. — Operational technology solutions
- Siemens — Industrial and operational tech services
- Rockwell Automation — Industrial automation and safety solutions
- General Electric — Operational tech in manufacturing and engineering sectors
- Oracle, IBM — Provide operational consulting and tech[4]
AI Automation Agencies
- DevsData LLC — AI consulting, machine learning, data science services (NY, Warsaw)
- AI Superior — AI consulting and automation development (Germany)
- Automation House — No-code AI automation solutions
- Integrated Solutions — AI-driven business transformation services[5][6]
AI SaaS Companies
- OpenAI — Developer of GPT models and AI SaaS applications
- Google DeepMind — Advanced AI systems, including AlphaGo and AlphaFold
- Anthropic — AI safety and SaaS platform with aligned LLMs
- IBM Watson — AI enterprise software and analytics
- Databricks — Data engineering and machine learning SaaS platform[7][8][9]
This list reflects key recognizable players in each segment of the service industry and the AI-powered markets highlighted in the video context. Each category features firms focusing on transforming large traditional spaces with technology and AI.
Practical Automation in a HomeLab
n8n

You can make n8n integrations within your cool vibe coded Web Apps:
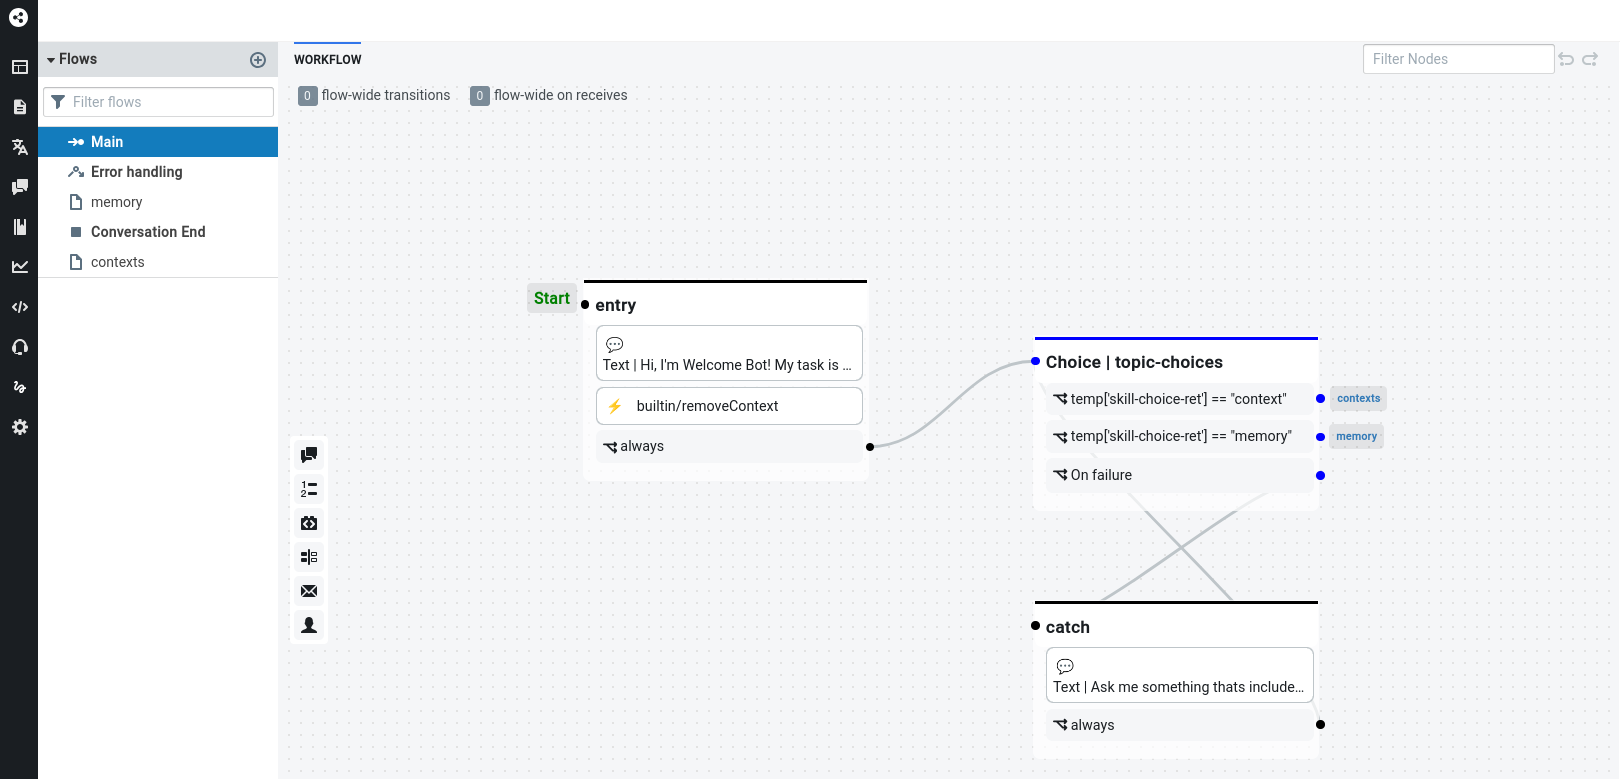
BotPress
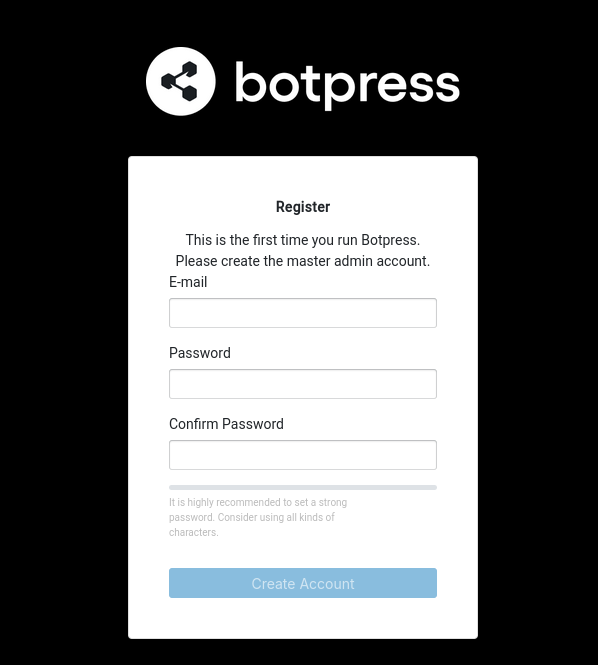
Once you are logged in to botpress, you can create your chatbots and logic via UI within a dashboard:
TypeBot

Conclusions
As always, a lot of information to digest.
Do stuff!
Use Cases
eBook Creation
Just in case you are aware of Pandoc.
And how to convert .md to cool pdf or even to epub for ebooks.
To keep things simple, id say to go with the
.Rmd-> PDF and leave epubs and their html relations for later when you really have people who want to buy from you via amazon.
Real Estate Chat Bot
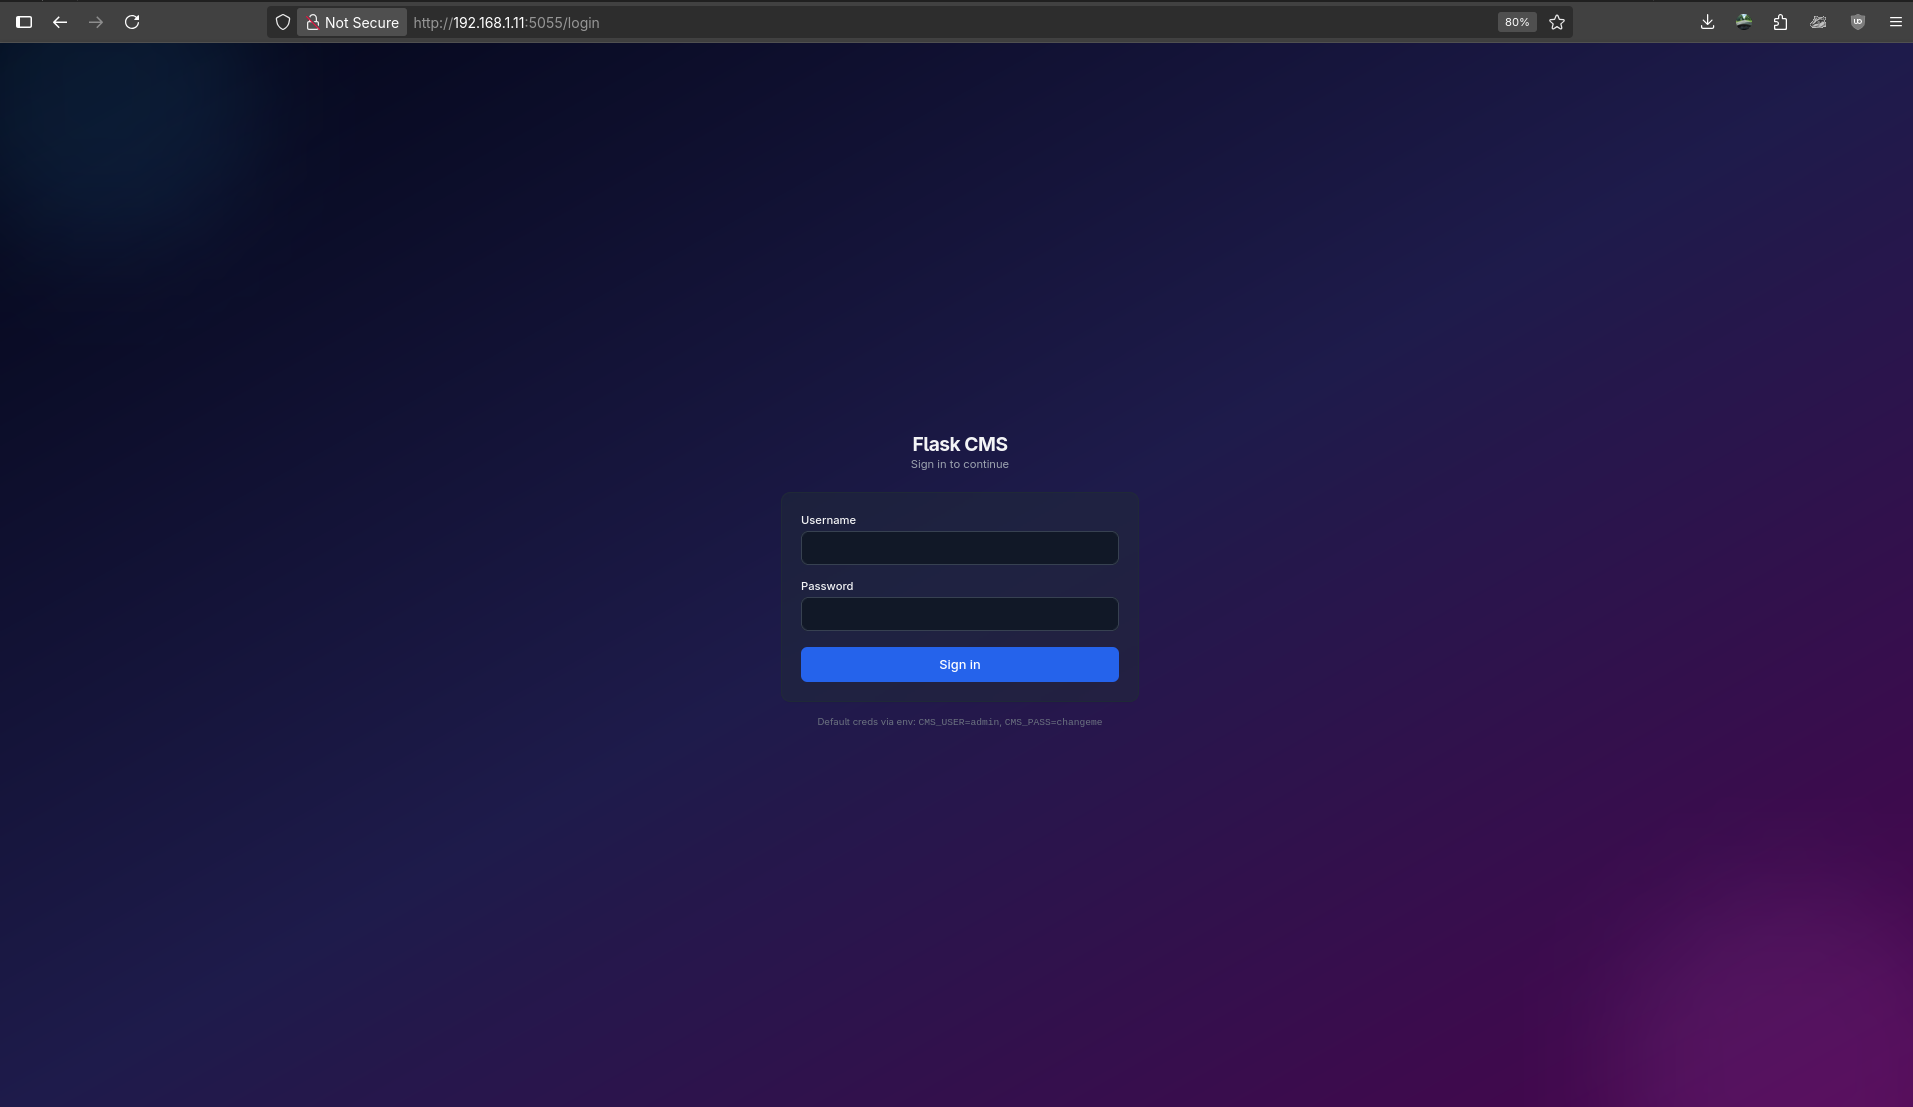
The FlaskCMS v2 for real estate was a great idea.
But how about if you can just scrap + get the property added for your collaborations?
Wasnt it cool that vibe coded gradient?
n8n x Github
Sample wf https://github.com/JAlcocerT/Home-Lab/blob/main/n8n/sample-workflows/4-openai-github_posts.json
How to push OpenAI generated .md to github with n8n 🚀
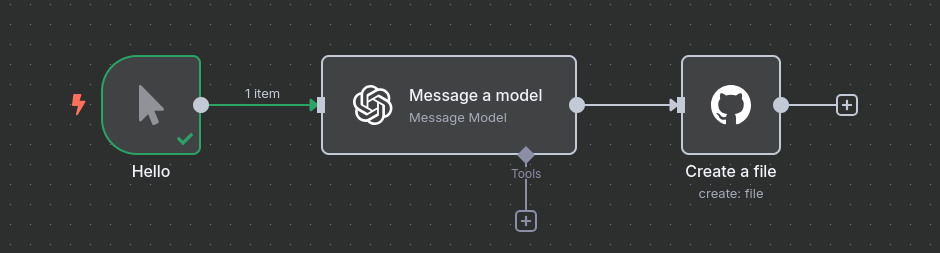
Creating this n8n workflow is straightforward. You’ll use three main nodes: Manual Trigger, OpenAI, and GitHub.
Here is a step-by-step guide to building the workflow.
Set Up the Workflow Structure
Create a New Workflow: In your n8n dashboard, click “New” to start a blank workflow.
Add the Trigger Node: Replace the existing Start node with the Manual Trigger node. This lets you manually input data (your message) when you execute the workflow.
- Search for “Manual Trigger” and add it.
Get User Input and Send to OpenAI
Next, you’ll configure the trigger to accept your message and then pass it to OpenAI.
A. Configure Manual Trigger
- Click the Manual Trigger node.
- In the parameters pane, click “Add Parameter” and select “Prompt List”.
- Set the following values:
- Field Type:
Long Text - Field Name:
input_message - Display Name:
Your Message to OpenAI
- Field Type:
B. Configure OpenAI Node
Add an OpenAI node and connect it to the Manual Trigger node.
Credentials: Select or create your OpenAI API credentials.
Operation: Set to
Chat CompletionorGenerate Text.Model: Choose a model like
gpt-4oorgpt-3.5-turbo.Messages: This is where you pass your input.
- Set the Role to
User. - In the Content field, click the ‘Expression’ button (the gear icon) and select the variable from your trigger node:
{{ $json.input_message }} - (Optional but Recommended): Add a System message above the User message to instruct the model to produce output in Markdown format:
- Role:
System - Content:
Your task is to generate a comprehensive and well-structured response based on the user's message. Format all output using Markdown.
- Role:
- Set the Role to
Push the Markdown File to GitHub
The final step is taking the text output from the OpenAI node and creating a new file in your GitHub repository.
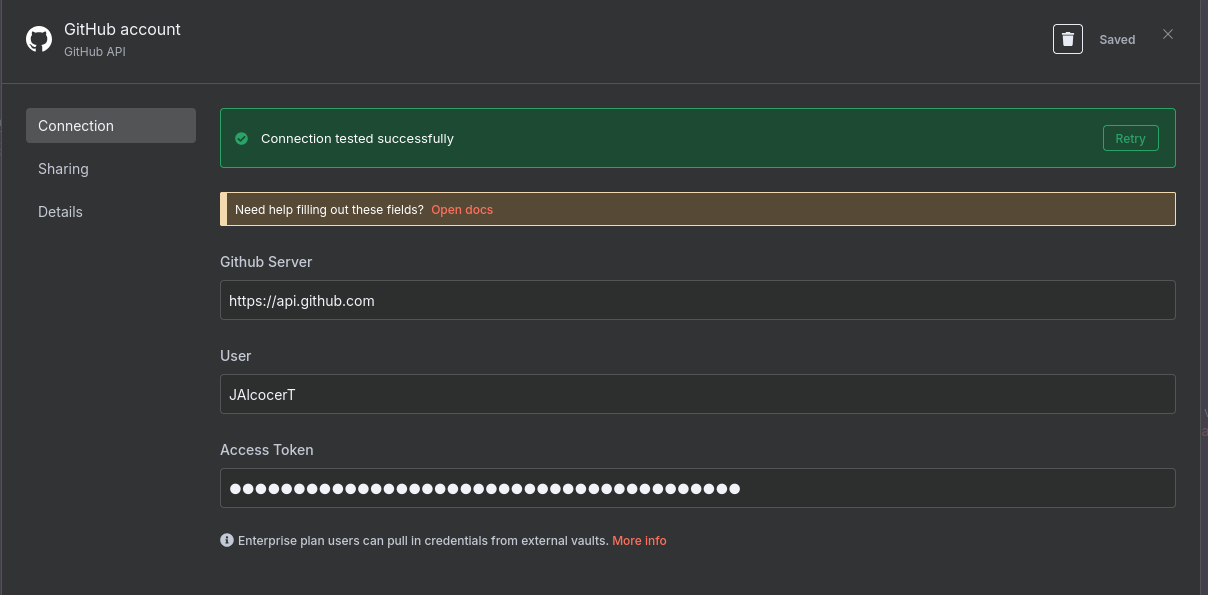
A. Configure GitHub Node
- Add a GitHub node and connect it to the OpenAI node.
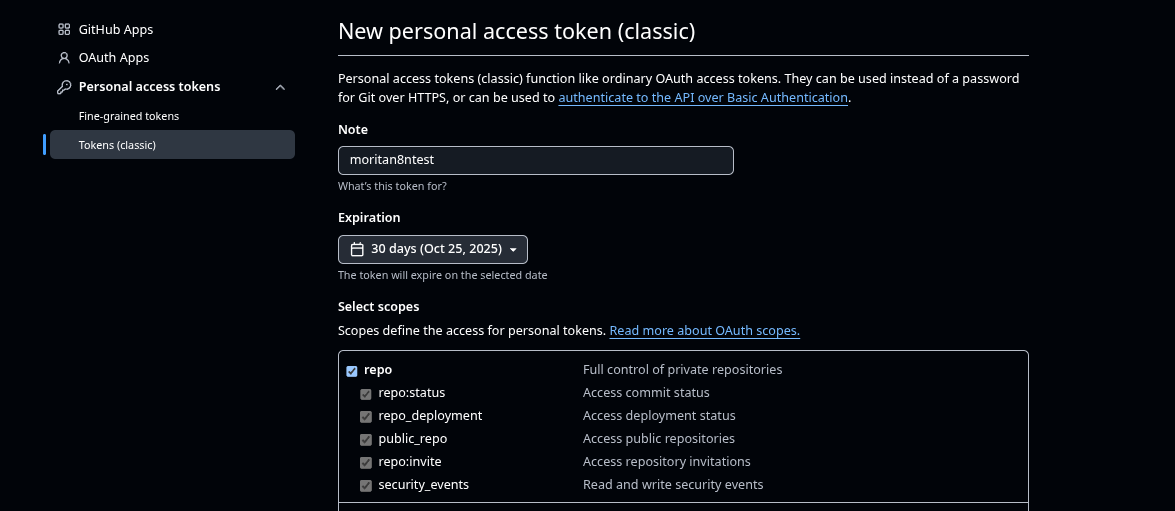
- Credentials: Select or create your GitHub API credentials. (You’ll need a Personal Access Token with
reposcope permissions.) - Resource: Set to
File. - Operation: Set to
Create.
B. Configure File Details
- Repository: Enter the name of your GitHub repository (e.g.,
my-content-repo). - Branch: Enter the target branch, typically
mainormaster. - File Path: Set the path and name for the new file. You can use an expression to generate a unique filename based on the current time and a
.mdextension:output/{{ new Date().toISOString().replace(/:/g, '-') }}.md- This creates a file like
output/2025-09-25T13-02-21-345Z.md.
- This creates a file like
- Content: Click the ‘Expression’ button to map the Markdown text from the OpenAI node. The path will typically be:
{{ $json.choices[0].message.content }} - Commit Message: Enter a message for the commit:
New content generated by OpenAI for "{{ $json.input_message.substring(0, 30) }}..."
Test and Activate
- Test Execution: Click the Manual Trigger node and enter a test message (e.g., “Write a short article about self-hosting benefits.”).
- Click “Execute Workflow”.
- Check the output of each node. The GitHub node should report success.
- Verify the new Markdown file appears in your GitHub repository.
- Once everything works, click the “Active” toggle in the top right to enable the workflow for future manual use.
So writting posts into Github so that the SSG+CI/CD workflow starts be like:
See what they produce. Sample md
n8n x Scraping
Instead of having this cool streamlit web scrapper…
and better than this n8n tg scrap wf
With BS4
Just use…FireCrawl with n8n https://www.npmjs.com/package/@mendable/n8n-nodes-firecrawl

You can use firecrawl hosted service, DIY or use elestio:

Lets use this Example page for RE to scrap information
What a better chance than this to start trying the when chat message received aka chat trigger node?
#https://n8n.jalcocertech.com/webhook/926db831-364e-4cbf-968b-c4abf21c640b/chat
 curl -X POST https://n8n.jalcocertech.com/webhook/926db831-364e-4cbf-968b-c4abf21c640b/chat -H "Content-Type: application/json" -d '{"message": "Hello, test message", "sessionId": "test-session-123"}'
For the chatbot interface to be rendered into a website:
- https://www.npmjs.com/package/@n8n/chat?activeTab=readme
- https://github.com/symbiosika/n8n-embedded-chat-interface
Yes, n8n provides a script that can be added to the head of a website to embed an interactive chatbot interface that sends and receives messages from an n8n workflow.
The “N8N Embedded Chat Interface” is a native web component that you can easily integrate on any website with just a few lines of HTML and JavaScript.
You include a script tag linking the chatbot interface library from a CDN, then add a custom HTML tag with attributes specifying the webhook URL of your n8n workflow that handles the chatbot logic.
Example snippet to add to your website:
<script src="https://cdn.jsdelivr.net/npm/n8n-embedded-chat-interface@latest/output/index.js"></script>

<n8n-embedded-chat-interface
  label="My AI Assistant"
  hostname="https://your-n8n-webhook.com/webhook/:id-of-your-webhook-node"
  open-on-start="false">
</n8n-embedded-chat-interface>
Your n8n workflow must have a webhook trigger node configured to receive POST requests from this widget, parse incoming chat messages, run your chatbot logic (e.g., calling an AI agent node like OpenAI), and respond with JSON containing the chatbot reply and session info.
The workflow should respond with JSON in this format:
{
  "output": "Chatbot response",
  "sessionId": "session-id"
}
This setup allows you to embed a fully functional conversational chatbot powered by n8n workflows directly into your website, supporting real-time interaction with users without needing separate chatbot hosting.
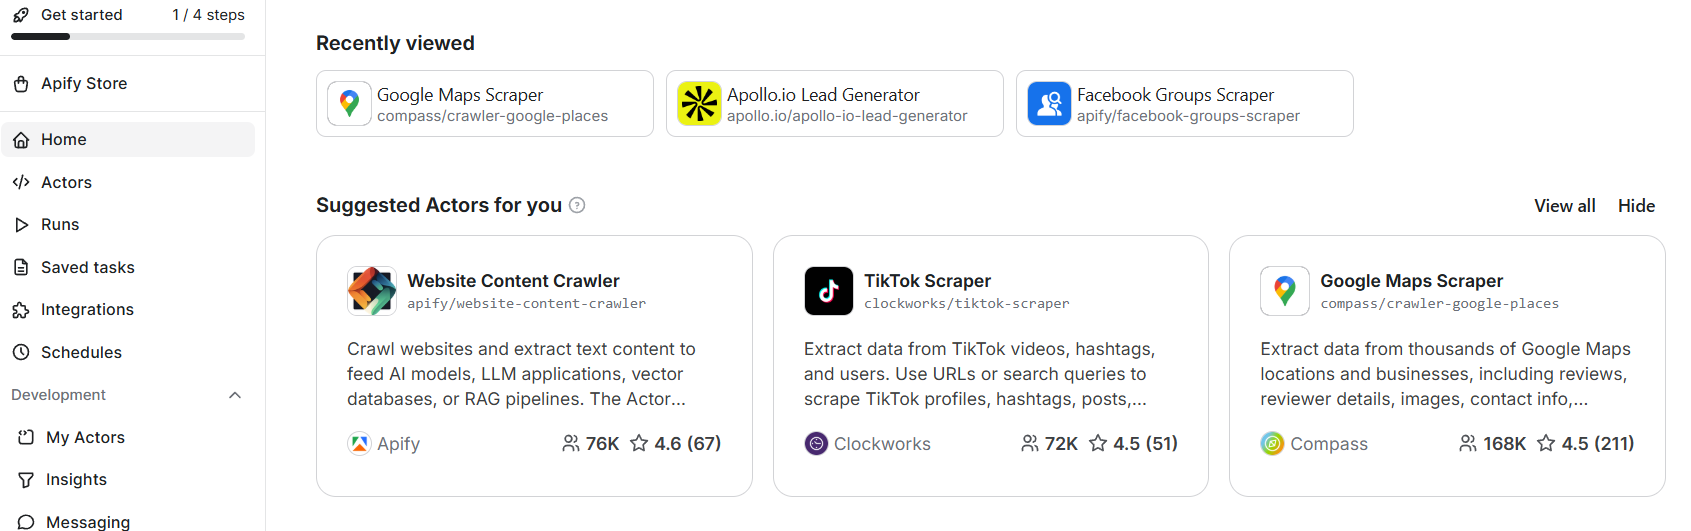
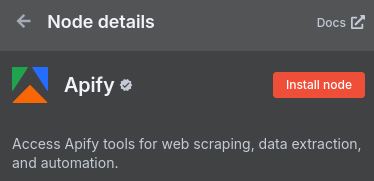
n8n x APIFY
n8n x leads
How about capturing leads with some n8n automation?
Landing ChatBot with KB knowledge
Or a chatbot for your landing page, that can answer questions based on your knowledge base?