How are you selling? Webify (v0.1) Edition
TL;DR
Business concepts to help you help others for money, aka sell
+++ Selfhosted Invoicing software: InvoiceNinja (accepts btcpayserver), Invoicerr, serverless-invoices, BillaBear +++ Formbricks and Umami x Flask +++ Stripe API and Logto working with Flask
Intro
It was about time to put these entrepreneuring concepts together.
Selling websites 1 by 1 can be good for starters.
Even before that, you have this kind of journey:
- S**k at something
- Do it for free
- Repeat n times
- Get better
- Start $
- Swap free for $
As demand can grow when you get better at something, you will need to increase the supply.
As your time is limited, you will want to scale the ideas with tech:
Via LogTo Authentication plugged into a Flask WebApp called… Webifyer or…WebifAI or…WebGenerAItor…
 WebGenerAItor
 WebifAi / WebifAIyer
And shame on me: I have NOT been tinkering with Stripe since Q4 last year with the CV project as per these tests.
For some time Ive been looking for a way to scale how I build websites for people.
Call it: webify, webifAI, webifyer, contentyourule.com or whatever…
Your website, your rules
What we will be covering on this post: a tech stack to ship websites
- How to setup Stripe integration to sell like a Pro
- Recap on how to authenticate users into your Flask Apps
- Using Flask as a simple CMS for Astro Themes
- Configure subdomains for Cloudflare as per Flask
- Monitoring a Flask WebApp with Umami
Stripe
Because you will need to bill people.
Thats why you should try the Stripe API.
Probably?
Hopefully
Others are doing stripe stuff already: https://sabandijers.club/cvv/ or https://readmake.com/ or https://zackproser.com/calculator or….
- You can login https://dashboard.stripe.com/login
- Set your accepted payment methods: https://dashboard.stripe.com/test/settings/payment_methods/
- And create a product / subscription
You can create payment links with stripe, like this: https://buy.stripe.com/6oEg2n1pu15j9UcbII or this on test mode https://buy.stripe.com/test_00g3d29cj0IM9l68ww
I liked the stripe integrations with cal.com or zapier.
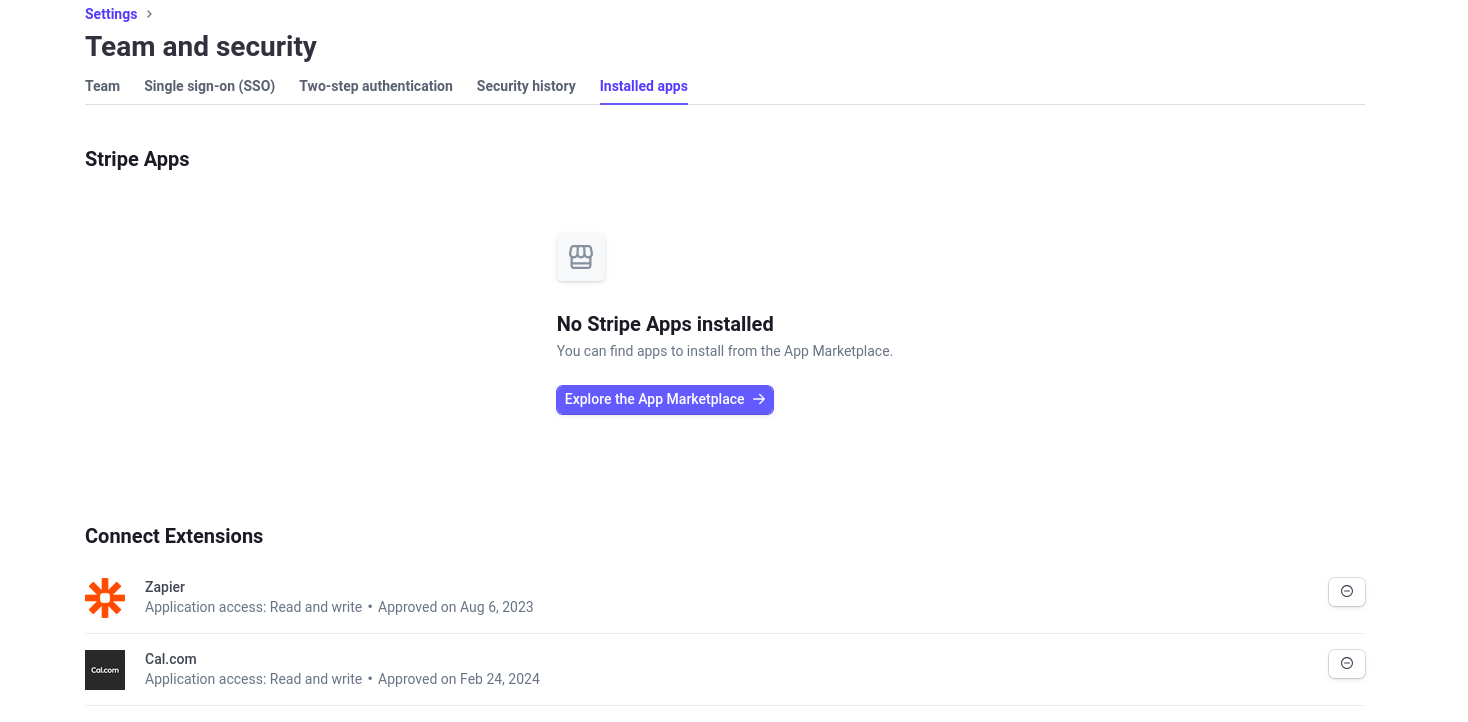
But you can use those to put the links into your app And embedd them into your flask app
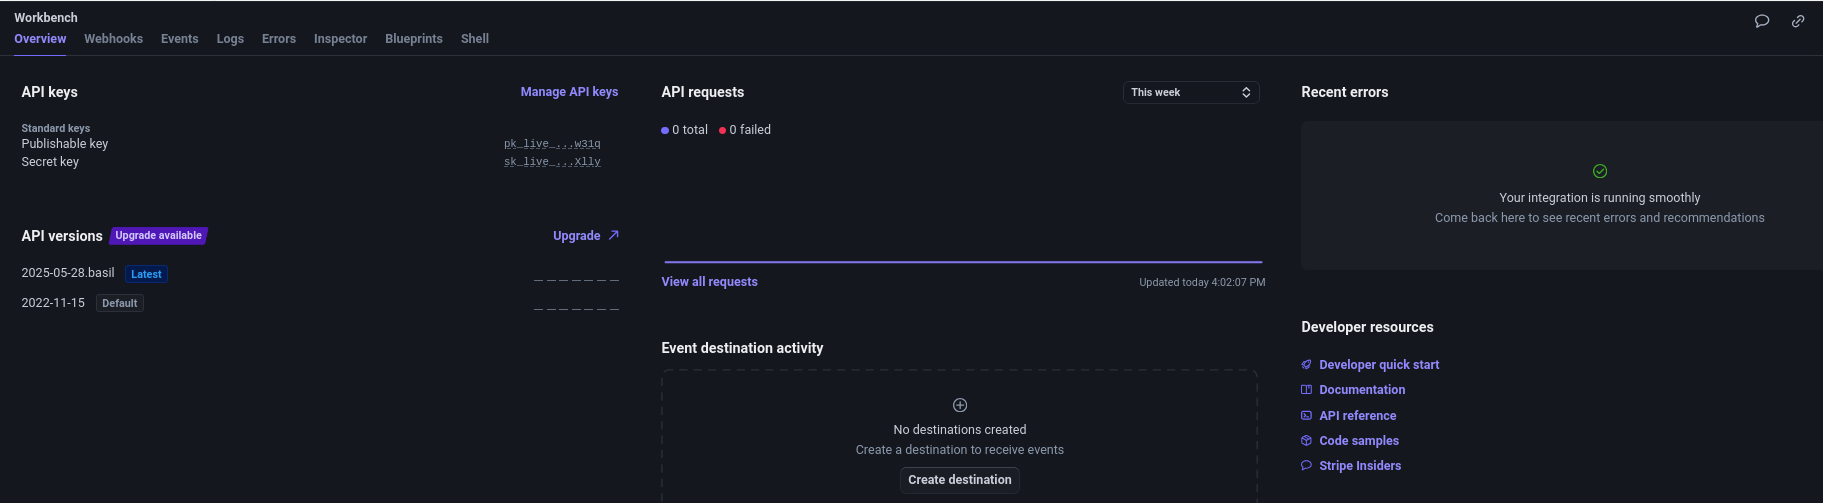
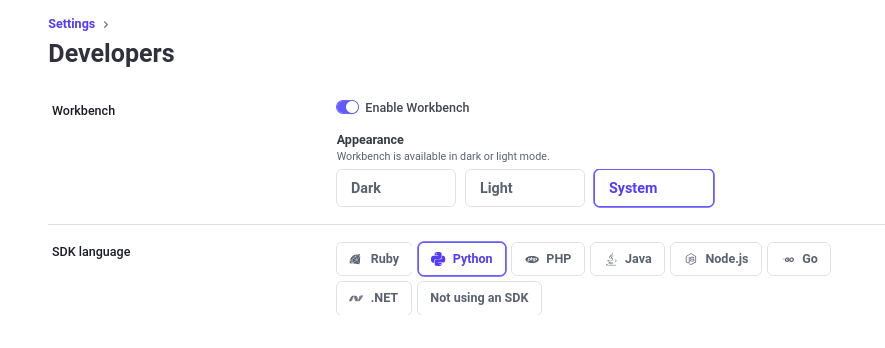
Go to stripe developer section: https://dashboard.stripe.com/workbench/overview
You can add a custom domain to stripe via:
- These instructions
- And paying the monthly stripe subscription for 10$/month

The stripe docs are great and have a lot of resources for dev, like the workbench:
You might want to get started with payment links. Like this one https://buy.stripe.com/test_14A3cvfV98LE2X6dLA4ko01
You can add coupons/promo codes to certain products/subs, as per:
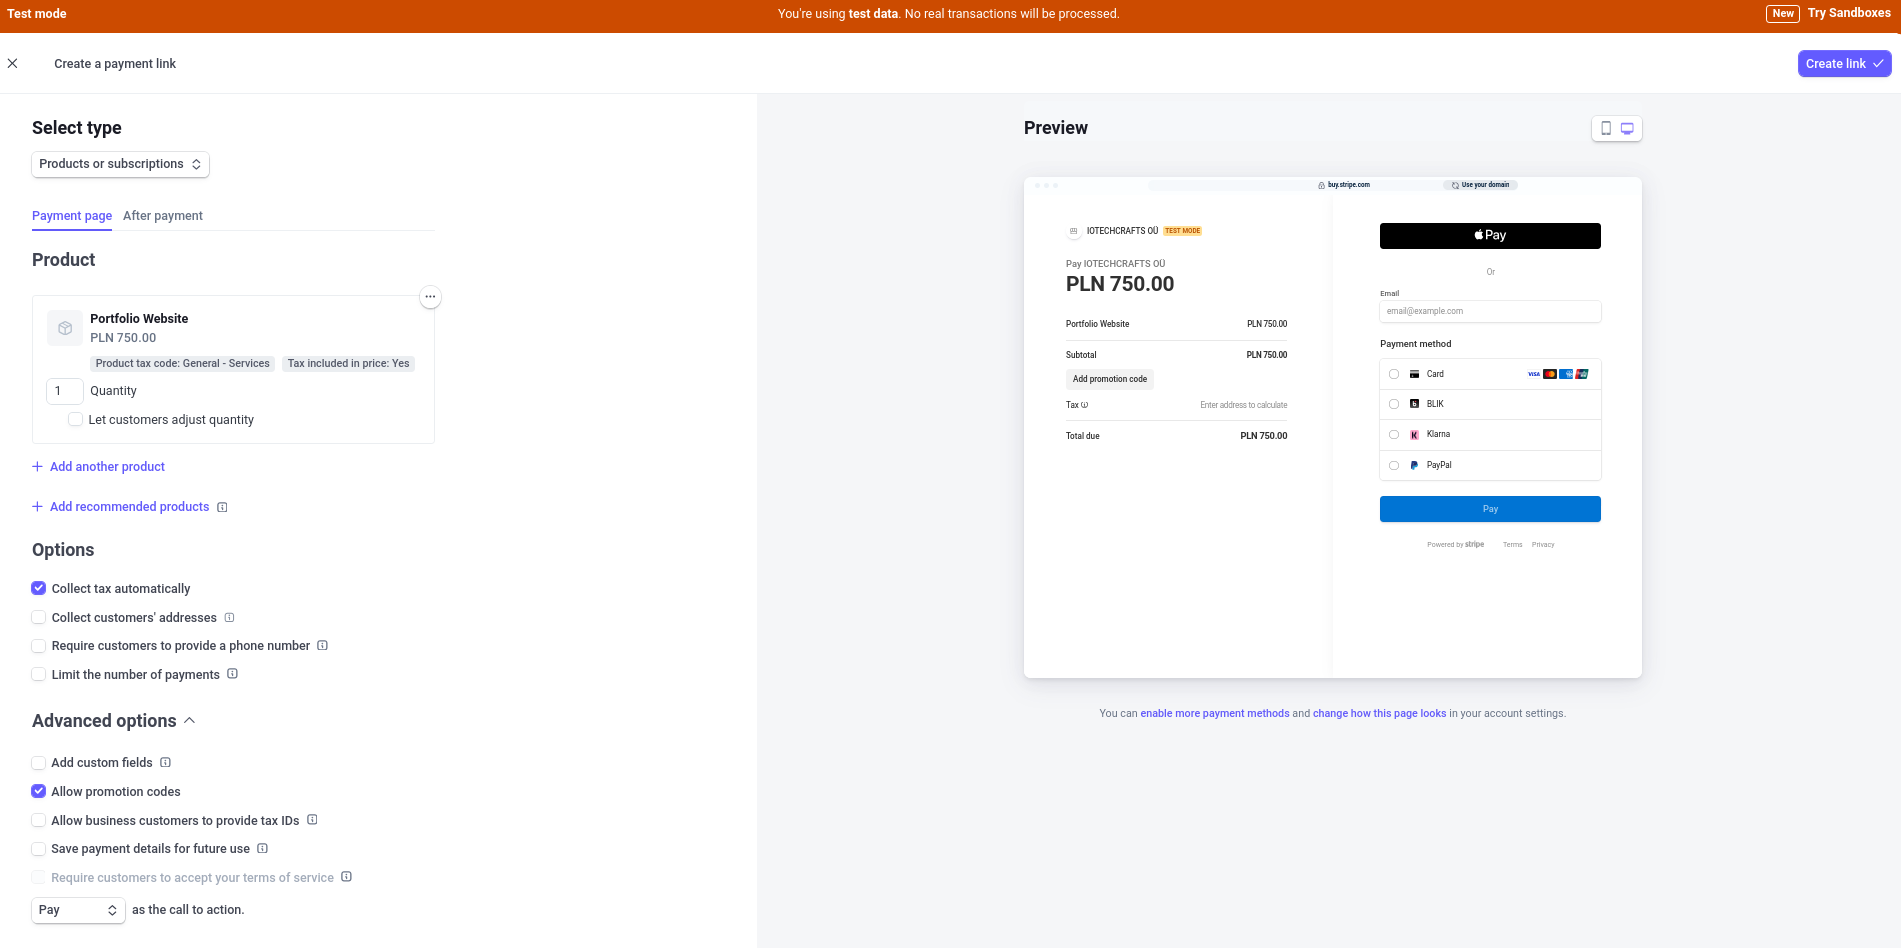
See the payment link code ready to be placed into your website or app:
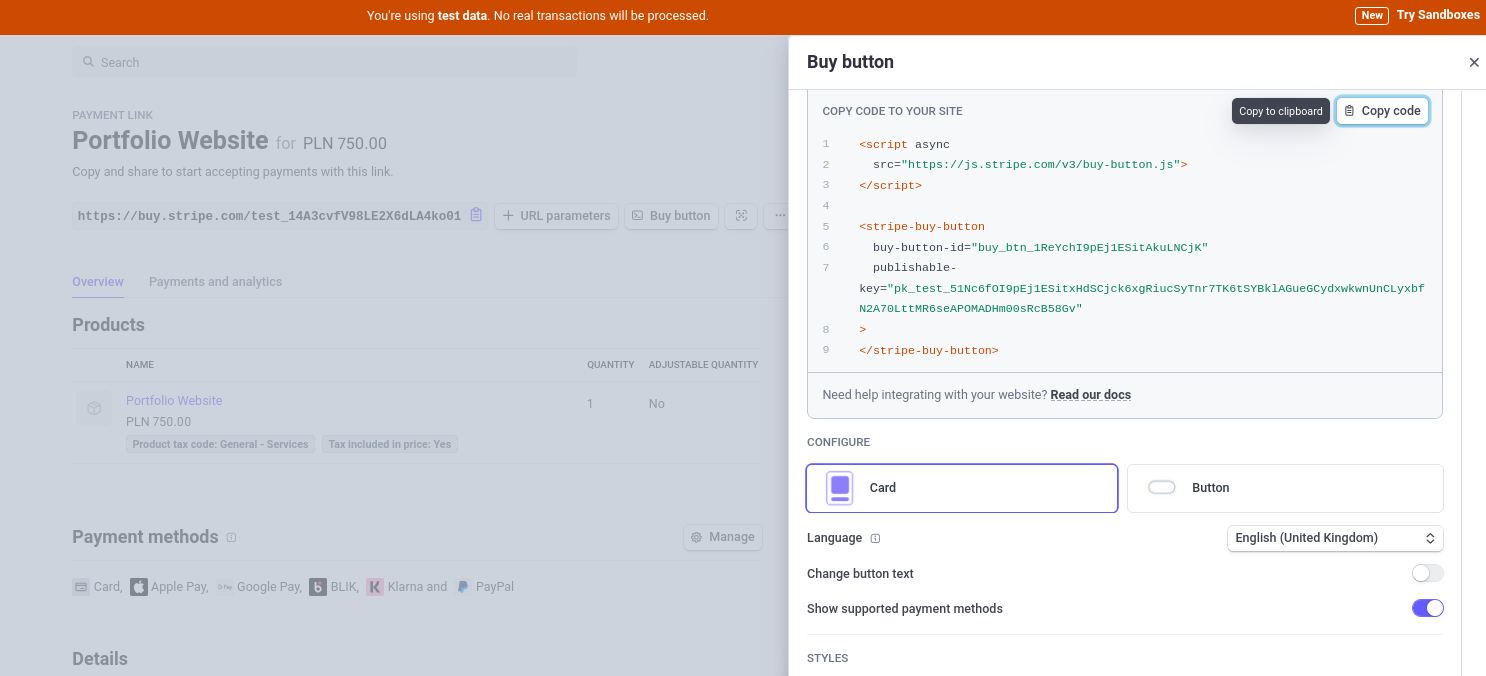
We have the Stripe Python SDK: https://pypi.org/project/stripe/ that allow to embed payment into our Flask app, provided the
STRIPE_SECRET_KEY=
STRIPE_PUBLISHABLE_KEY=
STRIPE_PRODUCT_ID=
You can even pass few parameters to the buy button (like the email) so that its prefilled as per the logged in / auth customer
Which can also be embedded into Flask (option below). Just hit the Buy button next to the link to get the code and vibe-code it.
Stripe Python Module vs Payment Link Embed 📌
Stripe Integration Approaches in Flask
This document summarizes two main ways to integrate Stripe payments into your Flask web application, with pros, cons, and typical use cases.
- Python Module Stripe Integration (Custom Payment Form)
Names:
- Custom Stripe Integration
- Stripe Payment Element Integration
- Server-side Stripe API Integration
- Programmatic Stripe Checkout
Description:
You use the official stripe Python SDK to create PaymentIntents and control the payment flow from your backend. The frontend uses Stripe.js to render a secure, customizable payment form (Payment Element) directly on your site.
- Full control over pricing, metadata, and customer experience.
- Good for dynamic/complex products, custom UI, or when you need to store extra info.
- Payment is processed on your domain, users never leave your site.
Use cases:
- Dynamic pricing, multiple products, or custom checkout flows.
- Need to collect extra information from the user.
- Want to tightly integrate Stripe with your backend logic.
- Stripe Buy Button Integration
Names:
- Stripe Buy Button
- No-code Stripe Button
- Client-side Stripe Checkout Button
- Hosted Stripe Buy Button
Description: You embed a pre-configured Stripe Buy Button using the Stripe-provided JavaScript snippet. Stripe handles the checkout flow, pricing, and product selection.
- Easiest and fastest to set up.
- Minimal backend code required.
- Best for simple, fixed-price products or quick MVPs.
- Users are redirected to Stripe-hosted checkout for payment.
Use cases:
- Simple, static products or services.
- Want to get up and running quickly with minimal code.
- No need for custom checkout logic or complex backend integration.
Summary Table
| Approach Name | Control Level | Setup Complexity | Use Case |
|---|---|---|---|
| Stripe Payment Element (Python) | High | Moderate | Custom flows, dynamic pricing, advanced |
| Stripe Buy Button | Low | Very Easy | Simple, static products, fast deployment |
Choose the approach that best fits your project’s needs. For most custom web apps, the Payment Element approach offers maximum flexibility. For simple or rapid deployments, the Buy Button is ideal.
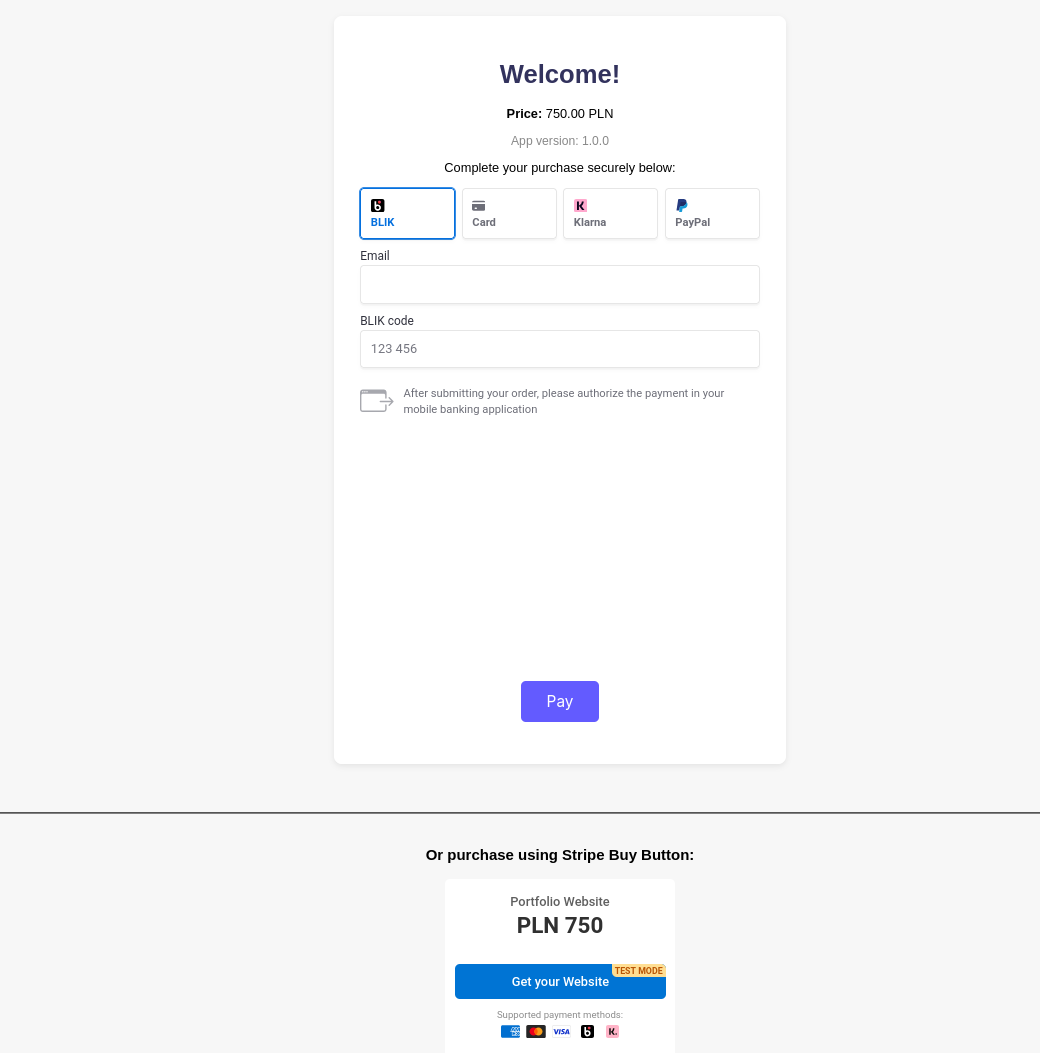
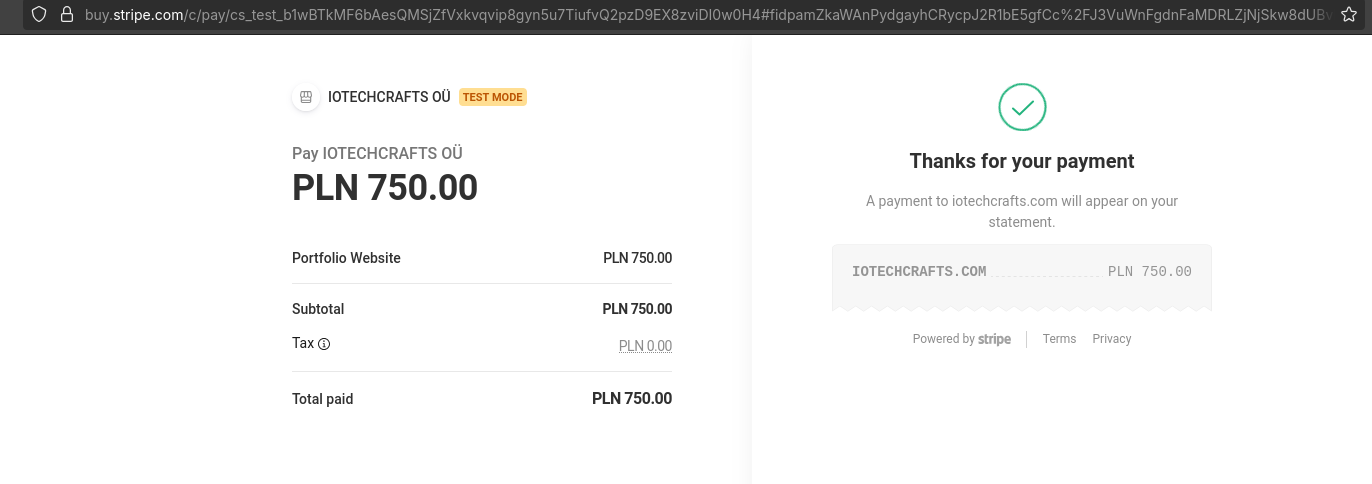
With the payment link embedded,the user will be redirected to a new tab for payment with a buy.stripe.com domain
To enable WebHooks with Stripe
#https://github.com/stripe/stripe-cli/releases/tag/v1.27.0
wget https://github.com/stripe/stripe-cli/releases/download/v1.27.0/stripe_1.27.0_linux_amd64.deb
sudo dpkg -i stripe_1.27.0_linux_amd64.deb

stripe login
stripe listen --forward-to localhost:5006/webhook

#python3 app-v4.1.py
Once that its done, you can vibe code again to have real time updates for the logged in user:
Stripe x Logto
I have been recently playing with LogTo and Flask on this repo folder
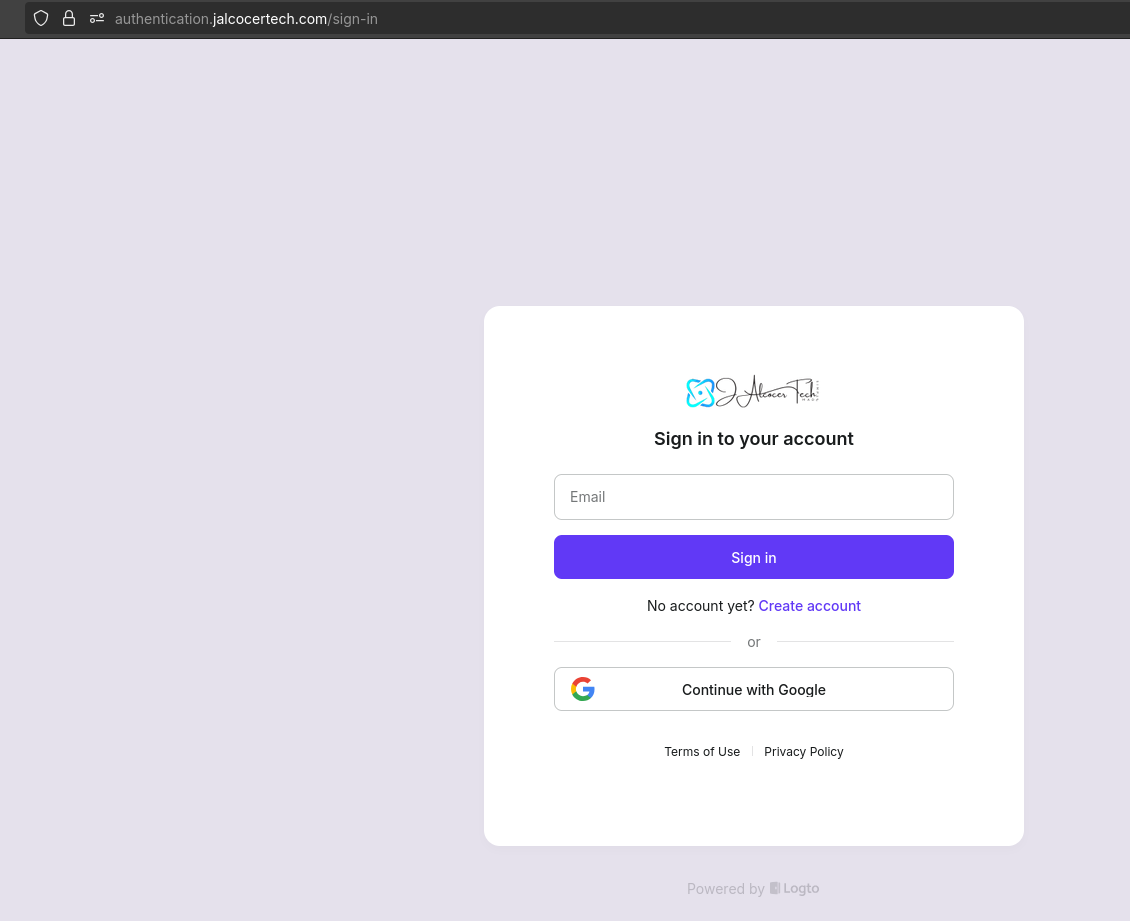
Where I could get proper sing up/in and user email information via LogTo as per:
python3 ./Logto/logto-sample-v2.pySo now just do:
uv venv
source .venv/bin/activate
uv pip install -r requirements.txt
uv run ./LogTo-Stripe/logto-stripe-app-v5.py
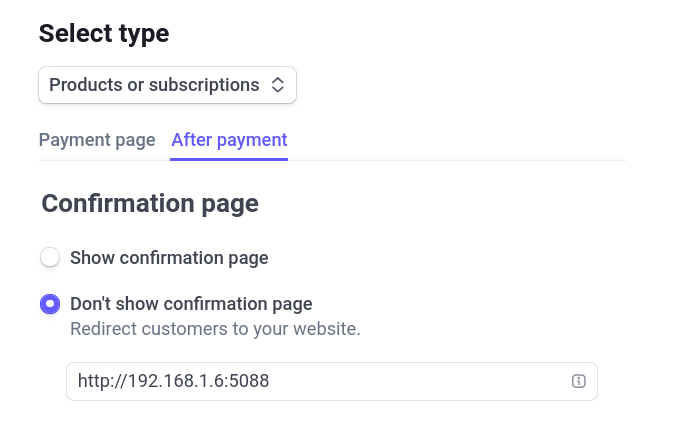
#stripe listen --forward-to localhost:5088/webhook #The Stripe CLI (used for local development) is not needed in production. In production, Stripe will POST directly to your server’s public /webhook endpoint.Dont forget to add the after payment behaviour into your stripe payment link, so that it gets redirected to http://192.168.1.6:5088
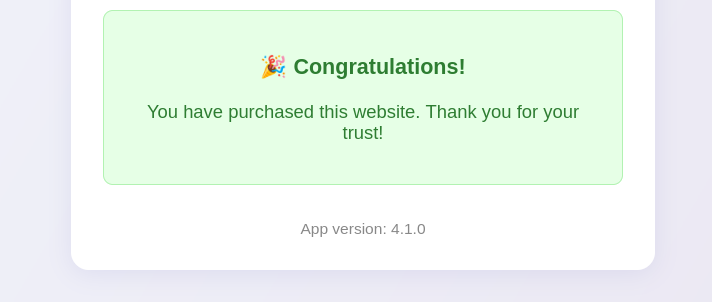
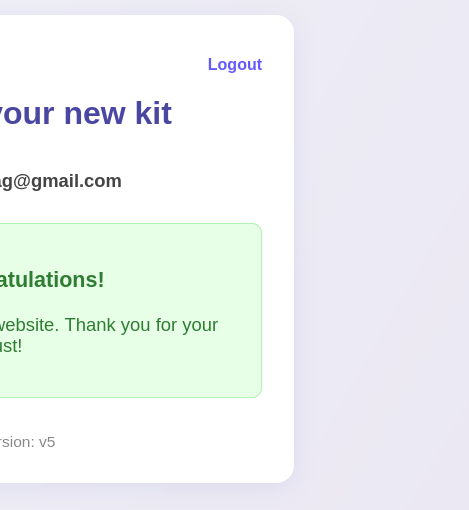
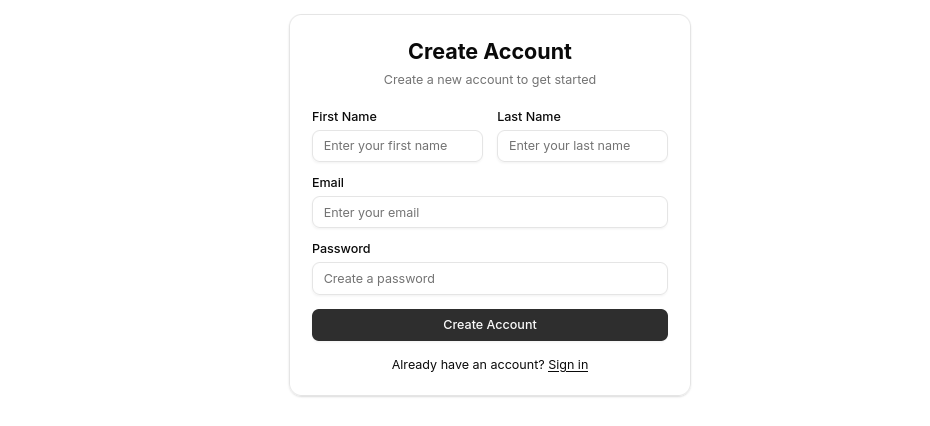
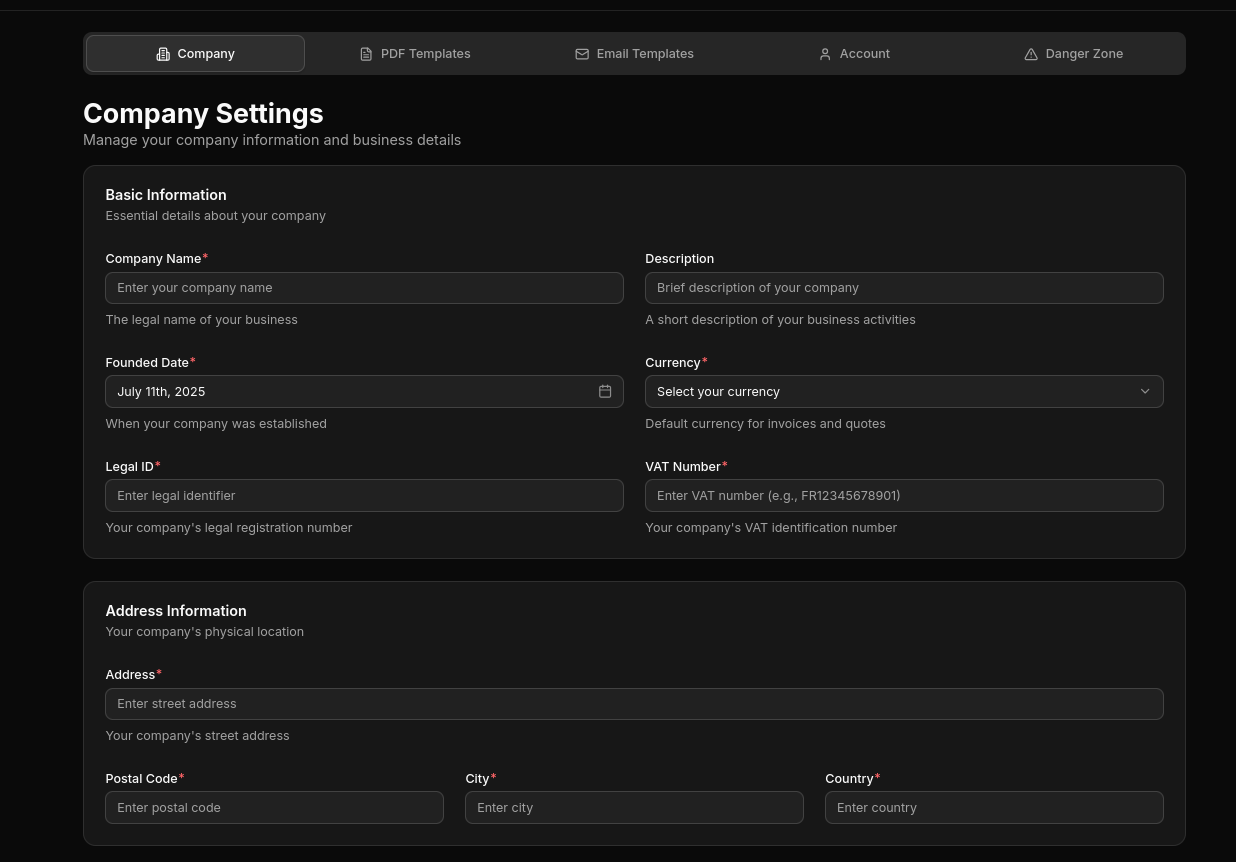
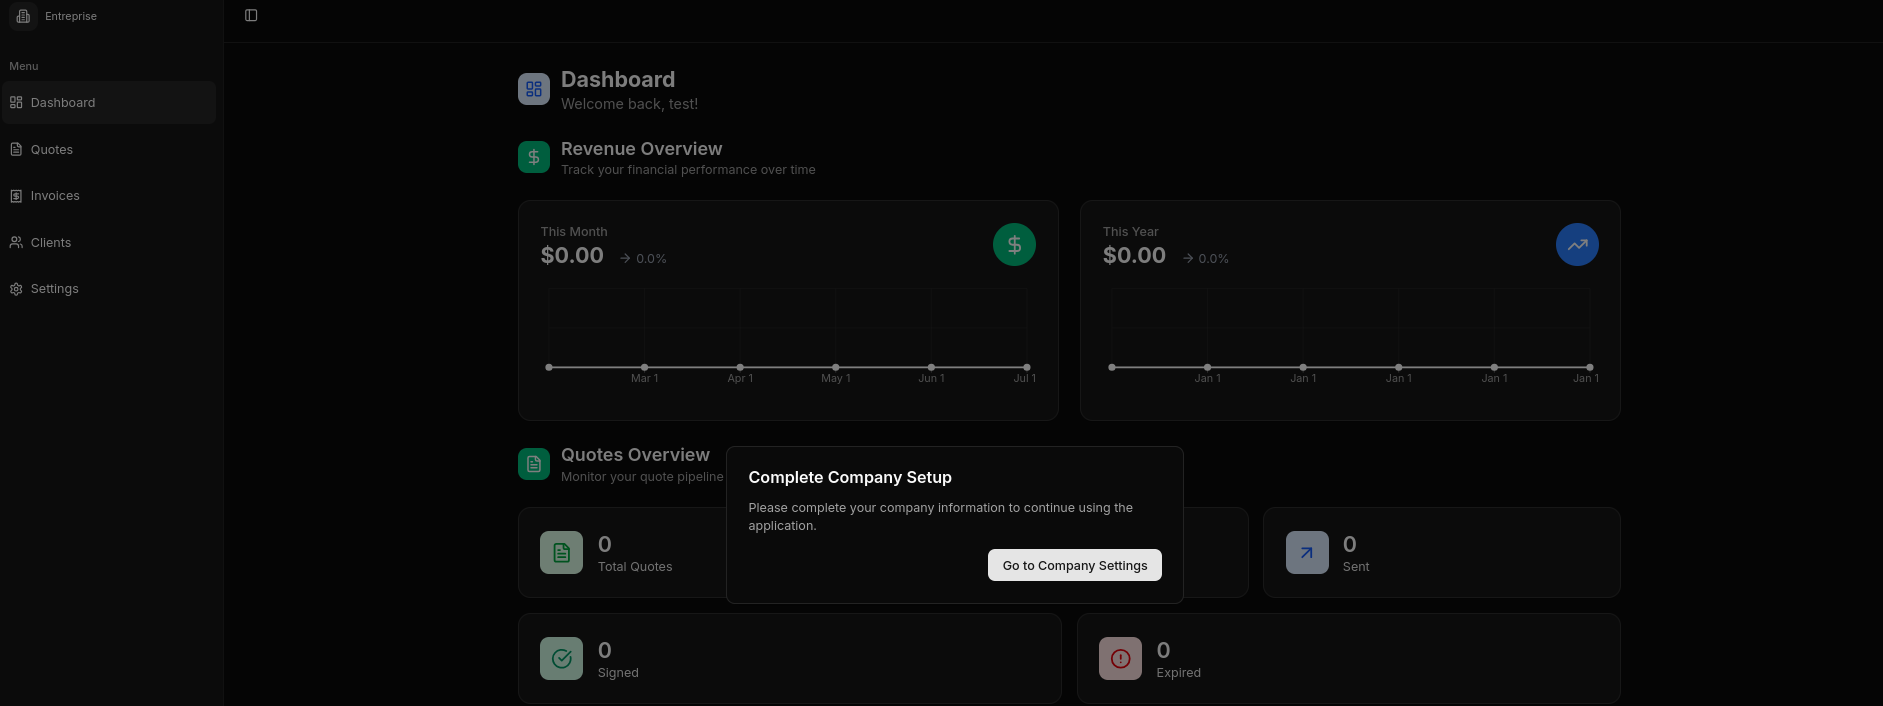
Thanks to the cookies, that new tab will be already logged into and authenticated per LogTo to the flask admin panel, showing that you have got the service
If you have done everything properly,
you can get this kind of user journey in production,
with https and no paid tiers as of the time of writting
If you want the google signin/up, you will need a Logto Subscription as seen here
Which is the result of:
git clone https://github.com/JAlcocerT/WebifAI
docker build -t webifai:latest .
# docker run --env-file .env.prod -p 5088:5088 \
# -v $(pwd)/payments.db:/app/payments.db \
# --network cloudflared_tunnel \
# --name webifai webifai:latest
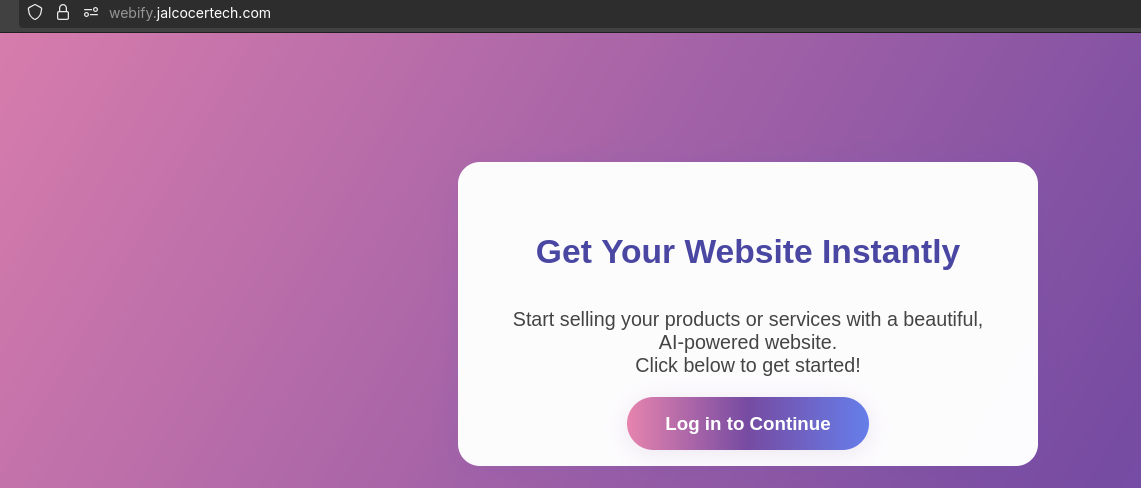
ping webify.jalcocertech.com #https://webify.jalcocertech.com/See that you have email validation with Logto out of the box:
Flask x SSG Themes
Let me continue thinking…
How about: making the user select the desired theme for its website.
And later on…
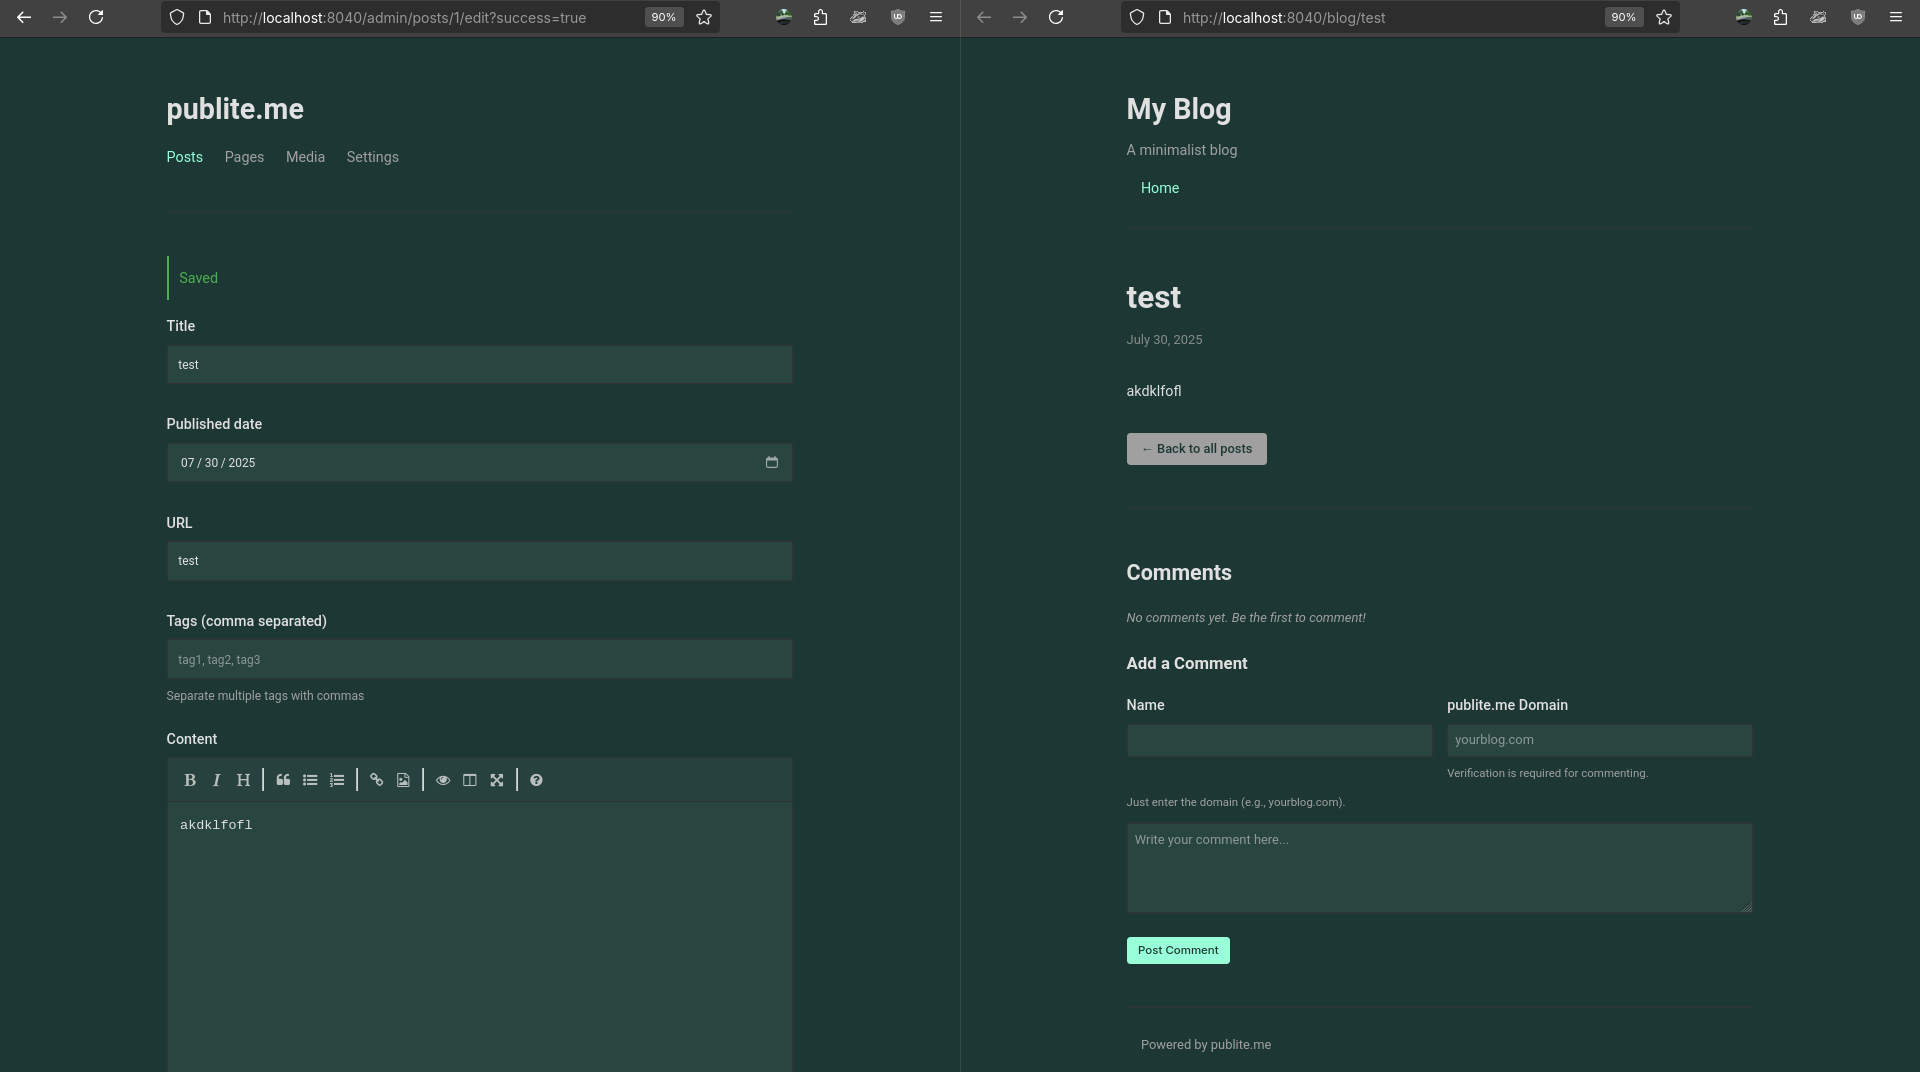
Have a markdown editor, just like: https://github.com/MikeMather/publite.me do ?
These guys have done it with Python: which brings comenting working out of the box
Astro Themes
We can do this potentially for any SSG.
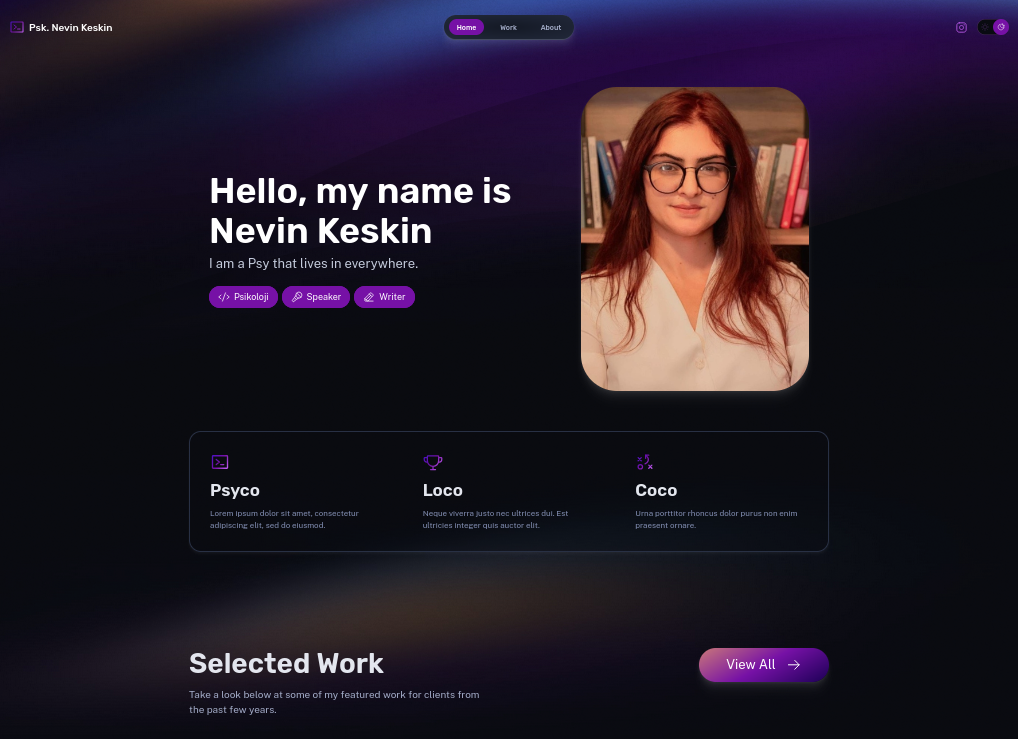
Like for a HUGO theme, like Lynx and your Portfolio:
docker run -d \
  --name hugo \
  -p 1313:1313 \
  -v /home/jalcocert/Desktop/IT/Code2Prompt-Test/WebGenerAItor/Portfolio/:/src \
  --network proxy \
  klakegg/hugo:0.101.0 \
  server --bind 0.0.0.0 --port 1313
Then you can plug NGINX to serve the static files and provide HTTPs via Traefik programatically, via this kind of docker compose
The part of building, serving, adding https…is very clear.
- Even updating DNS via Cloudflare API: https://github.com/JAlcocerT/WebGenerAItor/tree/main/Cloudflare_DNS
- And calling that CF API via Flask: https://github.com/JAlcocerT/Streamlit_PoC/blob/main/flask_dnsupdater.py
But how about editing the themes?
Or just…adding new content, at least?
 Astro Theme 101 for WebifyerAstro Theme x Webifyer Sample
So I put these one inside the repo folder: ./Astro-Themes
git clone https://github.com/JAlcocerT/morita-web #npm create astro@latest -- --template portfolio

cd ./Astro-Themes/morita-web
rm -r .git
Choosing a Domain
Get a TLD, if you want.
In this case it will be a subdomain.
And we will be needing these artifacts from Cloudflare:
CLOUDFLARE_API = 'https://api.cloudflare.com/client/v4'
CLOUDFLARE_API_TOKEN = os.getenv('CLOUDFLARE_API_TOKEN')
CLOUDFLARE_ZONE_ID = os.getenv('CLOUDFLARE_ZONE_ID')
DOMAIN = os.getenv('CLOUDFLARE_DOMAIN')  # e.g., jalcocertech.com
Automatic DNS Setup
So how about choosing that subdomain, and getting it configured on the backend to point properly?
Conclusions
This was quite a ride.
And it has been an interesting PoC for Webify, hence calling it v0.1.
Learnings: Stripe working, Logto Auth working, umami tested with flask…even tried to edit few astro themes.
A good starting point, but I need to keep exploring
Maybe tweaking themes and do so in a way to be editable and then add them to this webify platform for anyone to edit independently…
Even porkbun is offering this kind of static hosting service for ~30$/year: https://porkbun.com/products/webhosting/staticHosting
But…forget about the theming part and edition we have talked on this post.
You have learn how to:
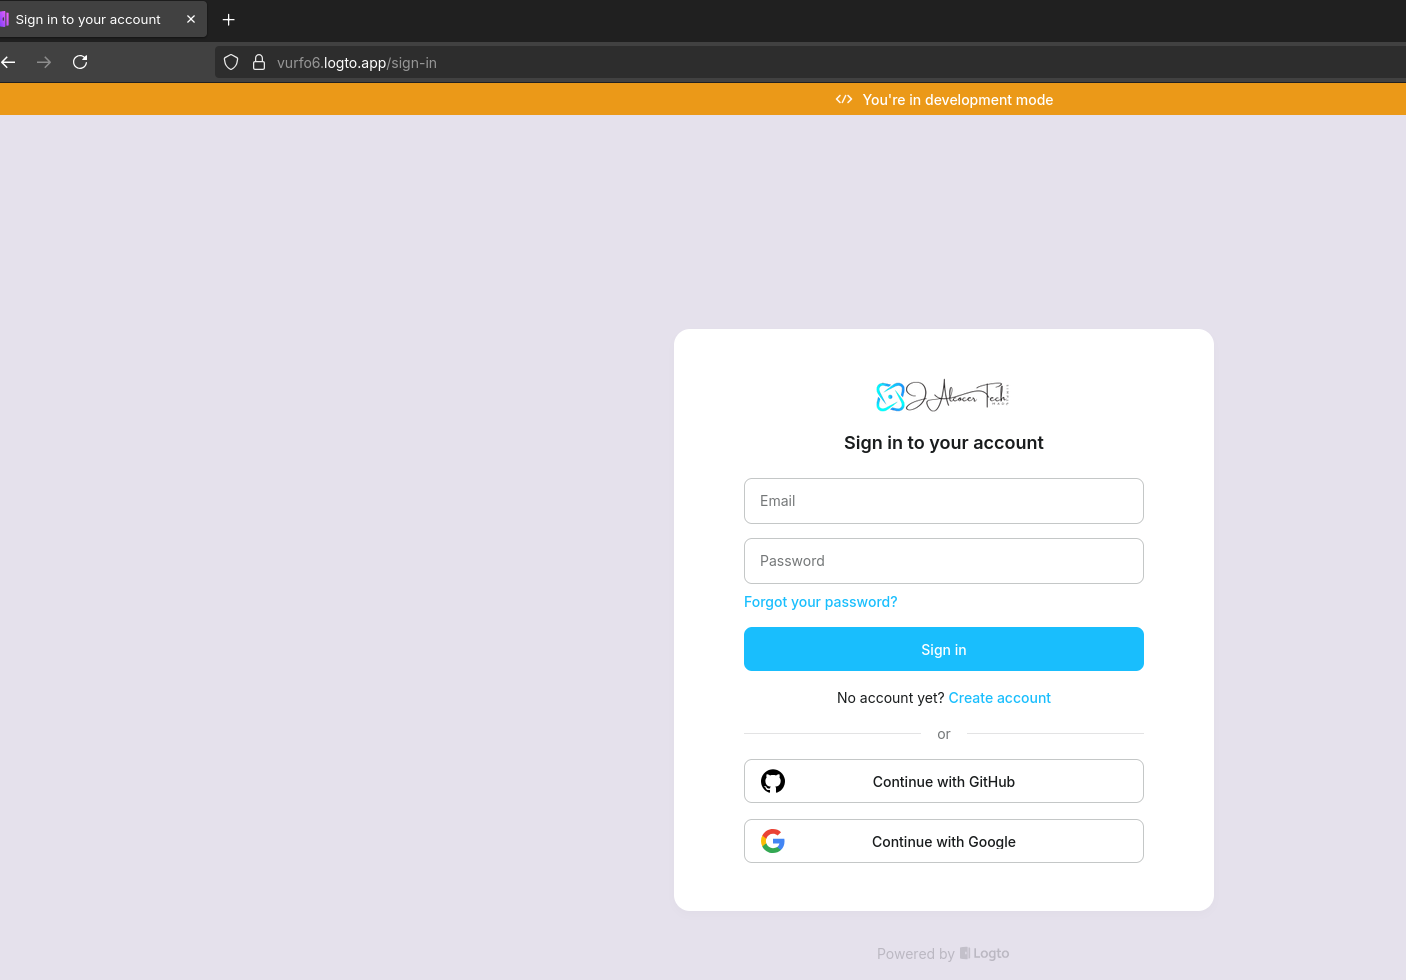
- Get Flask working with Logto https://authentication.jalcocertech.com/ or https://oxa37q.logto.app/sign-in
The flows assume the you want to login and gives the signup as option. Like most apps do.
- Get Stripe API working inside the flask App with a DB and webhooks for updates
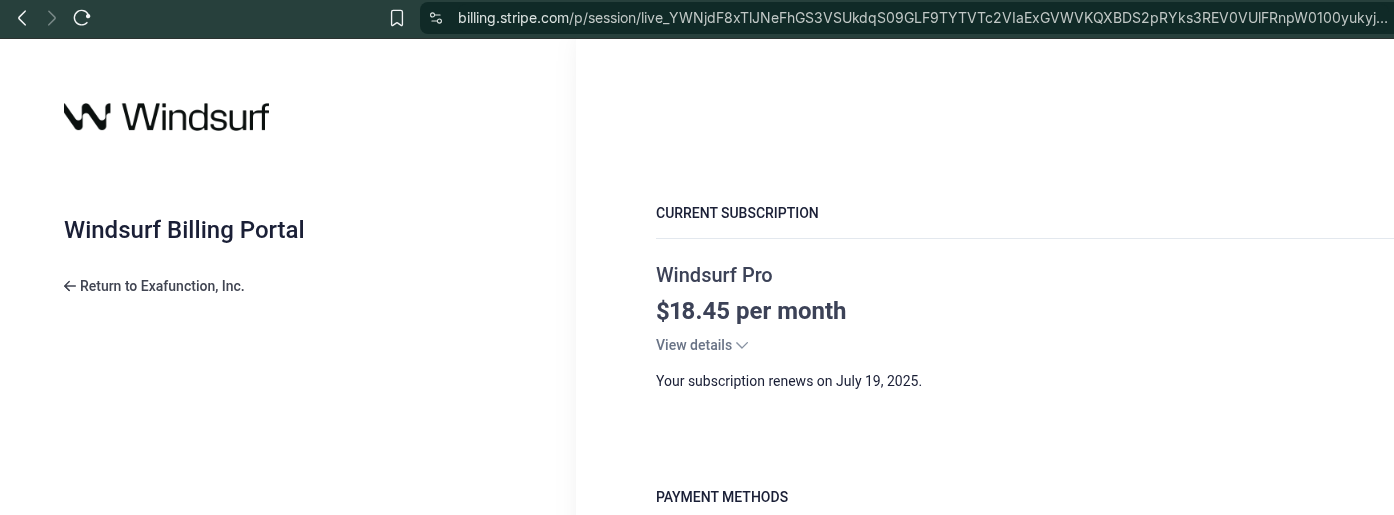
OpenAI or Windsurf are also using stripe to charge you
Normally you have a billing section in the web app that redirects to the logged in user to its stripe related info on subscriptions
Example: https://billing.stripe.com/p/session/live_YWNjdF8xTlJsomethingmorehere
- Concurrency for Flask apps is better via Gunicorn and it can be included in the Dockerfiles like:
#CMD python3 logto-stripe-app-v5prod.py
CMD ["gunicorn", "logto-stripe-app-v5prod:app", "-b", "0.0.0.0:5088"]
It is designed to efficiently serve your app to many users at once, with support for multiple worker processes and better handling of concurrent requests than Flask’s built-in server.
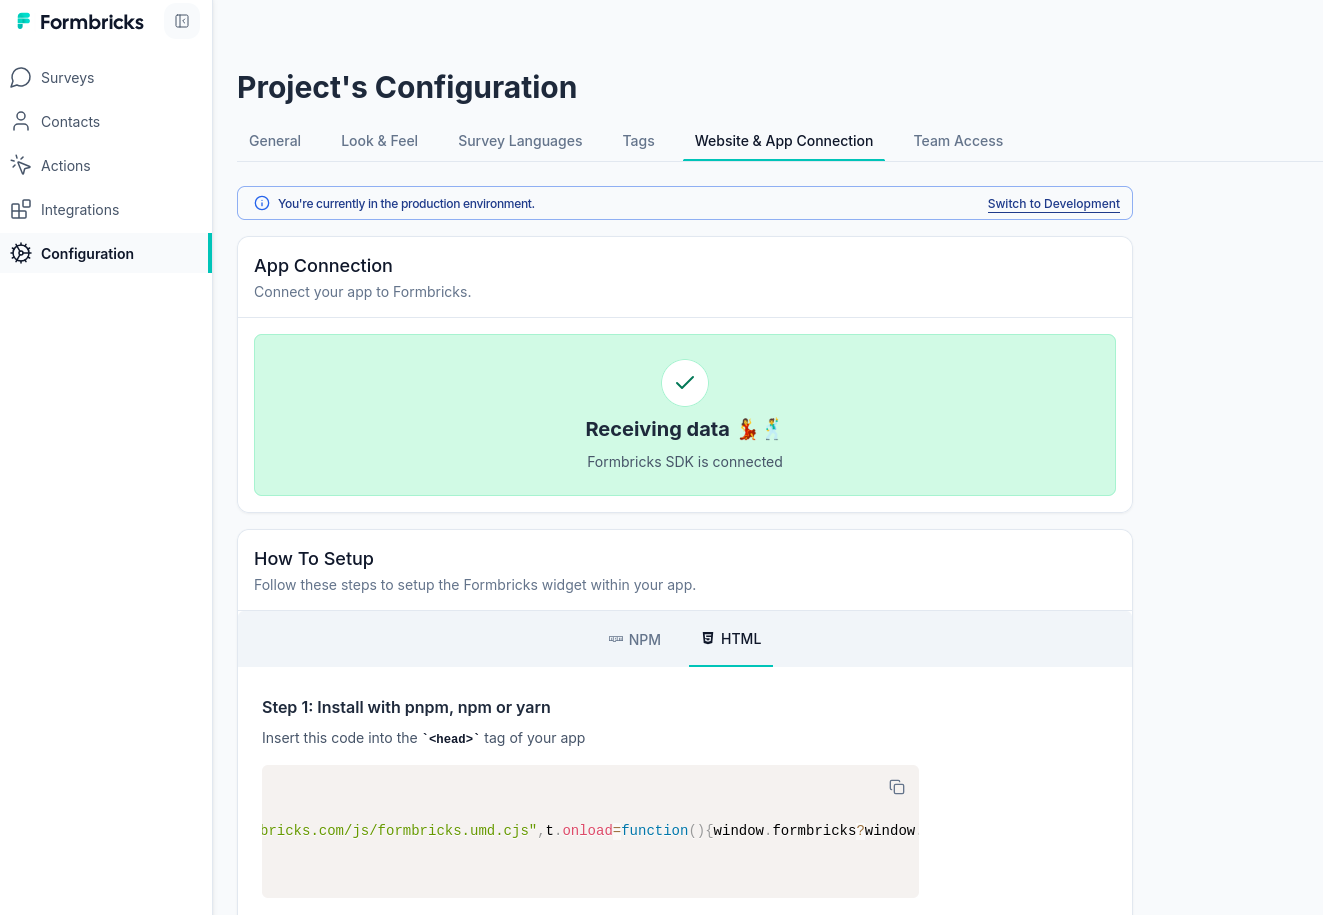
- Plugging Umami to the full Flask Routes and in-App Formbricks
Adding Umami Web Analytics to Flask
Add your new website to Umami: with domain without http/s like: flask.jalcocertech.com
Ive put that together into the ./Z_Tests/Umami folder of the repo.
uv run python flask-umami-101.py Got happily surprised to see Umami working for the Flask WebAPP also on the local network (as well as via https with CF tunnels):
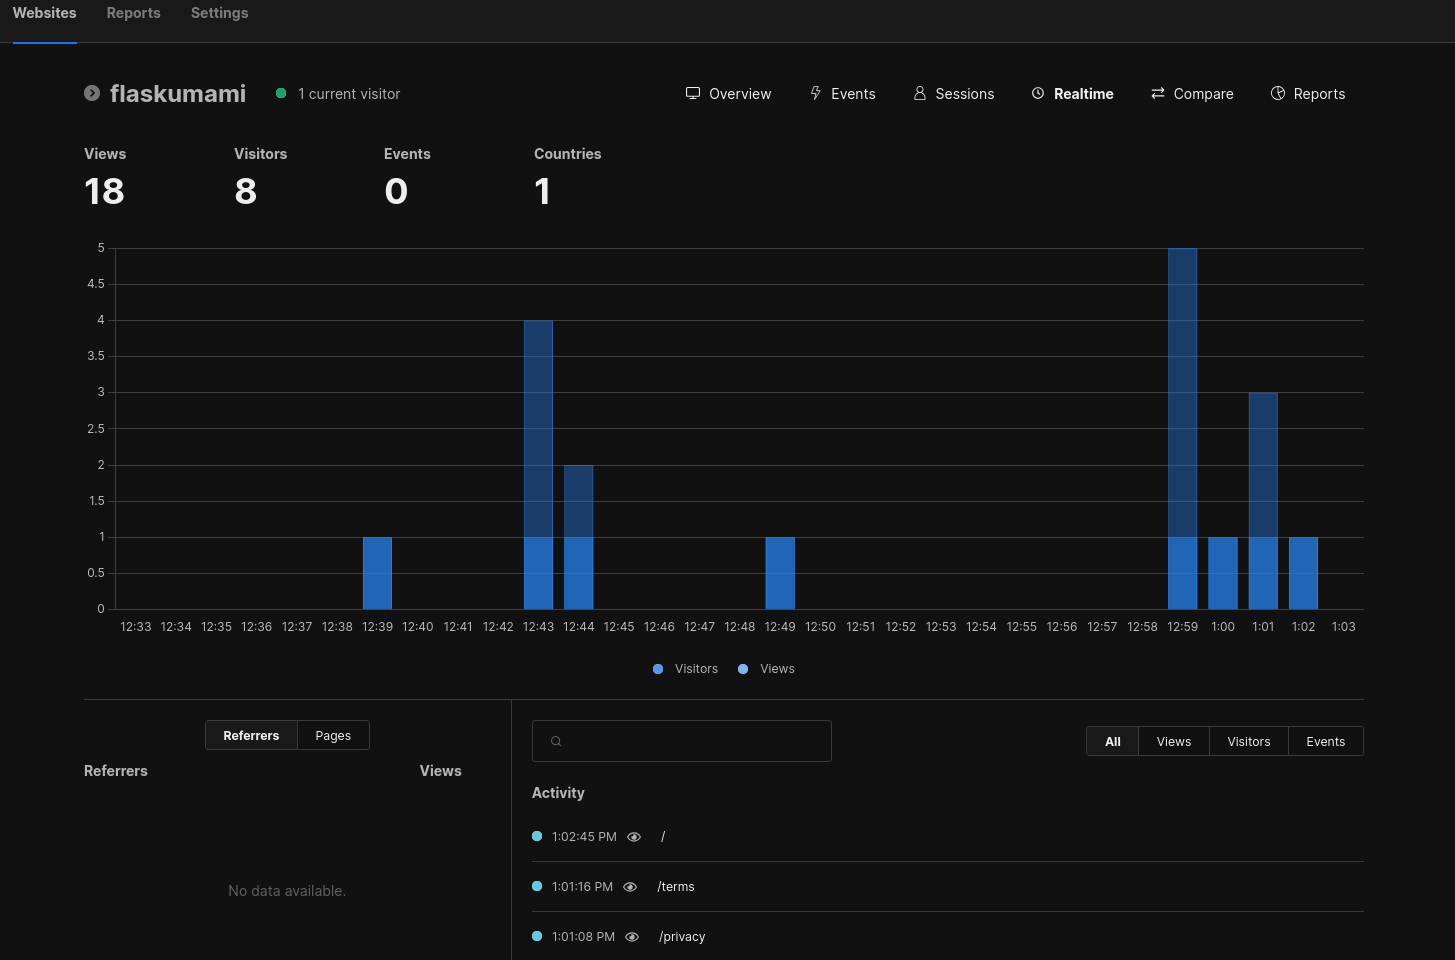
Tested the Flask Umami worked via cloudflare tunnels with flaskumami:5099
Adding Formbricks to Flask
So if you have created Formbricks links, like this one: https://app.formbricks.com/s/cmc6gnjc1bx06xg01xizn1g1y
You know you can embedd them:

But it will work better if you select the webapp category (embedded into the product):
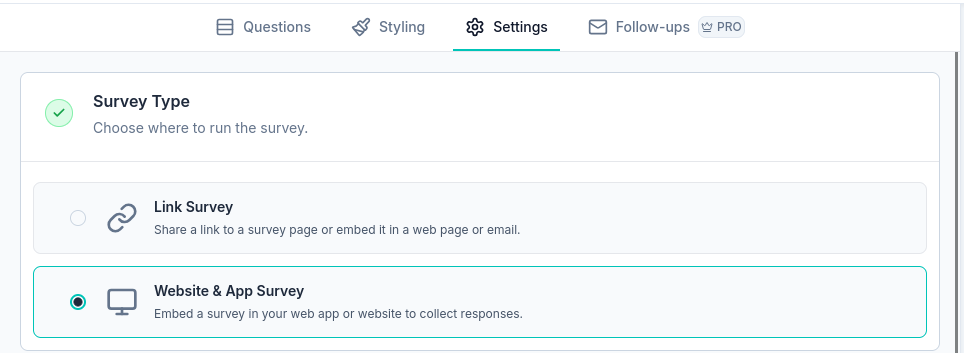
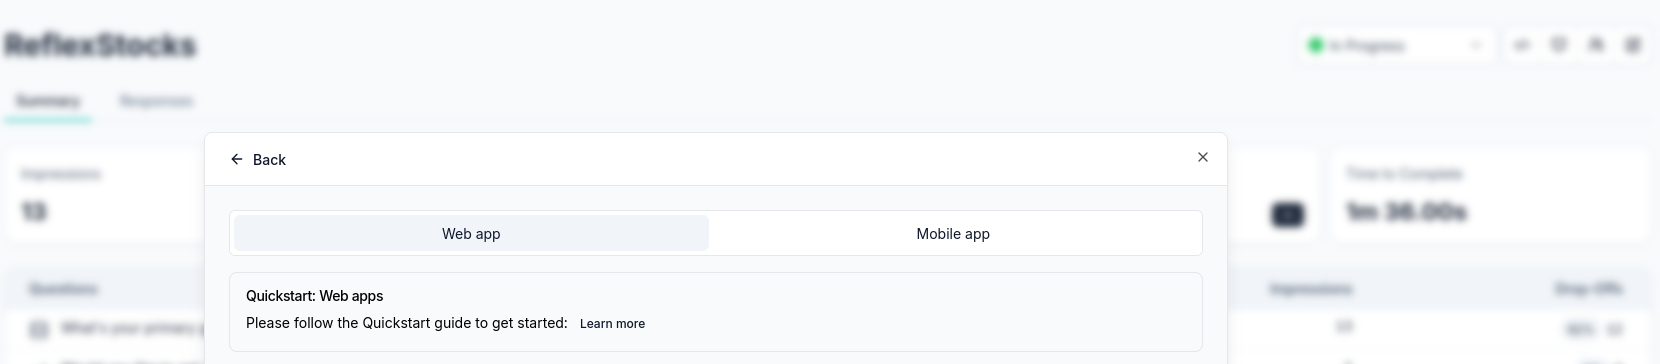
And then: https://formbricks.com/docs/xm-and-surveys/surveys/website-app-surveys/quickstart
Like this one: https://app.formbricks.com/s/cmcg5qxve55q0ww01wqc2jdo7
The result of that formbricks html embed can look like so (and its also great on phone):
uv run python ./Z_Tests/Formbricks/flask-umami-formbricks-v3.py #working v3 with formbricks embedded via html and also umamiYou will need to get the
environment_idfrom Formbricks UI.

Just mind the difference of link vs app: for Flask, the app version + html embed was my go to

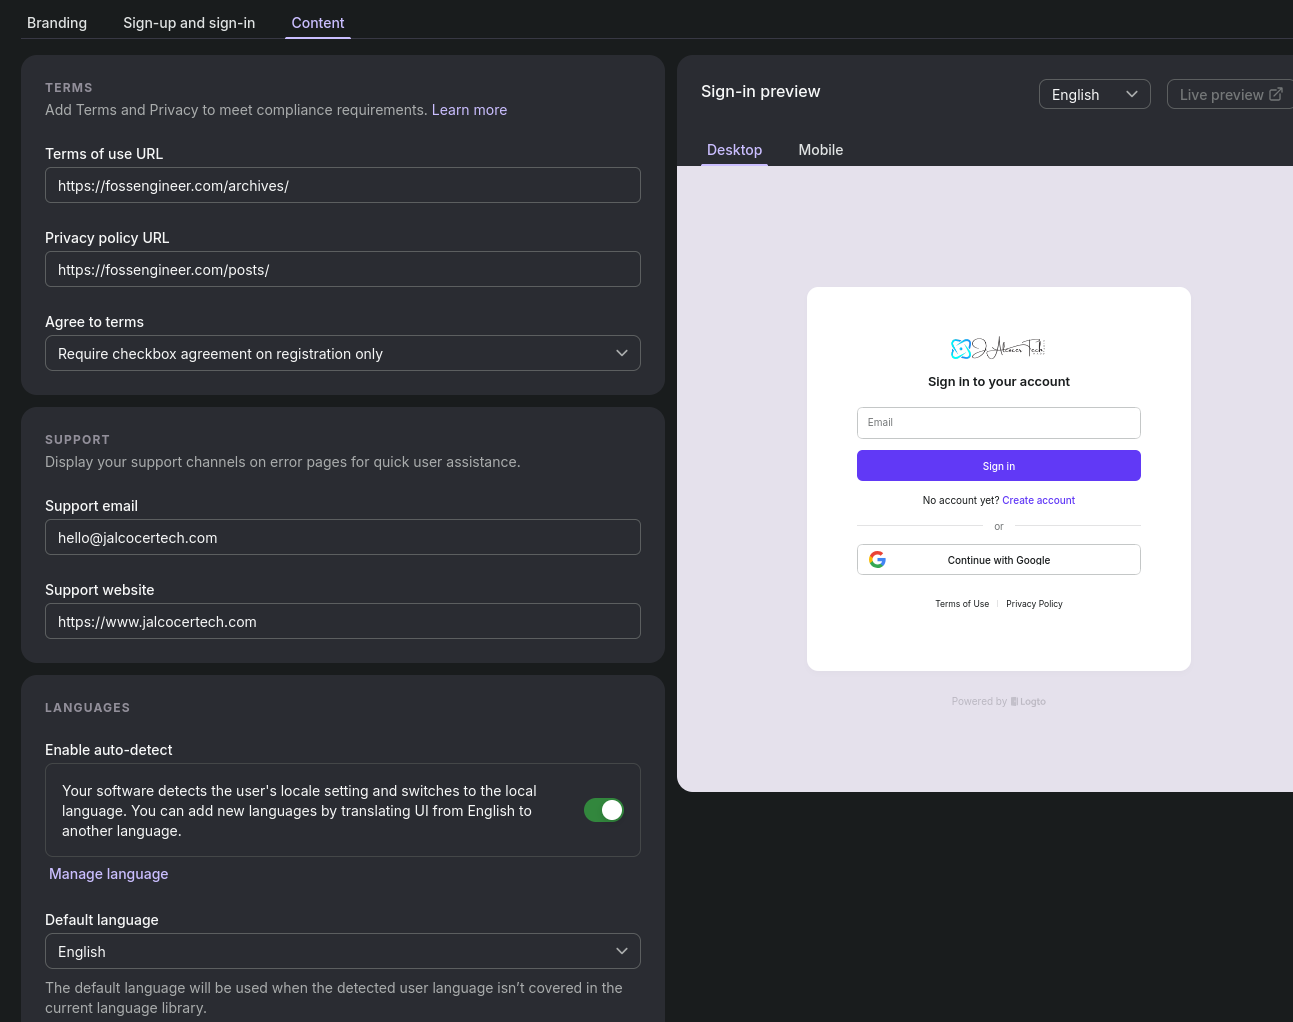
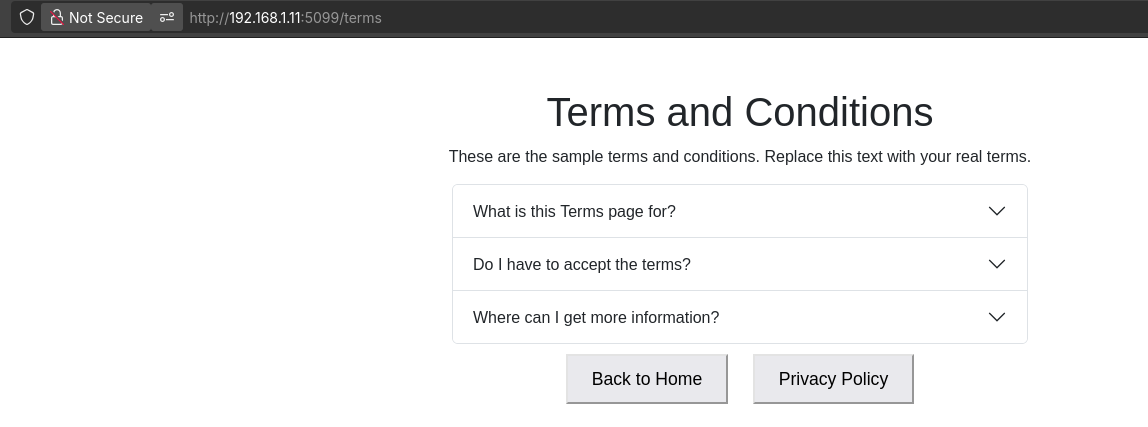
T&C and Privacy
Never forget to add such records into your SaaS:
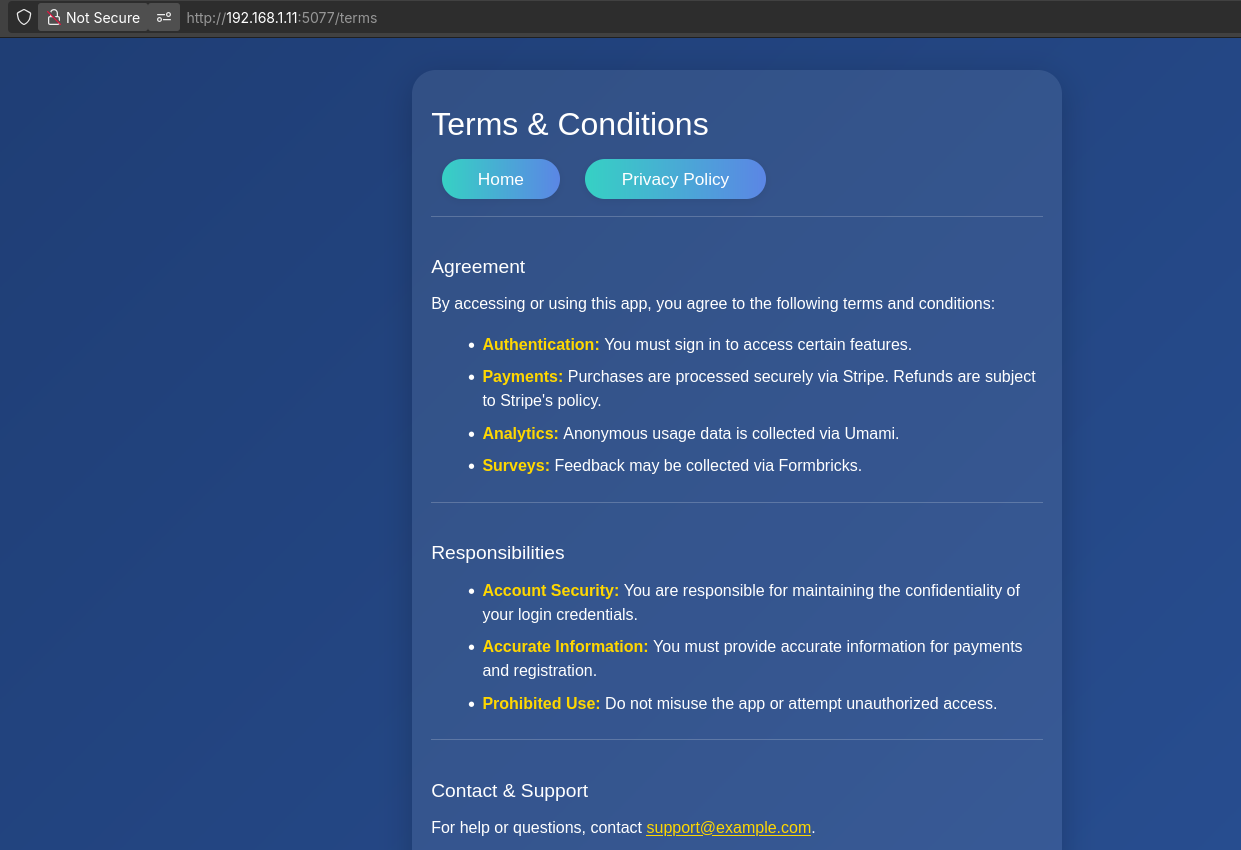
You can use the static routes so that any user registering, will have to accept that agree with these conditions as per LogTo.
OG for Flask
Add Open Graph meta tags to your HTML
on the landing page:<meta property="og:title" content="WebifAI: The Website you deserve is just 1 min ahead of you">
<meta property="og:description" content="A blueprint Flask WebApp to authenticate via Logto and Sell via Stripe.">
<meta property="og:image" content="https://yourdomain.com/static/Gemini_Generated.jpeg">
<meta property="og:type" content="website">
<meta property="og:url" content="https://yourdomain.com/">Replace https://yourdomain.com/ with your actual domain!
FAQ
Flask Container
Just follow this: https://github.com/JAlcocerT/Home-Lab/tree/main/py-flask
Stripe x InvoiceNinja
One of the most boring part of a job (if you do it for others), yet very rewarding if its for yourself: billing/invoicing
Aka: gib me my moni
As always, there are few alternatives:
- Invoice Ninja: https://hub.docker.com/r/invoiceninja/invoiceninja/
Which has stripe and BTCPay integration https://invoiceninja.com/payments/, just in case you are into crypto.
MIT | Accept Bitcoin payments. Free, open-source & self-hosted, Bitcoin payment processor.
- Serverless Invoices and more: https://fossengineer.com/open-source-invoice-creator
I git to know it last year and mentioned it here
Could not resist to fork: https://github.com/JAlcocerT/serverless-invoices
Amazing features as covered here:
- Custom CSS
- Export/Import JSON: Remember about jsonformatter
- Export as PDF
As im in love with projects which do not require a BE running:
- Invoicerr: https://github.com/Impre-visible/invoicerr
agpl 3.0 | Invoicerr is a freelance-focused invoicing app that lets you create quotes, generate invoices, track payments, and collect secure signatures.
With an amazing UI:
- [Optionally] You can also have a look to https://github.com/BillaBear/billabear for your cool SaaS
Subscription Management and Billing System
EE id x Ubuntu
If you are into entrepreneuring and sell digital stuff, you might be interested in the EE e-residency:
- https://www.id.ee/en/article/ubuntu-id-software-installation-updating-and-removal/#removing-mozilla-firefox
- https://www.id.ee/en/article/operating-systems-supported-by-id-software/
#wget https://installer.id.ee/media/install-scripts/install-open-eid.sh
nano install-open-eid.sh
#sh install-open-eid.sh