A website for a Moto Blogger!
Today I have managed to help two friends to get their own website up and running.
Moto Blogger Setup
A friend wanted to have the following Astro theme:
The theme - https://github.com/Boston343/horizon
As always, when trying a new astro theme, we just need to:
- Clone the theme:
git clone https://github.com/WhitePaper233/yukinaYou can also fork it to your github and sync your edits in there.
Make sure about the license of the theme before moving forward: MIT, GNU, Apache…are good starting points.
- Install the dependencies:
npm install- Test how it feels
This will allow you to see the changes live:
#npm run dev
npm run dev -- --host 0.0.0.0 --port 4321 #http://192.168.1.11:4321/ #useful to see from your phone how it looks
With the second command, you will be able to see how the website looks from your phone, if its connected to the same wifi as your laptop
This is required to check that its all ready for static hosting:
#npm run buildThe horizon theme, which initially seems oriented to weddings, can be fully photo centered:
Original (and fantastic) job was done by https://github.com/Boston343/horizon and released under GPL3.0
There was a Windows Web-Dev setup in between, so…
…the setup took just a little bit more clicks than in linux:
- Install node and npm (nodejs.org and docs.npmjs.org)
node --version
npm --v
Install git and vscode
Install firebase CLI - in windows that means pasting the
.exeto the repo folder and adding it as gitignore to avoid pushing it to the repoInstall npm firebase package to configure the hosting
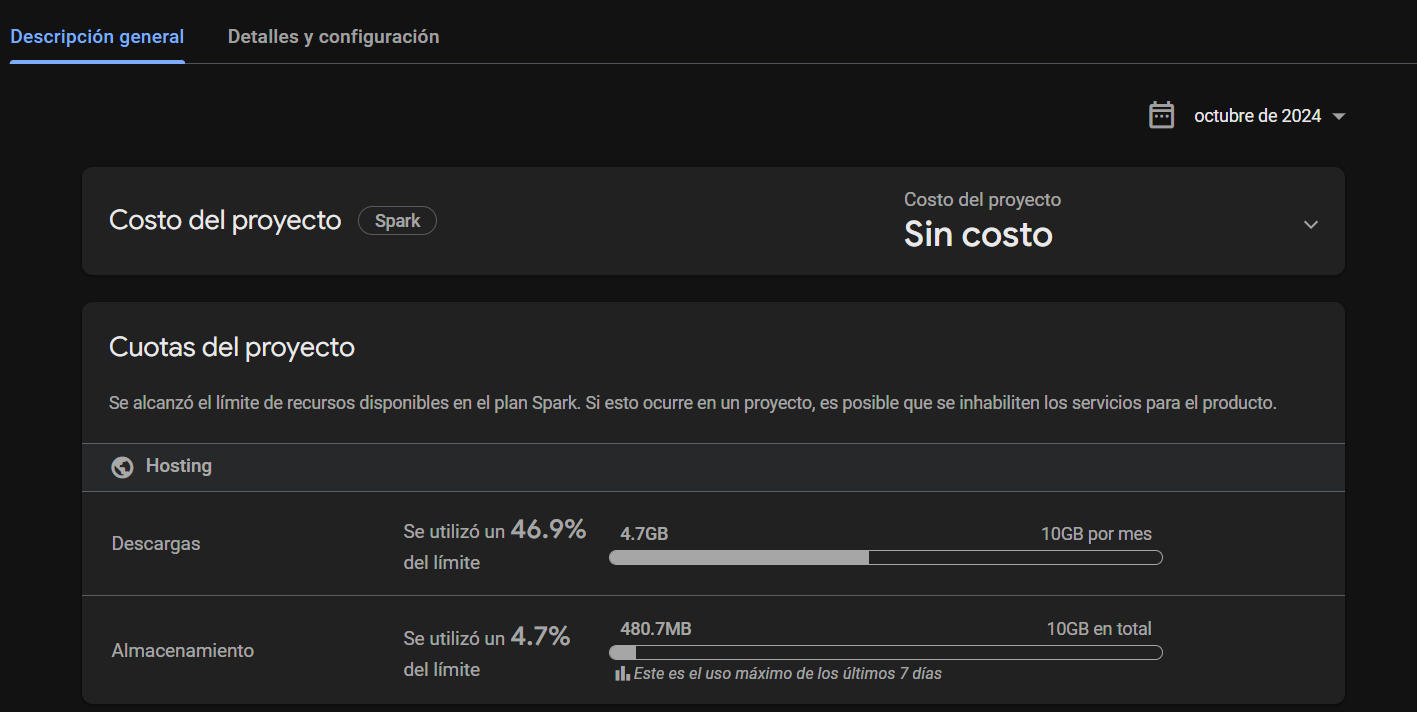
Google Firebase | Setup for Static Site Hosting 📌
Using Firebase Free Tier Hosting
#npm install -g firebase-tools

firebase login
firebase init
#firebase projects:list
As seen during this project
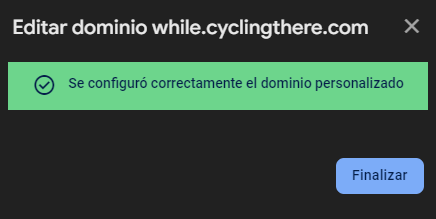
And to have the a custom domain linked…
Went to firebase UI -> Compilation -> hosting.
Add a custom domain ,if you have one.
Select my subdomain, and added a CName + TXT record to the DNS.
For that domain, Im using cloudflare - so made sure that its DNS only and not proxied records
- Do the one time Firebase Project setup:
.\firebase init
Why firebase and not cloudflare?
Just using Google account was enough after accepting firebase T&C’s.
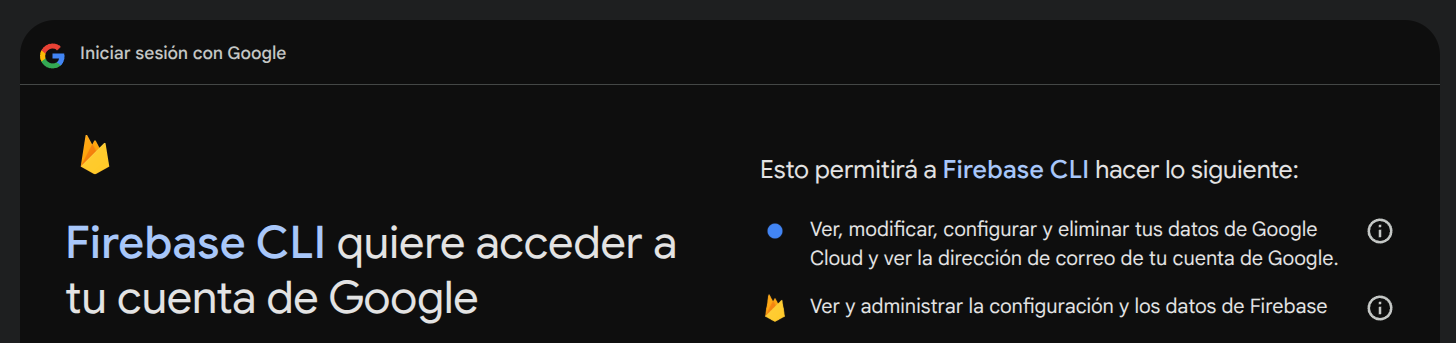

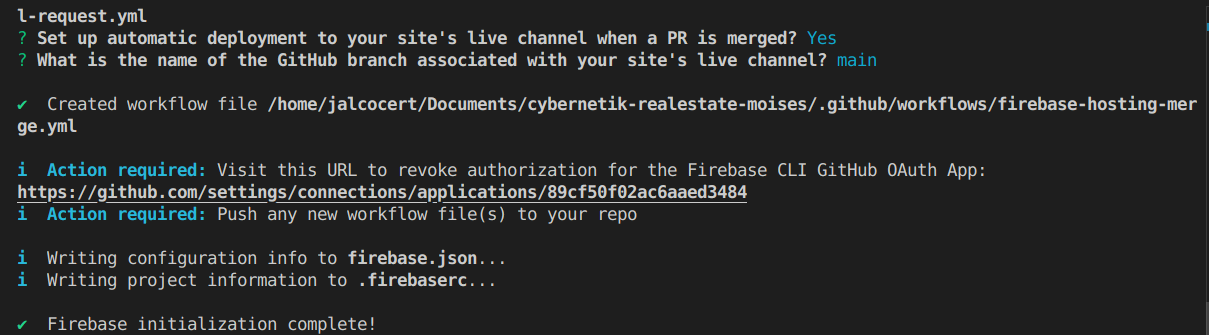
At this point, we have authorized firebase CLI:
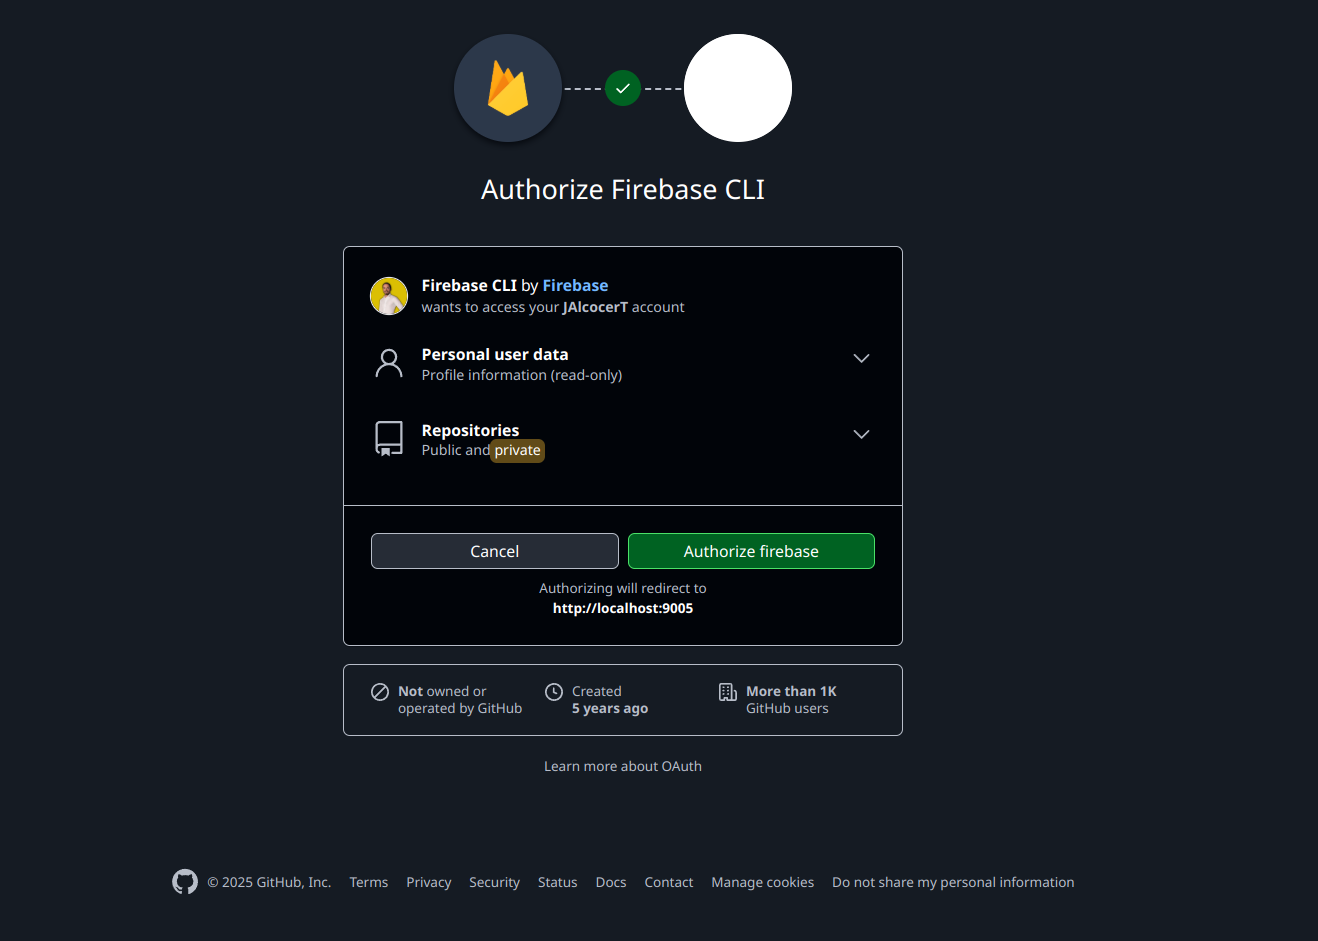
And…thats all the one time things/setup required to get your website.
Conclusions
We just created a free website with Firebase and Astro SSG!
Isnt it like 1M times better looking than such webs (that are making money): https://unamoteracualquiera.com/
In a nutshell, from now on, just these 3 commands are enough, as the setup is completed:
npm run dev #to see locally the changes live, as you tweak your website
npm run build #To render the site to /dist

#optional
#npm install -g serve
#serve -s dist #See locally the built website
Deploy to firebase: for example, to proyectorutasmoto.web.app
#As all the files are ready, we just upload them to firebase free static hosting
firebase deploy #to push dist to proyectorutasmoto.web.app
When the firebase deploy command is executed, we are sending the built static files of our website, to firebase free static hosting!
There you go, your public website with a free firebase subdomain: https://proyectorutasmoto.web.app/
Next steps - To link a custom domain (optional) and to not forget to sync it to github for a free code backup!
To make the user experience better when starting with SSGs and markdown:
- Add FrontMatter CMS support
- https://frontmatter.codes/ - A CMS that works seamlessly with any static site generator
Front Matter is a CMS running straight in Visual Studio Code.
Can be used with static site generators like Hugo, Jekyll, Hexo, NextJs, Gatsby, and many more…
- Add the vscode MDX extension
Outro
I encouraged this client to also do somethign with his awsome action camera video content.
Chocolatey and FFMPeg
You can install ffmpeg without chocolatey.
But thats ’en plan pringao’.
I prefer to leverage chocolatey: https://community.chocolatey.org/packages
So that programs will get installed programatically (instead of downloading .exe, executing and clicking next few times).
With Chocolatey as package manager you just need to use these 4 commands to get ffmpeg ready.
Open powershel as administrator and copy paste these (one by one):
# Install Chocolatey (Run as Administrator)
Set-ExecutionPolicy Bypass -Scope Process -Force; [System.Net.ServicePointManager]::SecurityProtocol = [System.Net.ServicePointManager]::SecurityProtocol -bor 3072; Invoke-WebRequest -UseBasicParsing 'https://community.chocolatey.org/install.ps1' | Invoke-Expression

# Verify Chocolatey Installation
choco --version

# Install FFmpeg (Run as Administrator)
choco install ffmpeg -y
#choco install chocolateygui #optionally, install a UI to install other packages with GUI

# Verify FFmpeg Installation
ffmpeg -version #I got the version 7.1-essentials_build
If you are here already, you are ready to join videos with ffmpeg!
FFmpeg Video Workflow for Windows
This is how I prepare simple videos avoiding repetitive edition.
Within POWERSHELL as admin, do:
Copy the files with CLI (optional) - I like to use such command to do it with CLI, but you can drag and drop:
Copy-Item -Path "E:\DCIM\DJI_001\*.MP4" -Destination "C:\Users\Escritorio\cadiz" -Force
#Robocopy "E:\DCIM\DJI_001" "C:\Users\j--e-\OneDrive\Escritorio\cadiz" *.MP4 /MT:8 /R:3 /W:2 /ETA /TEE /LOG+:copy_log.txt- Place all the videos you want to join into a folder, and place the powershell session on that folder:
cd C:\Users\Escritorio\cadiz #this is a sample folder on my desktop- Create the
.txtlist: this will create a file with all the mp4 that will be joined
Get-ChildItem -Filter "*.MP4" | ForEach-Object { "file '$($_.Name)'" } | Set-Content file_list.txtYou can review that all the mp4 are considered once generated
- Last step: Just use ffmpeg to join all the files accordingly. You have few alternatives:
- Just join them (keeping the original audio) - This is the one uncommented
- You can trim this output between two given time (in seconds)
- Join them but silence the audio
- Place music on top of the silenced combined video
#1)
ffmpeg -f concat -safe 0 -i file_list.txt -c copy output.mp4 #simple join
#ffmpeg -ss 120 -to 900 -i output.mp4 -c copy trimmed_output.mp4 #trim and take only between 120s and 900s

#2) Silenced video
#ffmpeg -f concat -safe 0 -i file_list.txt -c:v copy -an output_video.mp4 #silenced video

#3) 🎵 Music by
#ffmpeg -f concat -safe 0 -i file_list.txt -c:v copy -an silenced_output_video.mp4 #silenced video
#ffmpeg -stream_loop -1 -i "TRAVELATOR - Density & Time.mp3" -i silenced_output_video.mp4 -c:v copy -c:a aac -shortest output_with_song.mp
Every time you do this for ~20min GOPro 4K videos, you are saving ~3h, which at ~65W as of today ~0.05$
Optionally, you can extract the mp3 audio of your joined video, edit it with Audacity and place it back as in step 3:
ffmpeg -i output.mp4 -vn output.mp3Automatic Video Chapters
Dont forget to add chapters to your video description:
$files = Get-ChildItem -Filter "*.MP4" | Sort-Object Name; $currentTime = 0; function Format-Time ($seconds) { [TimeSpan]::FromSeconds($seconds).ToString("g") }; $files | ForEach-Object { $formattedTime = Format-Time $currentTime; try { $duration = (ffprobe -v error -show_entries format=duration -of default=noprint_wrappers=1:nokey=1 "$($_.FullName)") -as [double] } catch { Write-Warning "ffprobe failed for $($_.Name). Assuming 0 seconds."; $duration = 0 }; $currentTime += $duration; "$formattedTime $($_.Name)" } | Set-Content file_list.txtAbout HEVC Format
HEVC (High Efficiency Video Coding), also known as H.265, is a video compression standard.
To play HEVC videos, your system needs the appropriate codecs in Windows.
.mp4 from the Camera to the PC and prepare the outputStill, imo it performs better in Linux!
FAQ
Chocolatey Setup for Astro
Astro [QUICK] web development setup for windows
Node NPM and VSCode with Chocolatey 📌
Open Powershel as administrator
Copy paste these (one by one):
# Install Chocolatey (Run as Administrator)
Set-ExecutionPolicy Bypass -Scope Process -Force; [System.Net.ServicePointManager]::SecurityProtocol = [System.Net.ServicePointManager]::SecurityProtocol -bor 3072; Invoke-WebRequest -UseBasicParsing 'https://community.chocolatey.org/install.ps1' | Invoke-Expression

# Verify Chocolatey Installation
choco --version

choco install nodejs-lts -y
#choco install nodejs -y- Close Powershell and Open it again. See that both, npm and node are now installed:
node -v
npm -v- Optionally, install vscode:
choco install vscode -yFor additional installs with Chocolatey, see this gist and packages here
Other Interesting Tools for Astro
GPX with Astro
Use gpx.studio to visualize your GPX, or see my Route Tracker repo
OSM Widgets
rawhtml shortcode from hugo - translate to astro -» can this bring gpx support?
YT Videos and Astro
Adding YouTube Videos to your posts: in pure Markdown, but losing the image sizing and border

#


 #you could also define a component similar to this hugo shortcode